
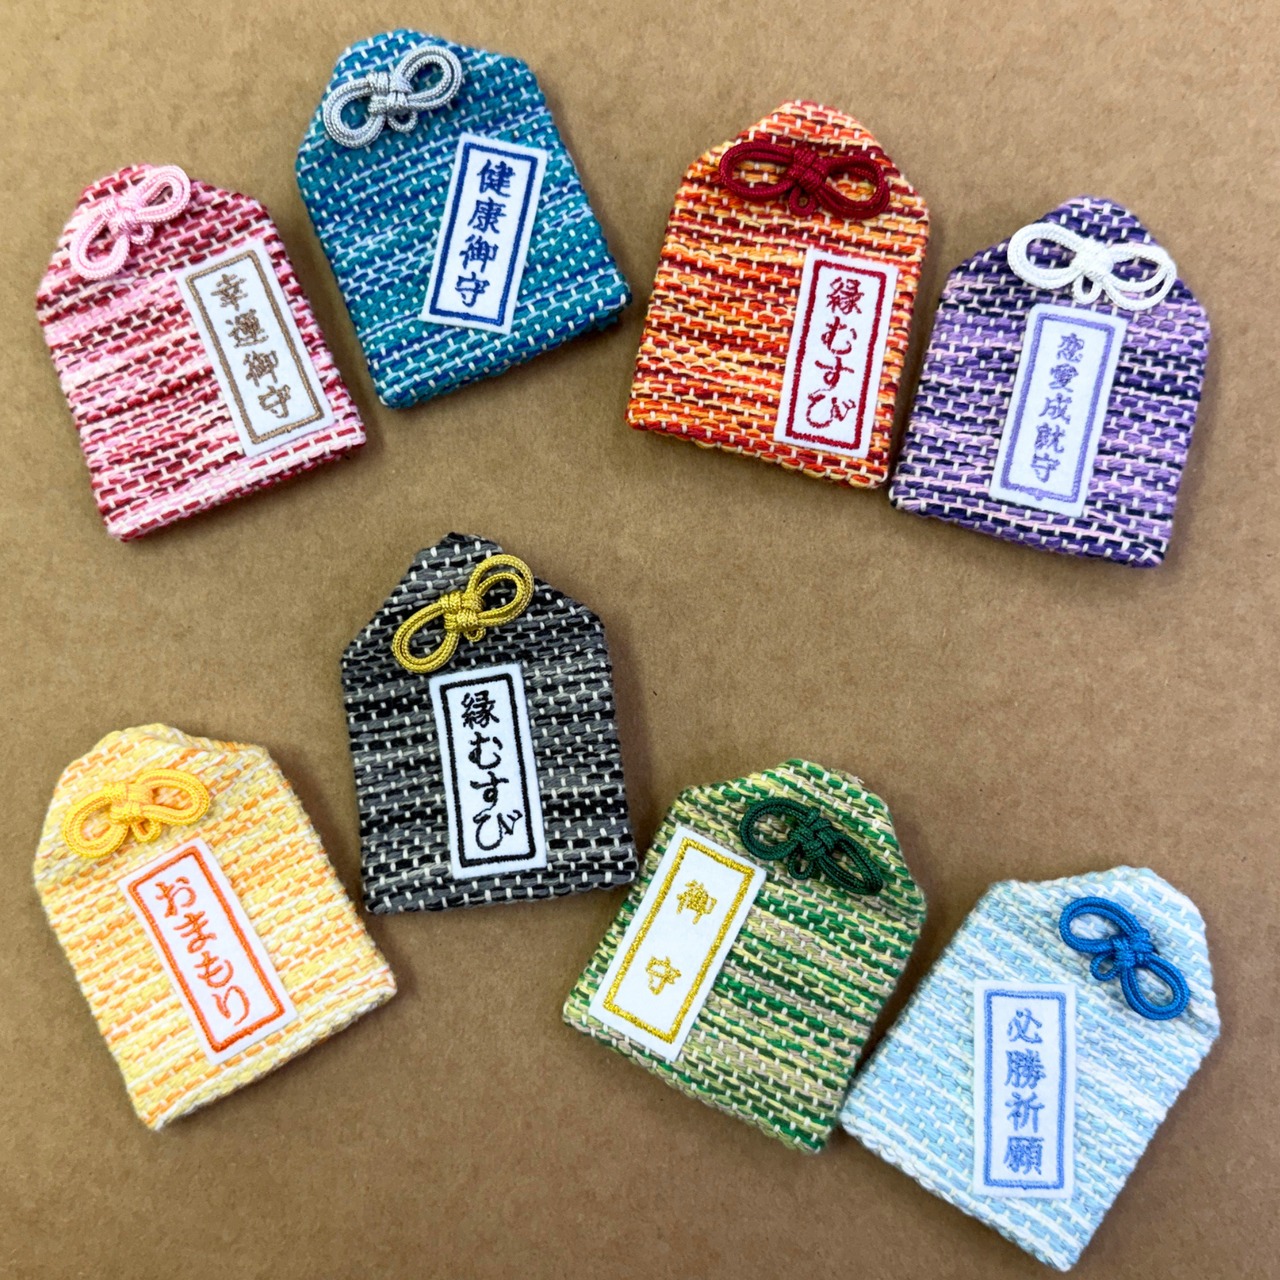

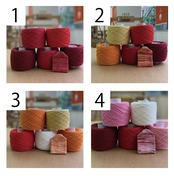
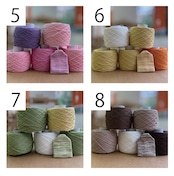
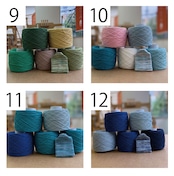
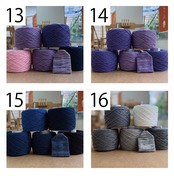
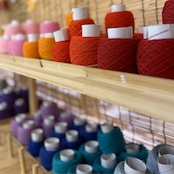
Omamori DIY Kit | A Gift for Family, Friends & Loved Ones | Orinami Hand Weaving Experience
JPY2,200(USD13.78)
International shipping available
Orinami Asakusa – Omamori DIY Kit
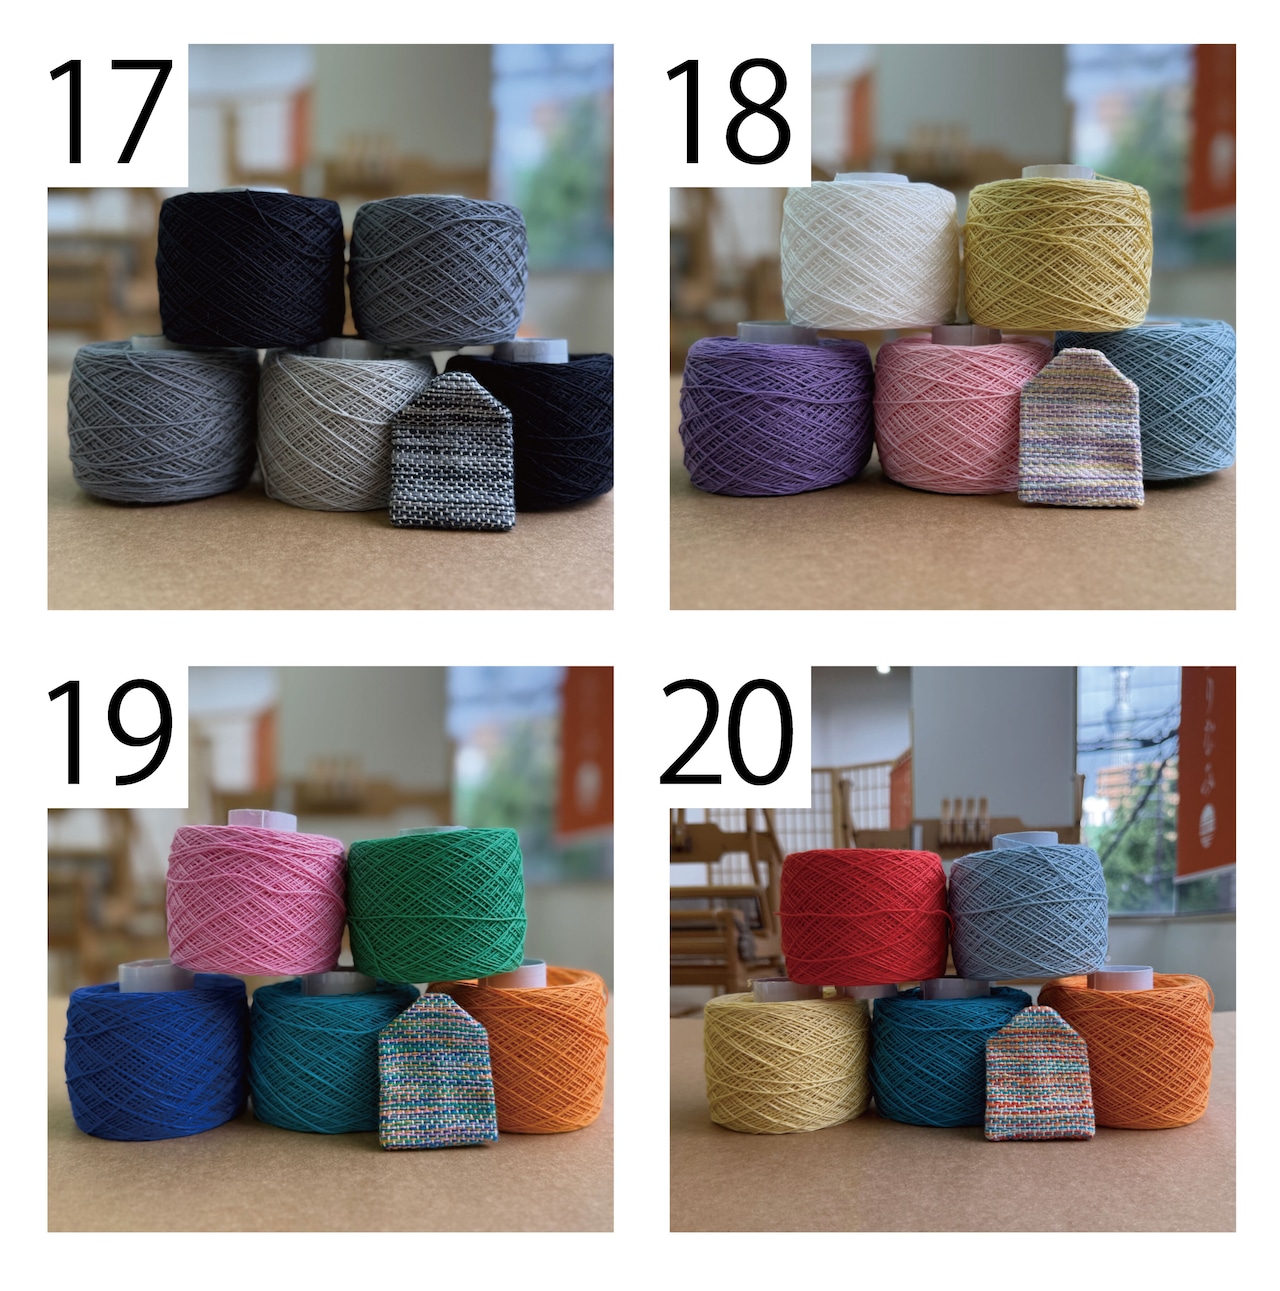
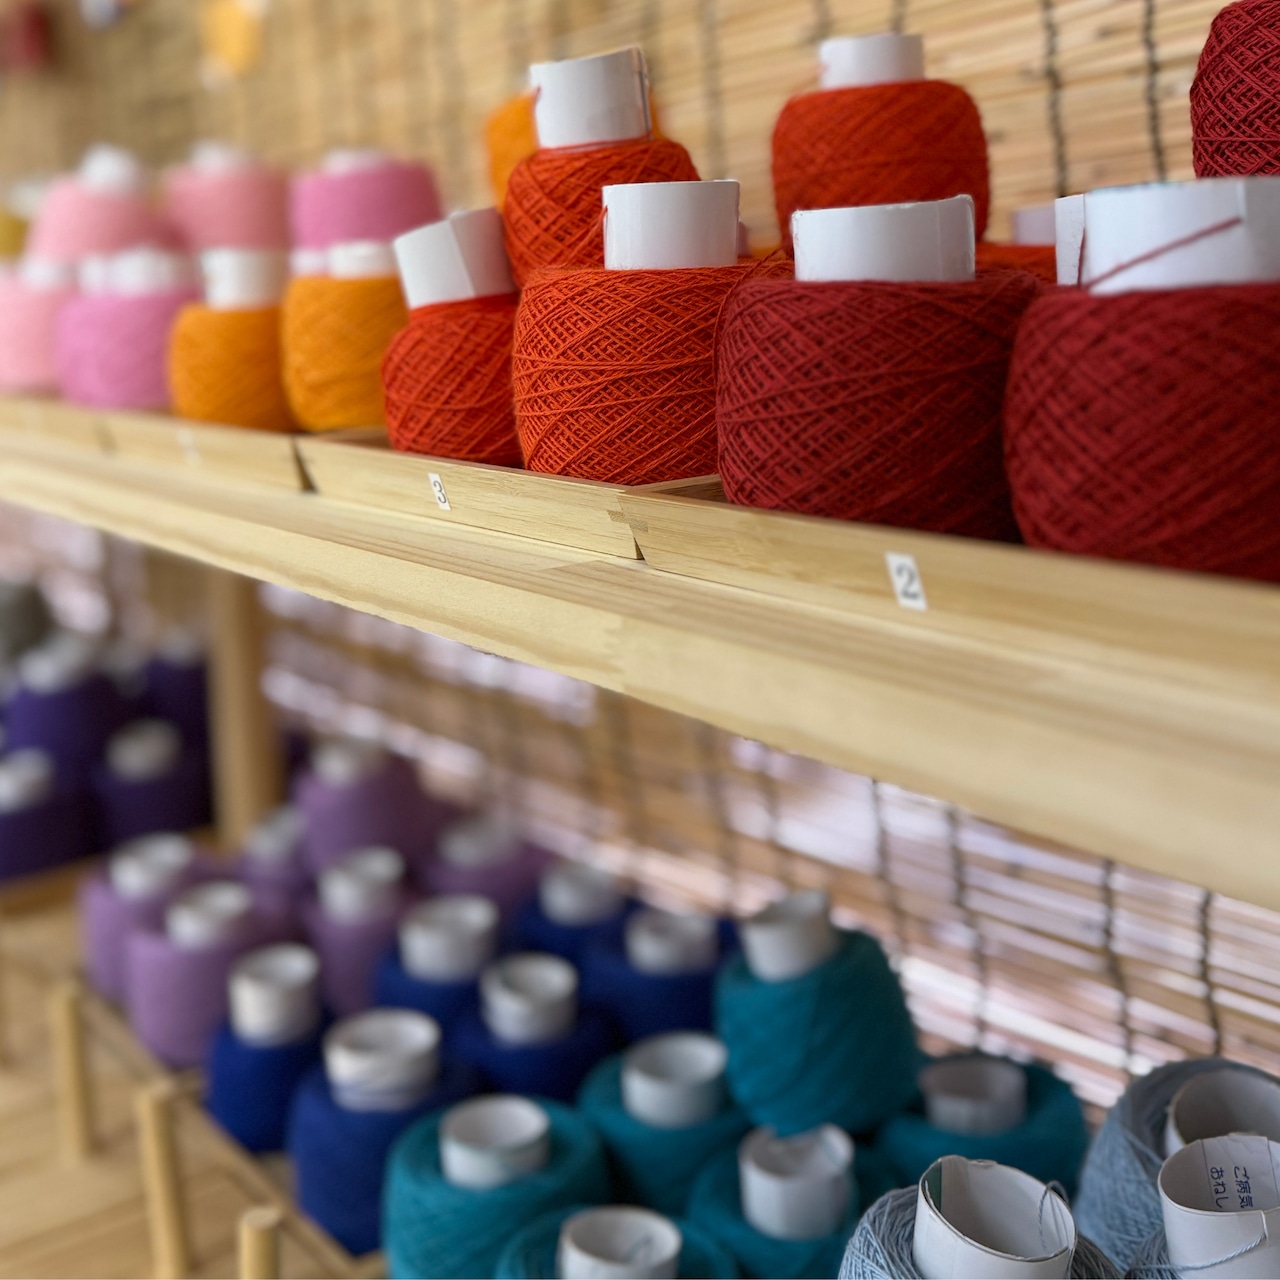
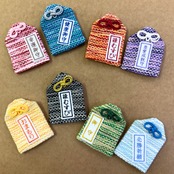
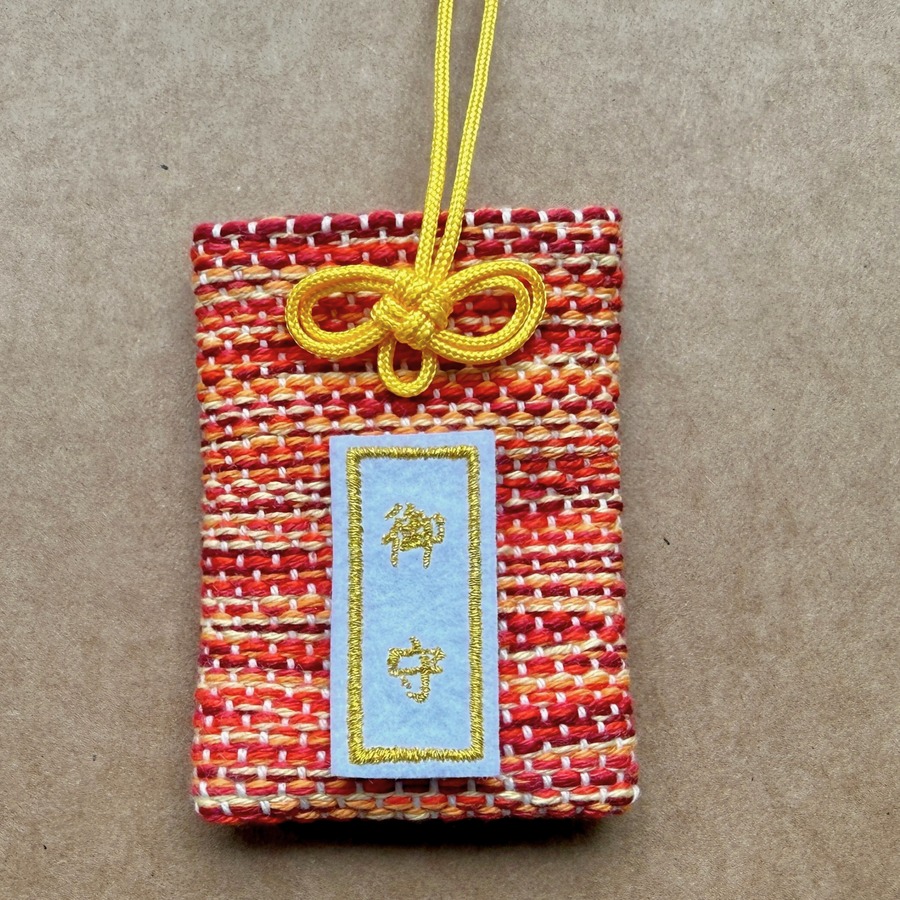
Make your very own Japanese omamori (good-luck charm) at home with the same parts we use at our Orinami hand-weaving workshop.
It’s also a lovely way to create a special gift for family and friends.
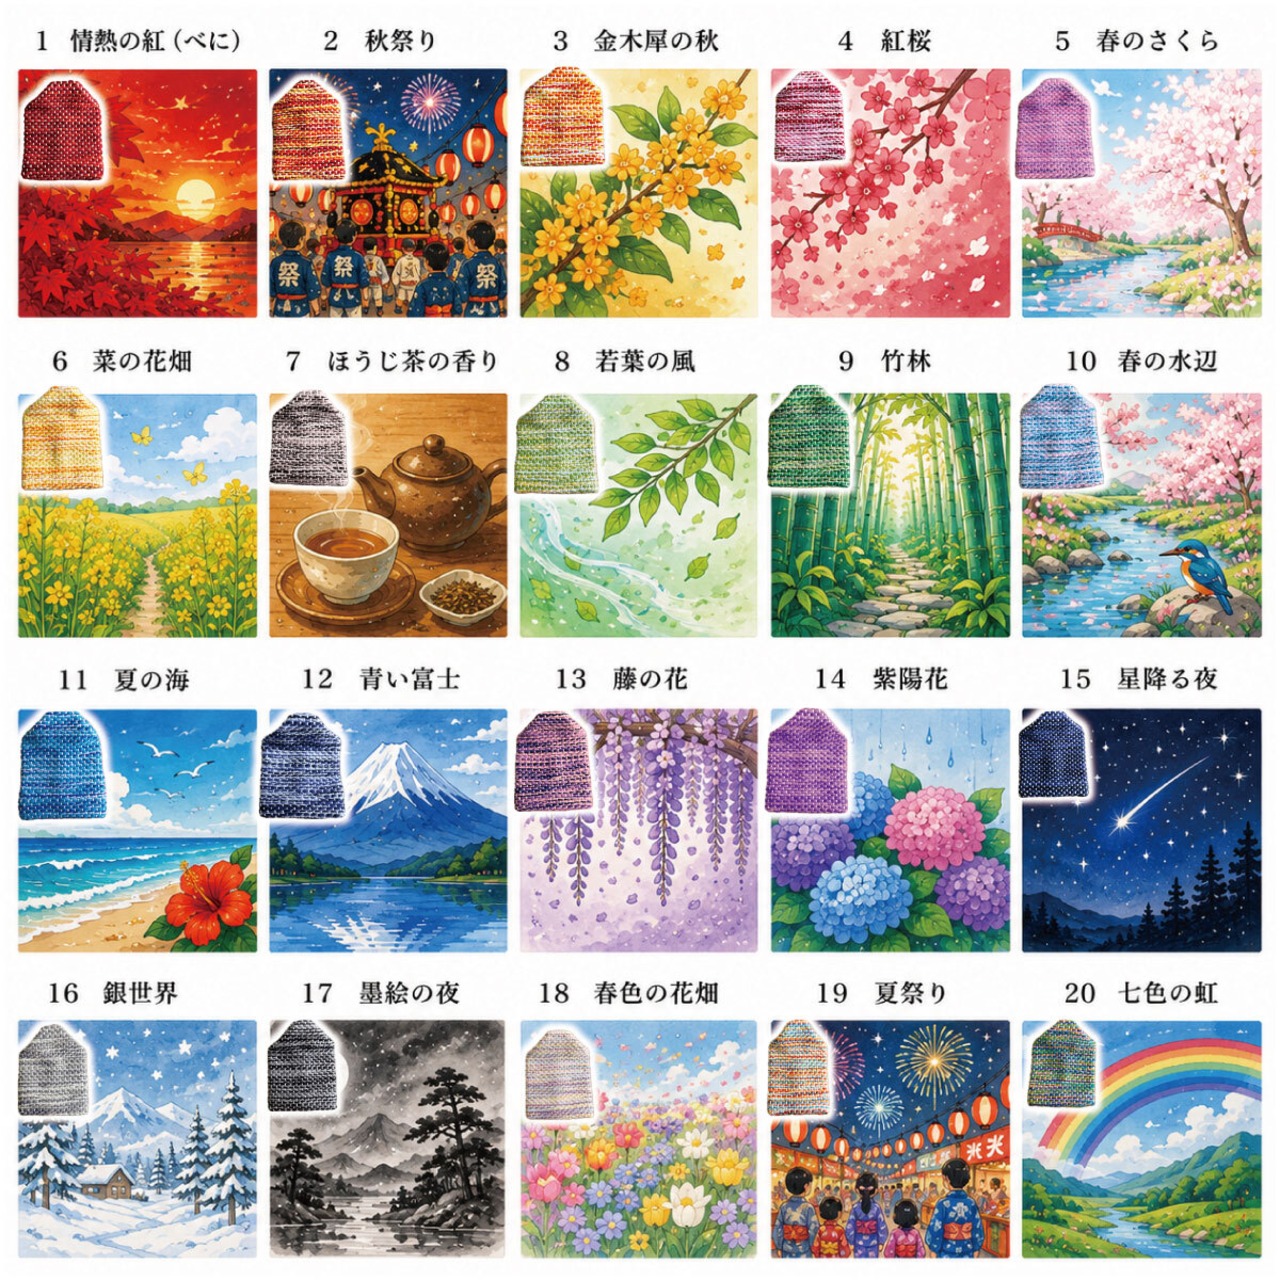
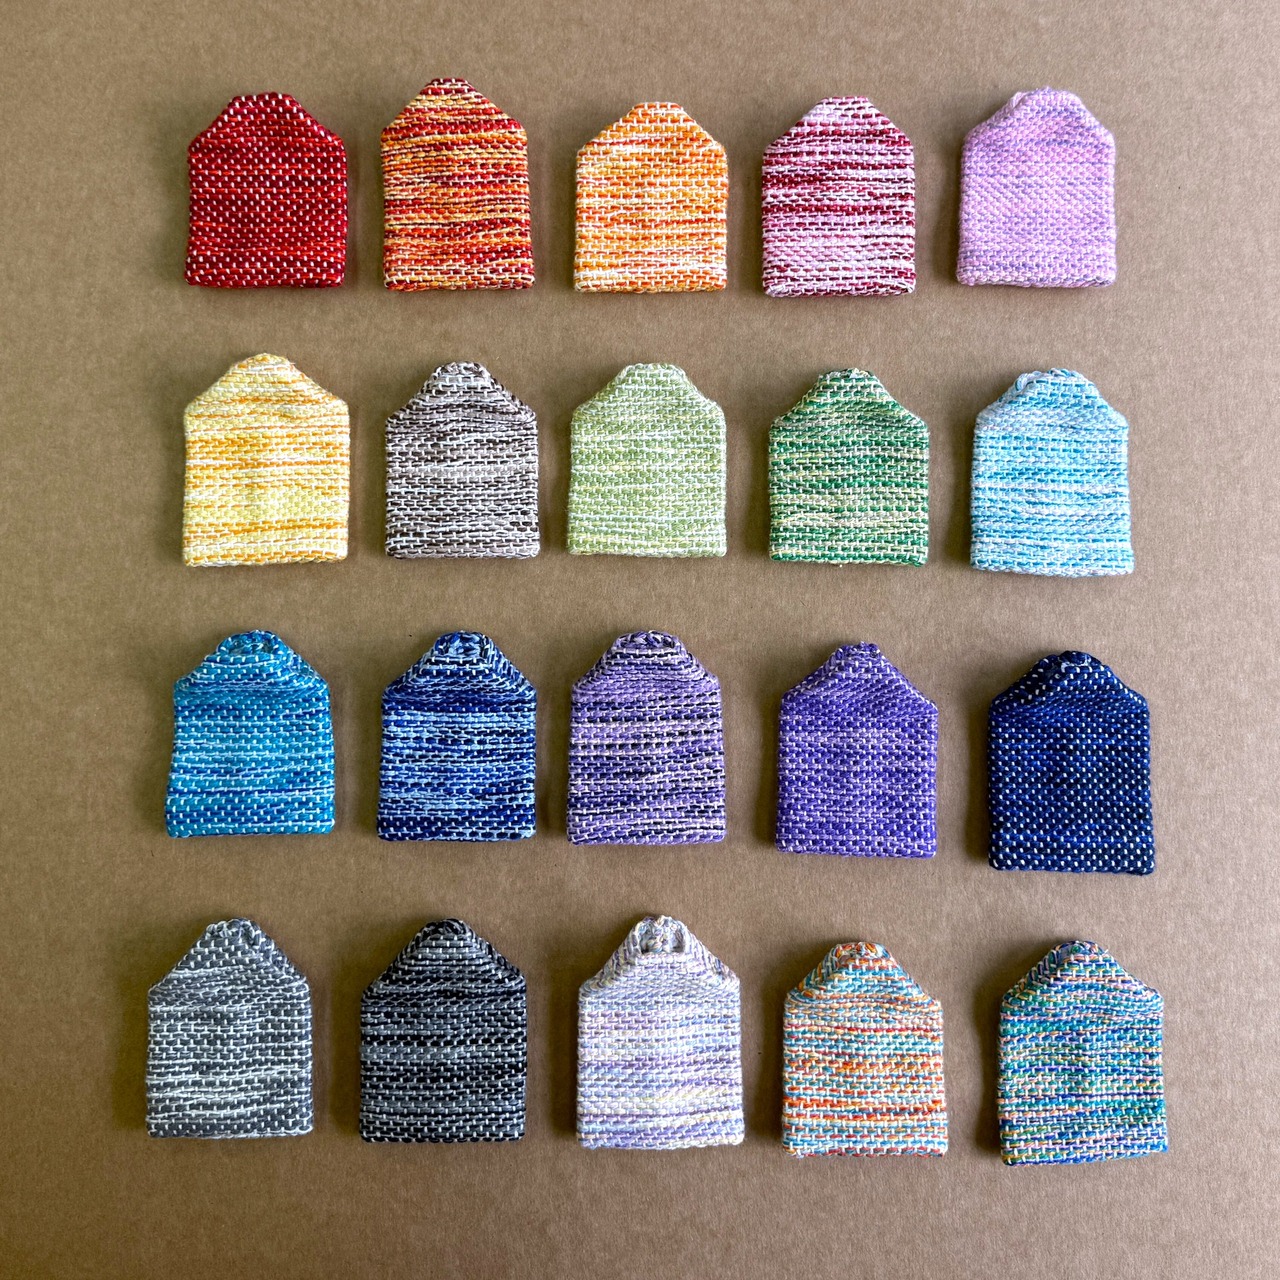
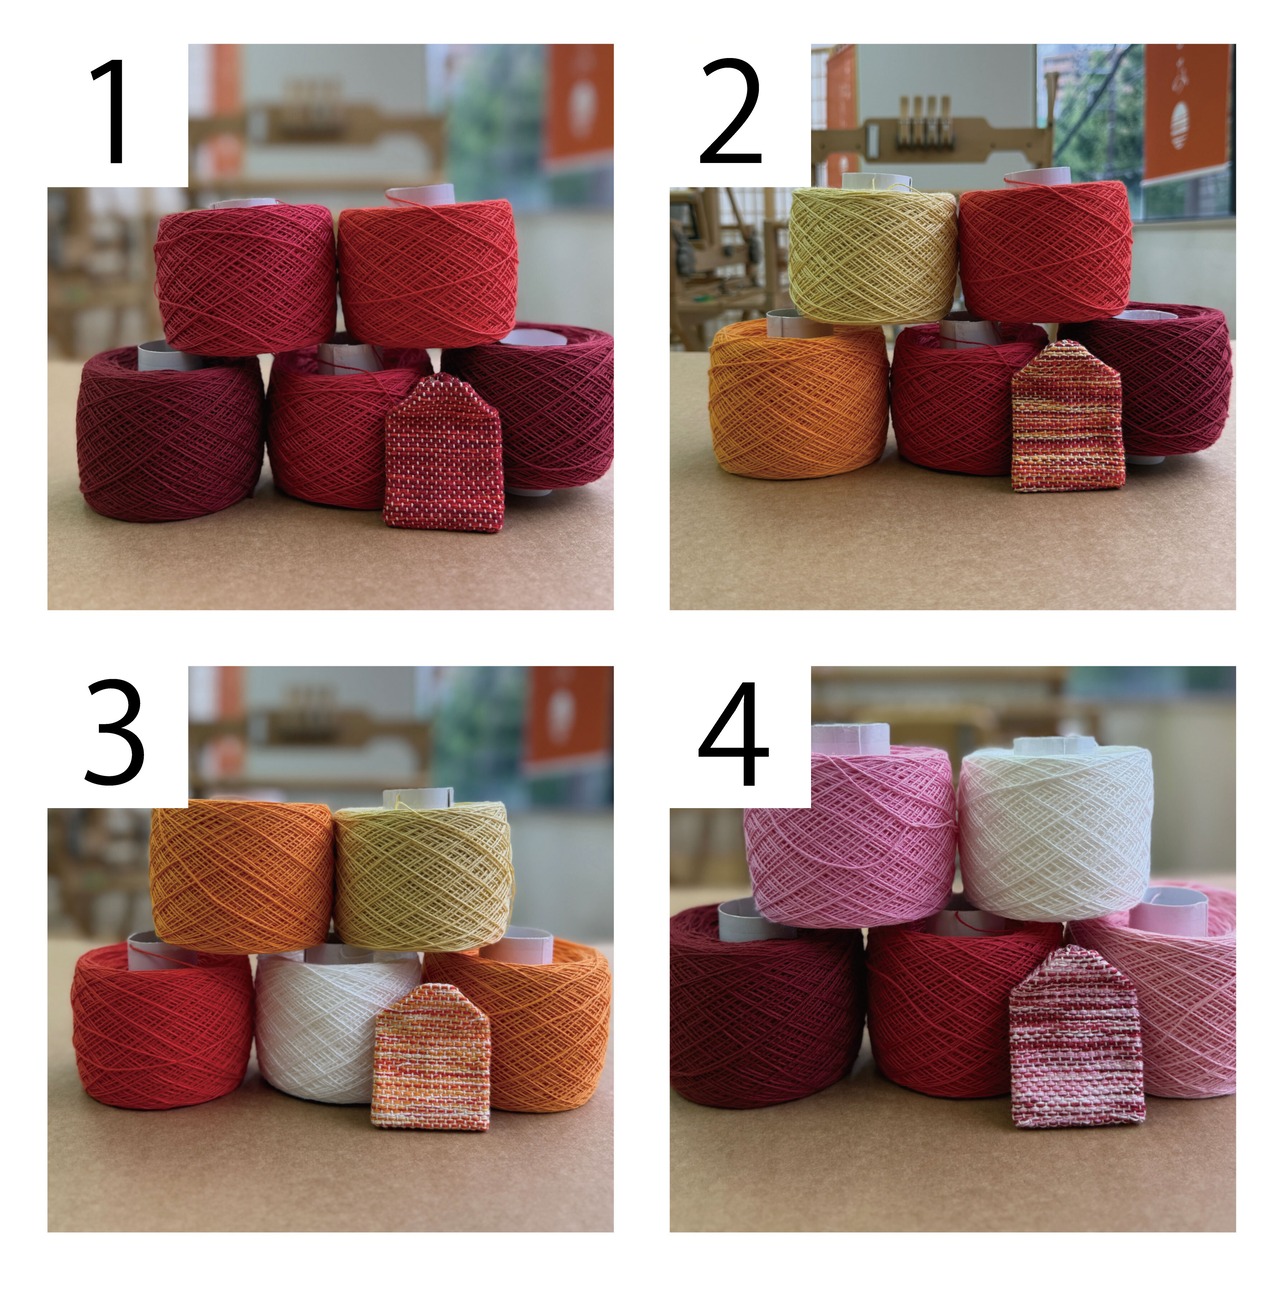
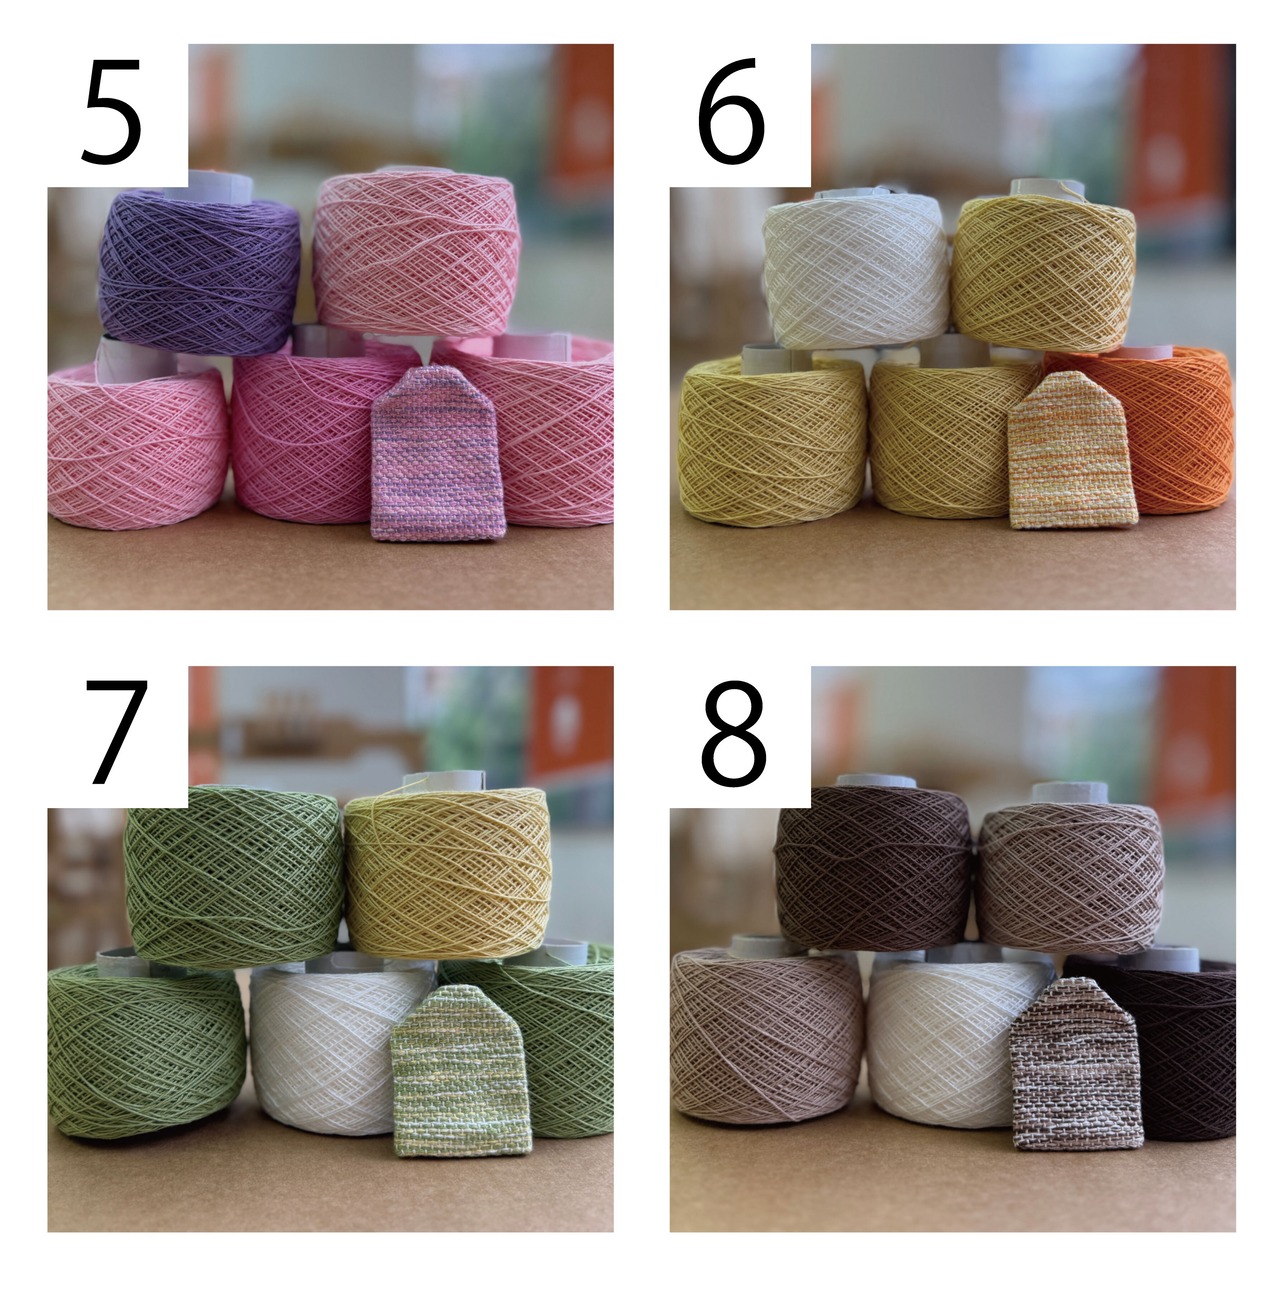
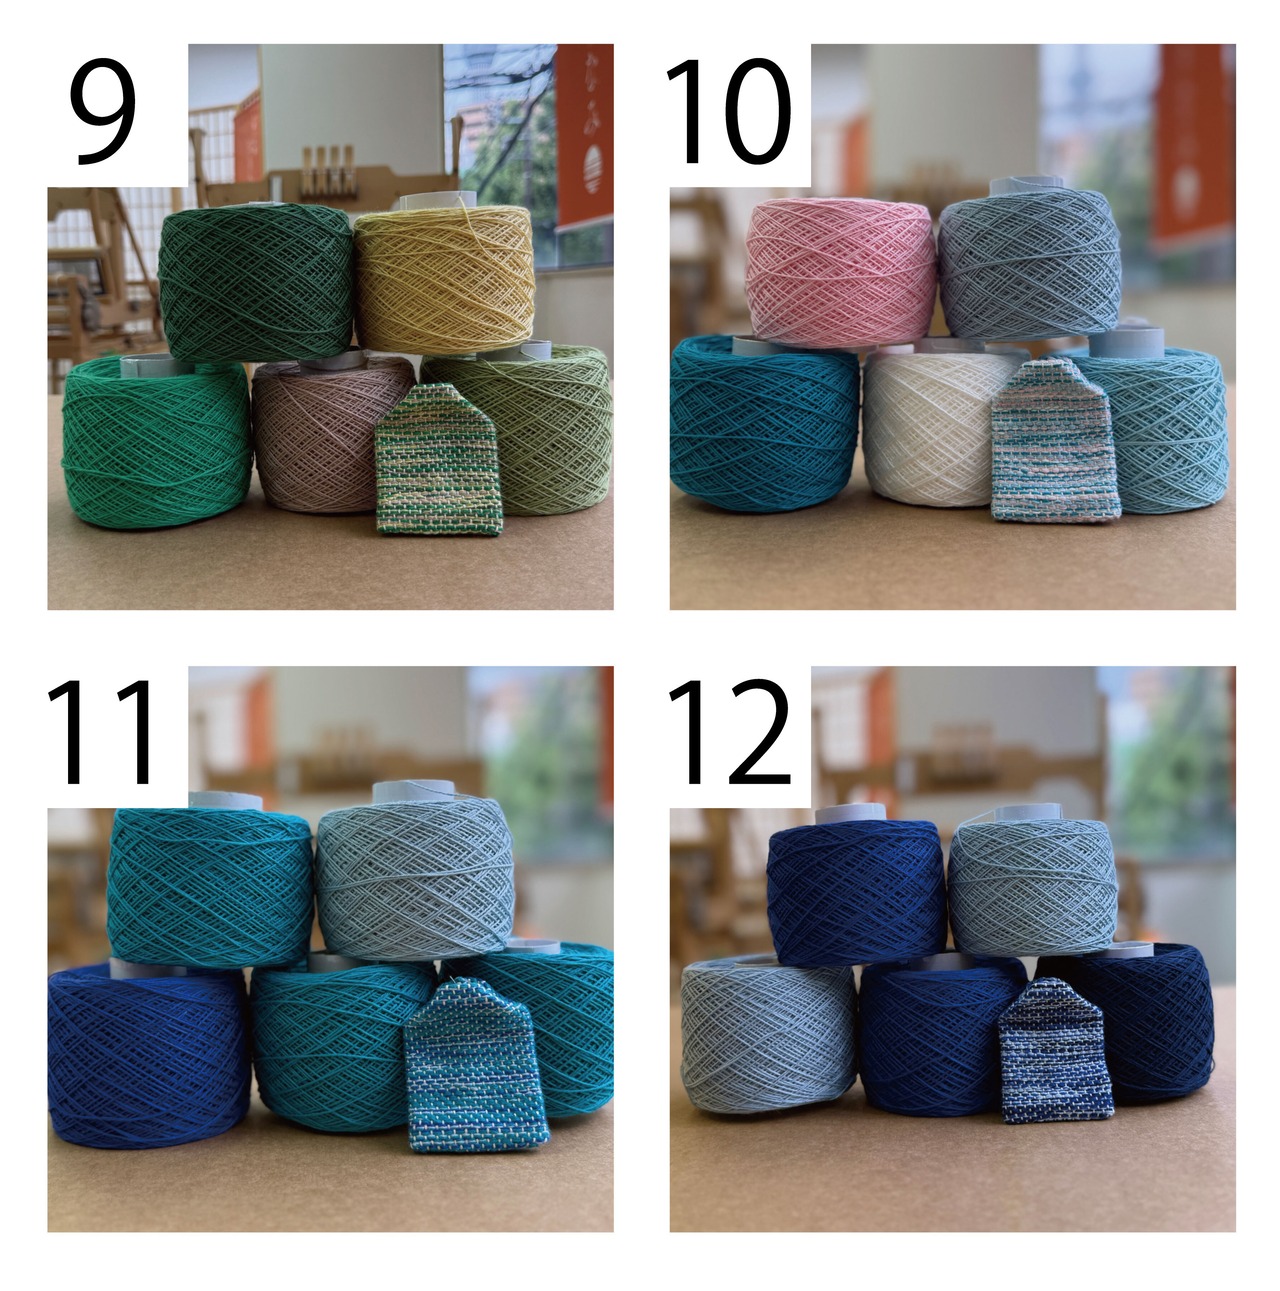
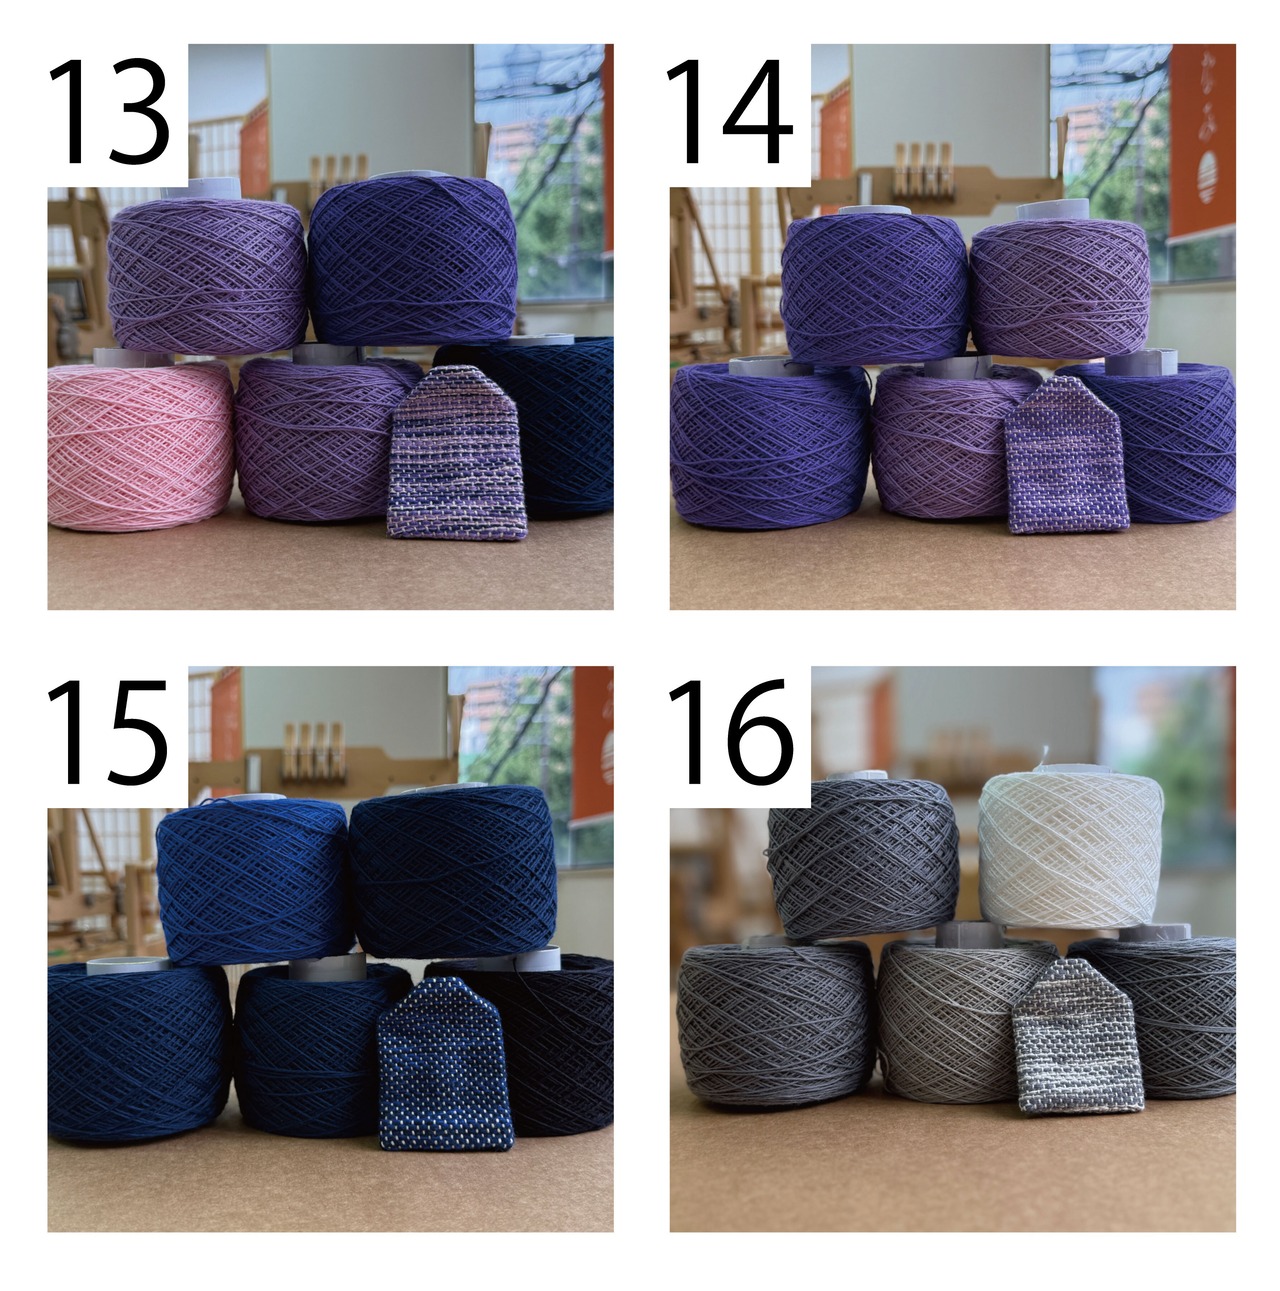
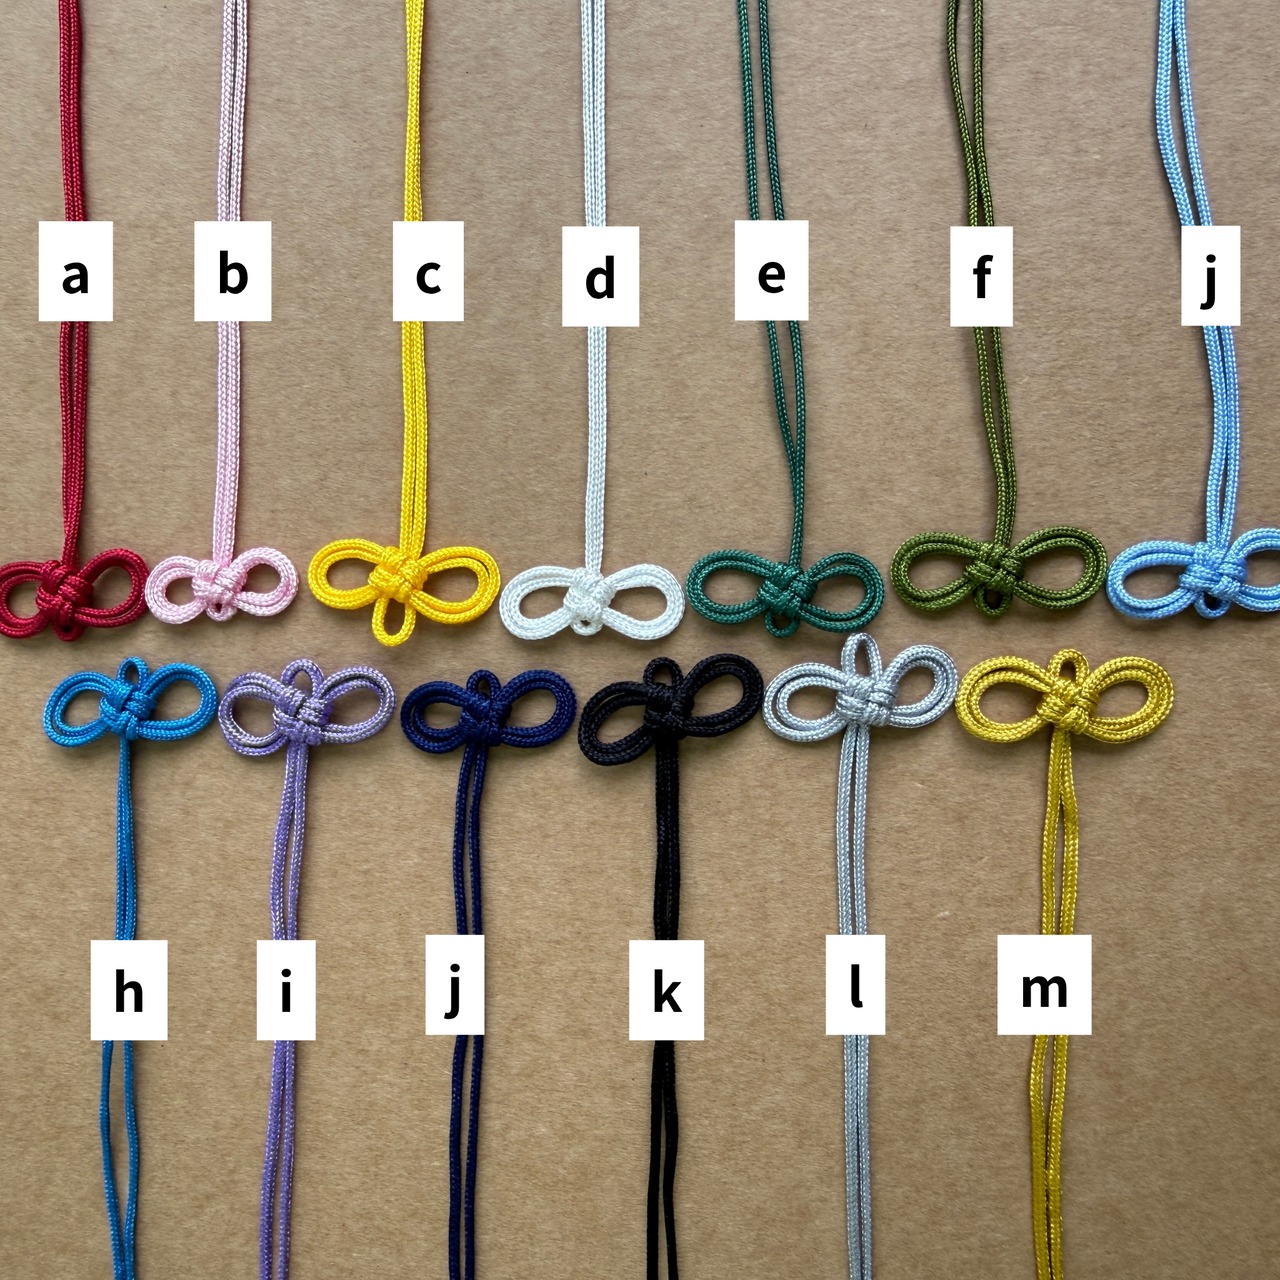
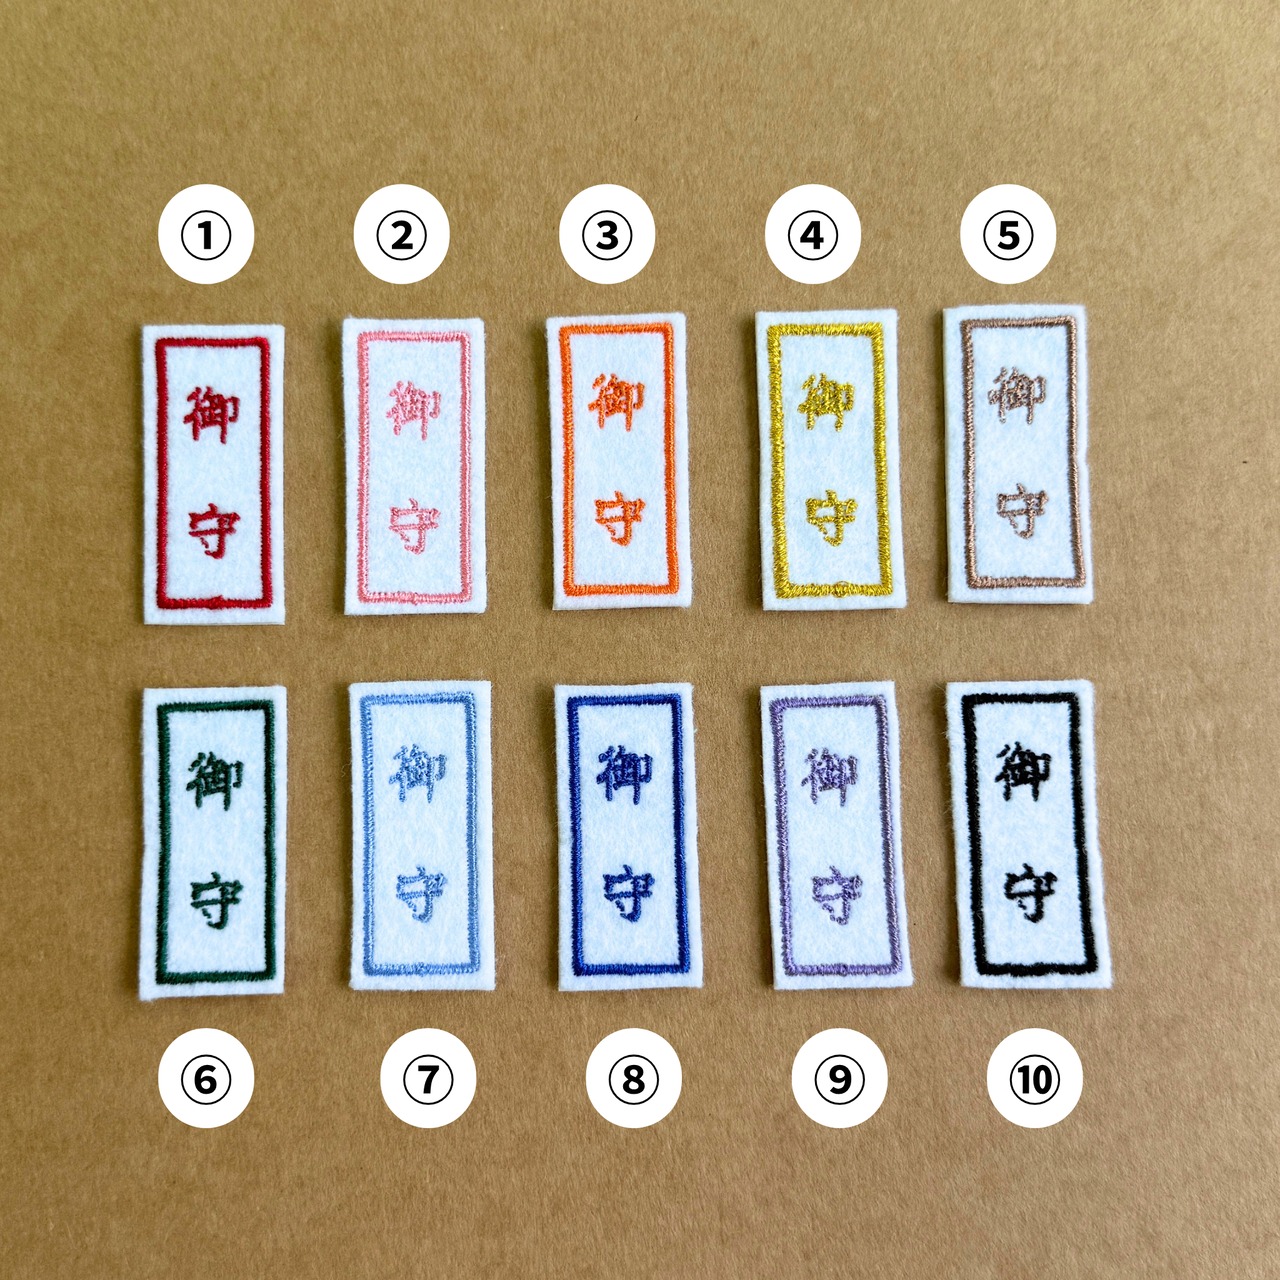
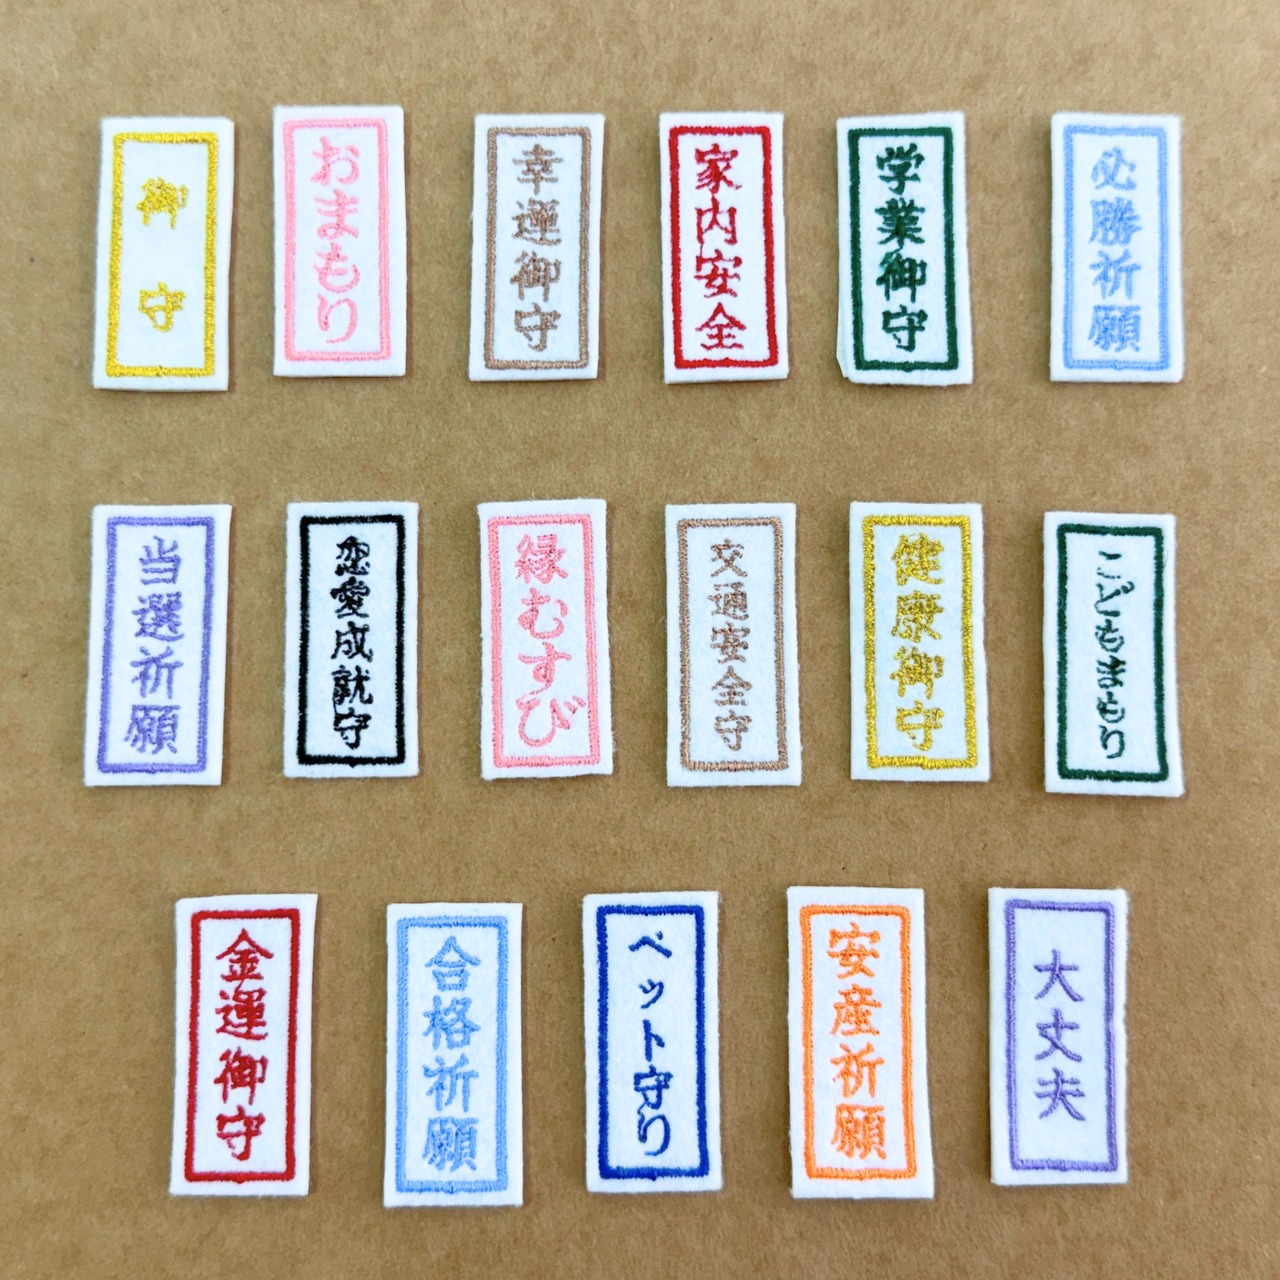
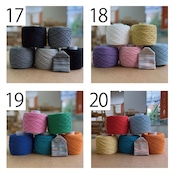
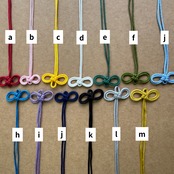
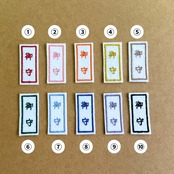
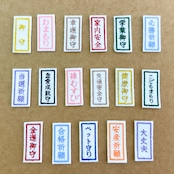
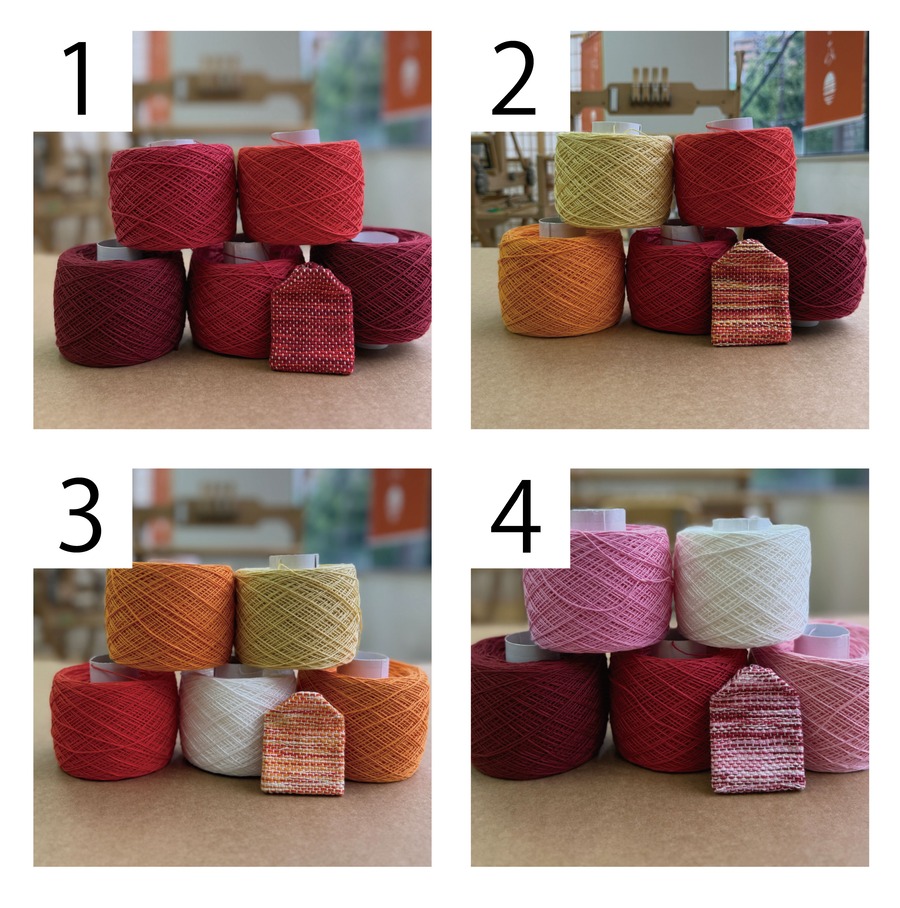
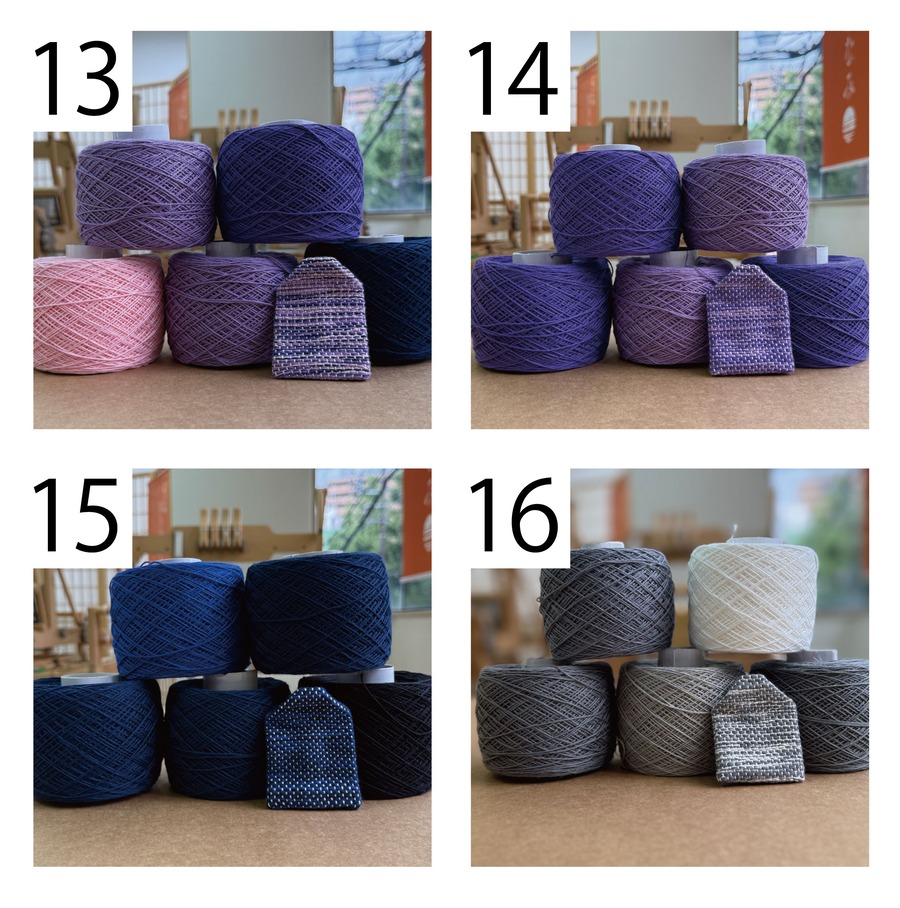
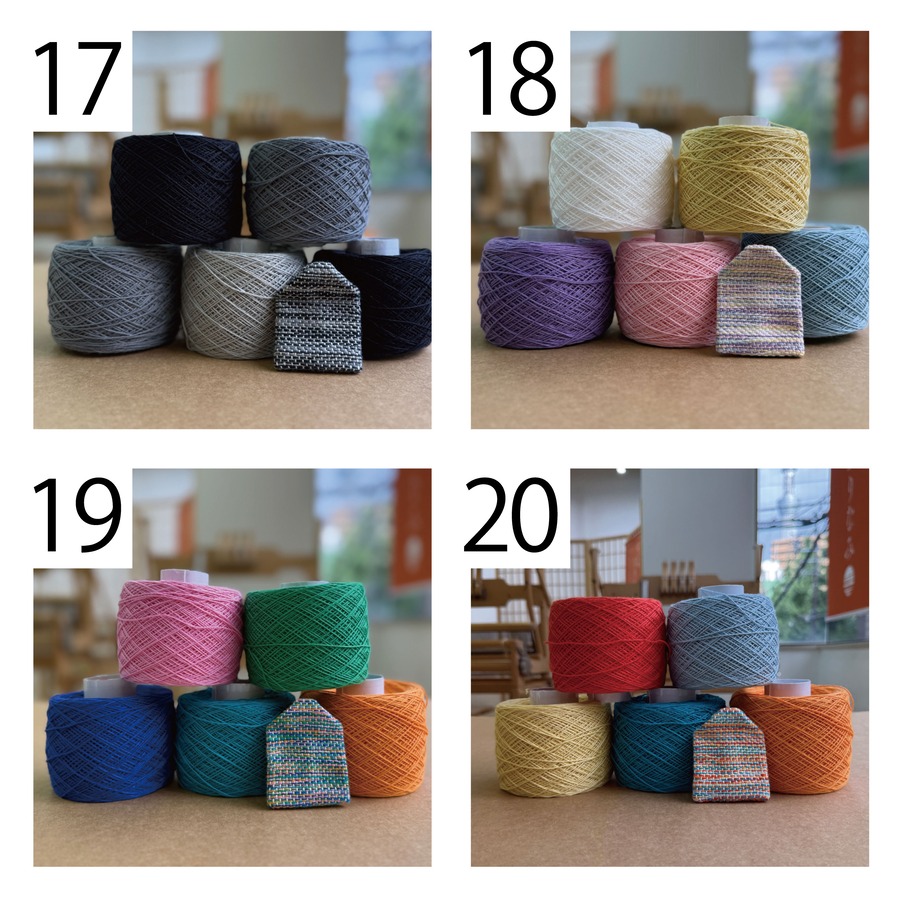
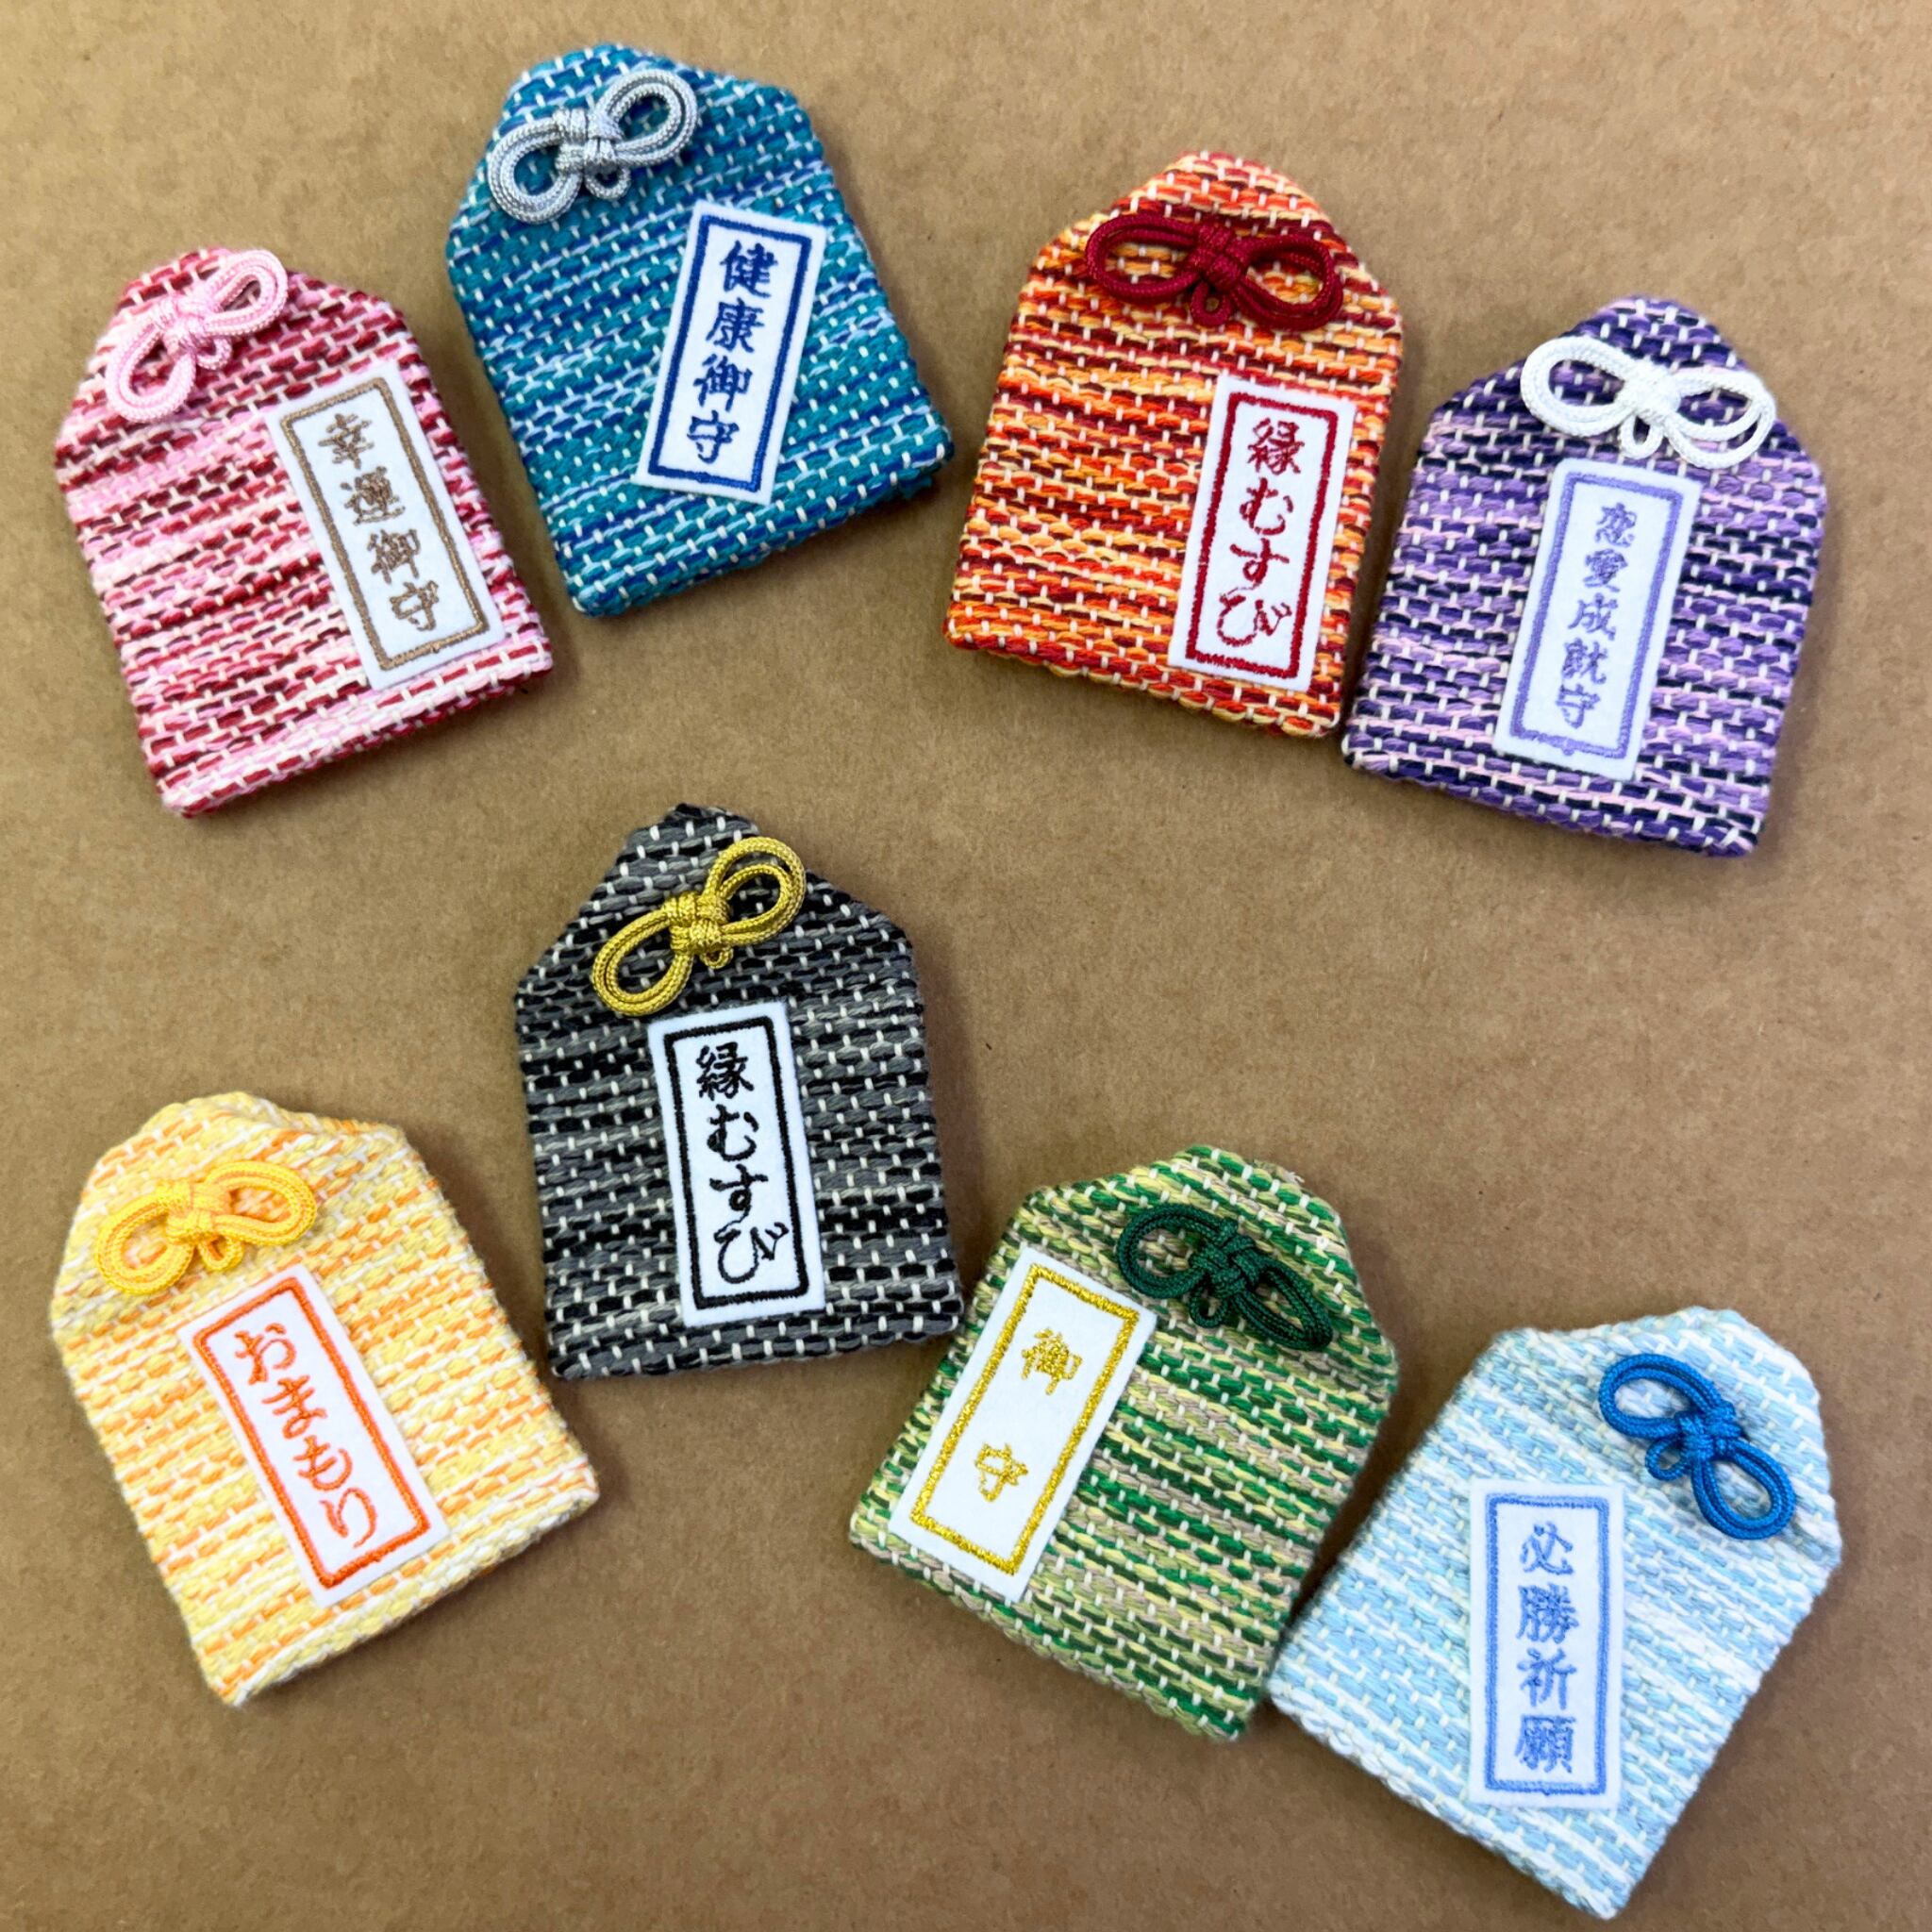
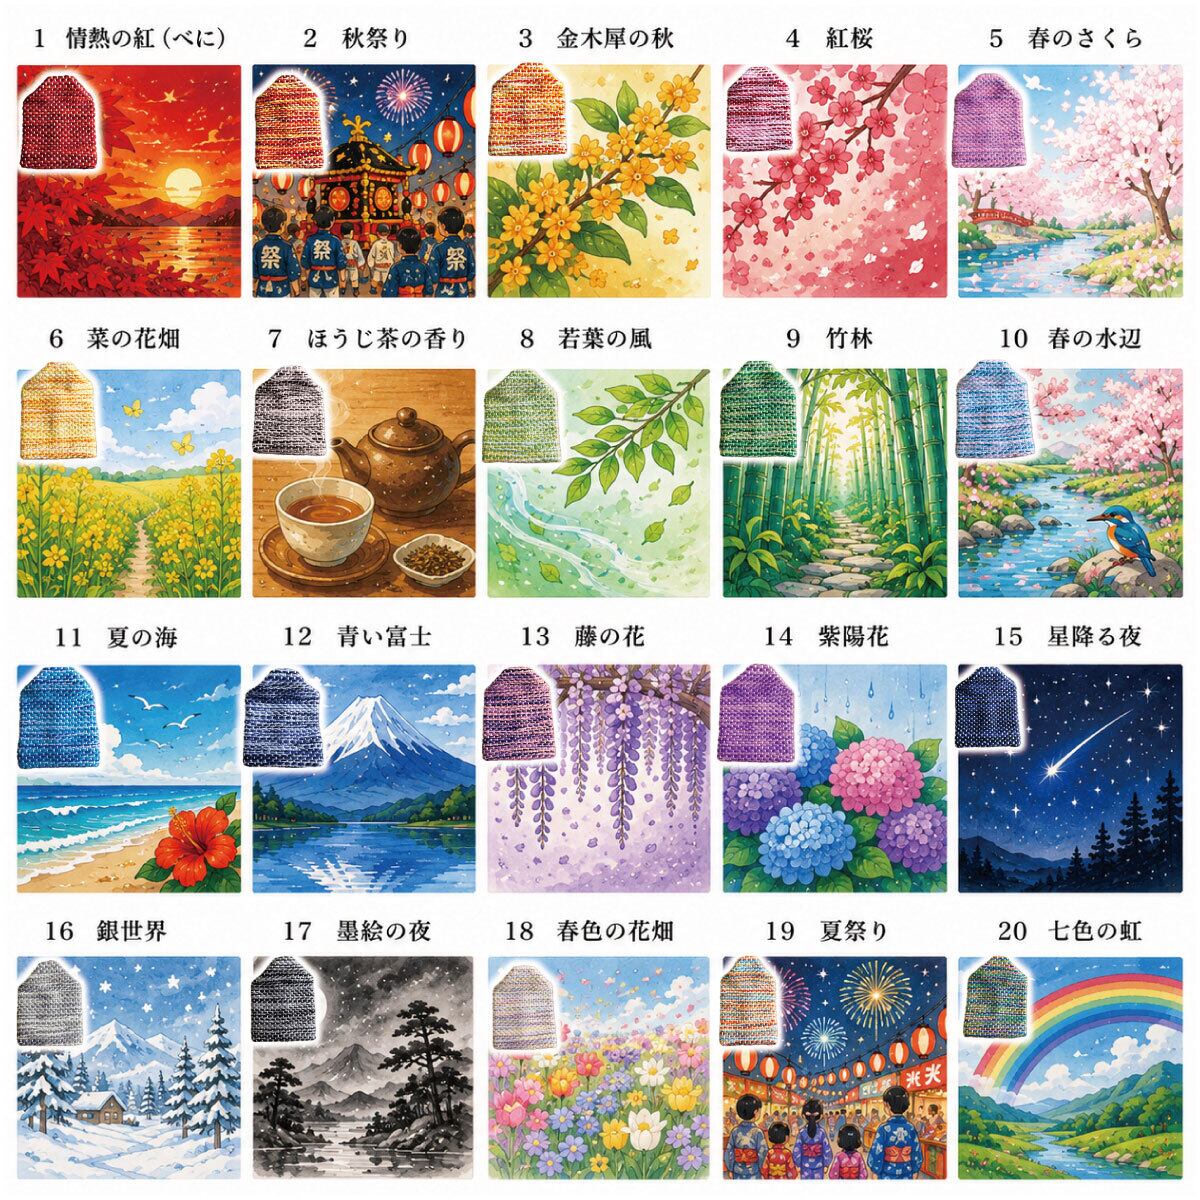
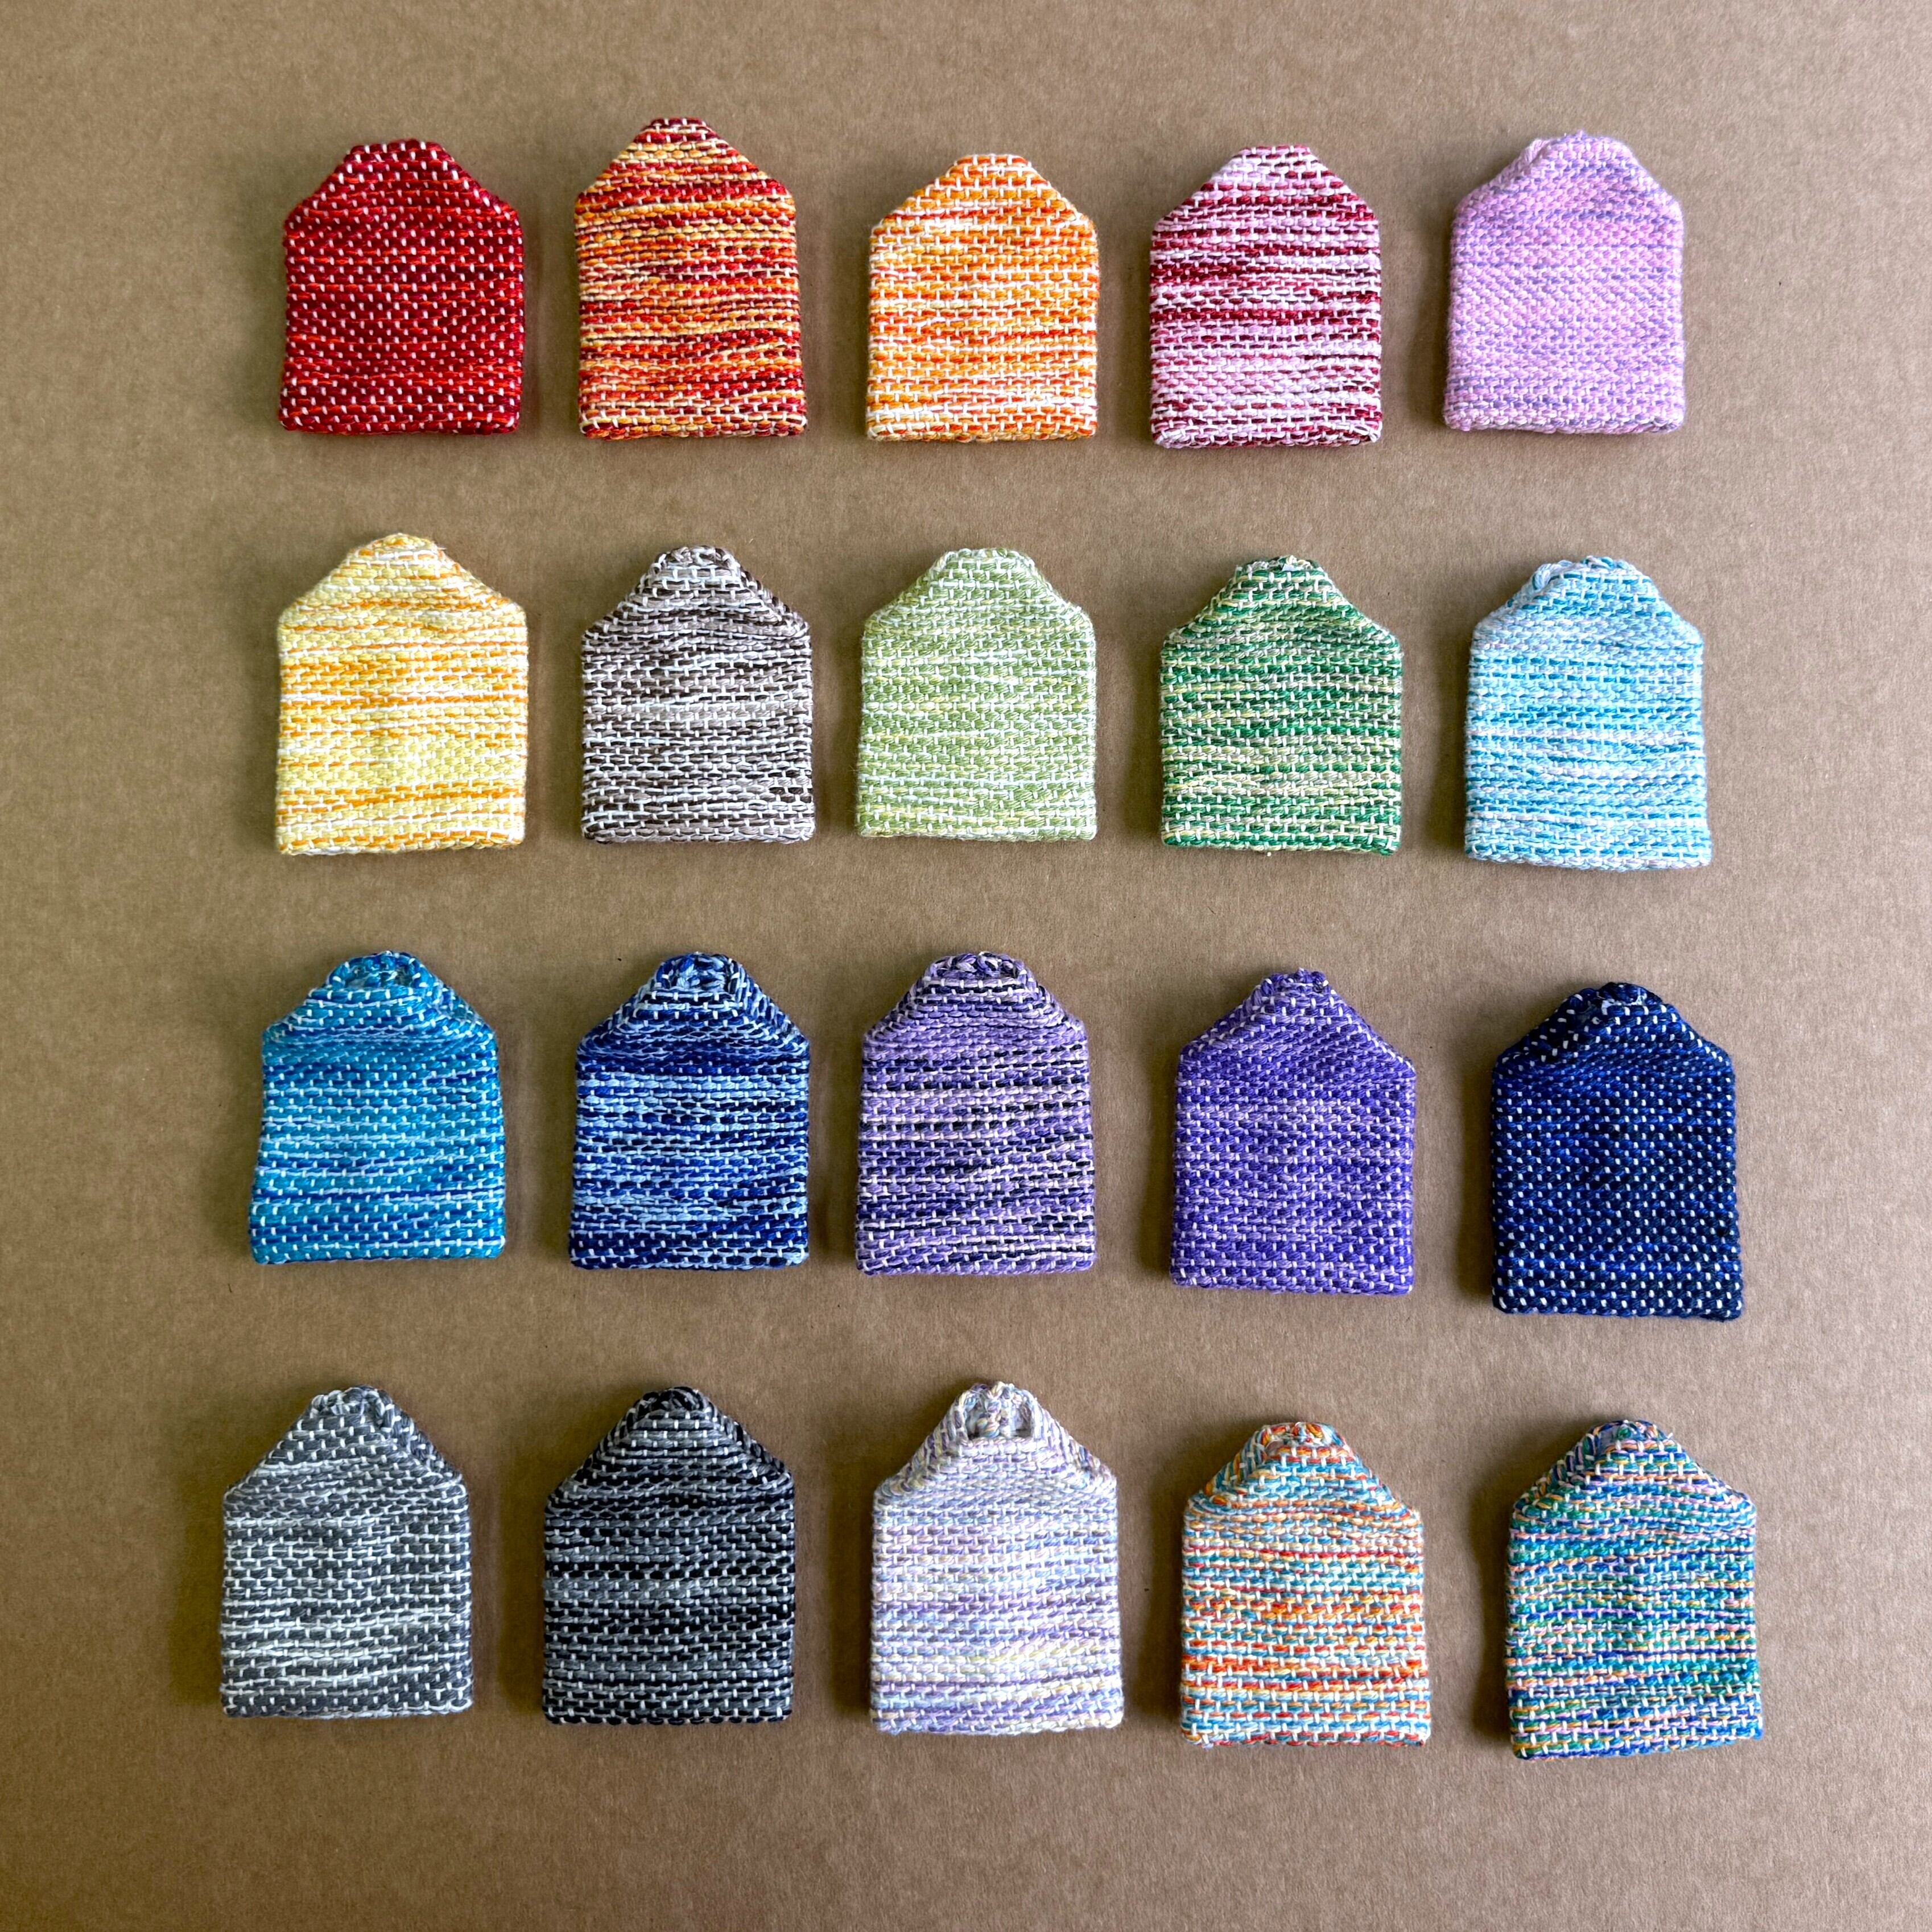
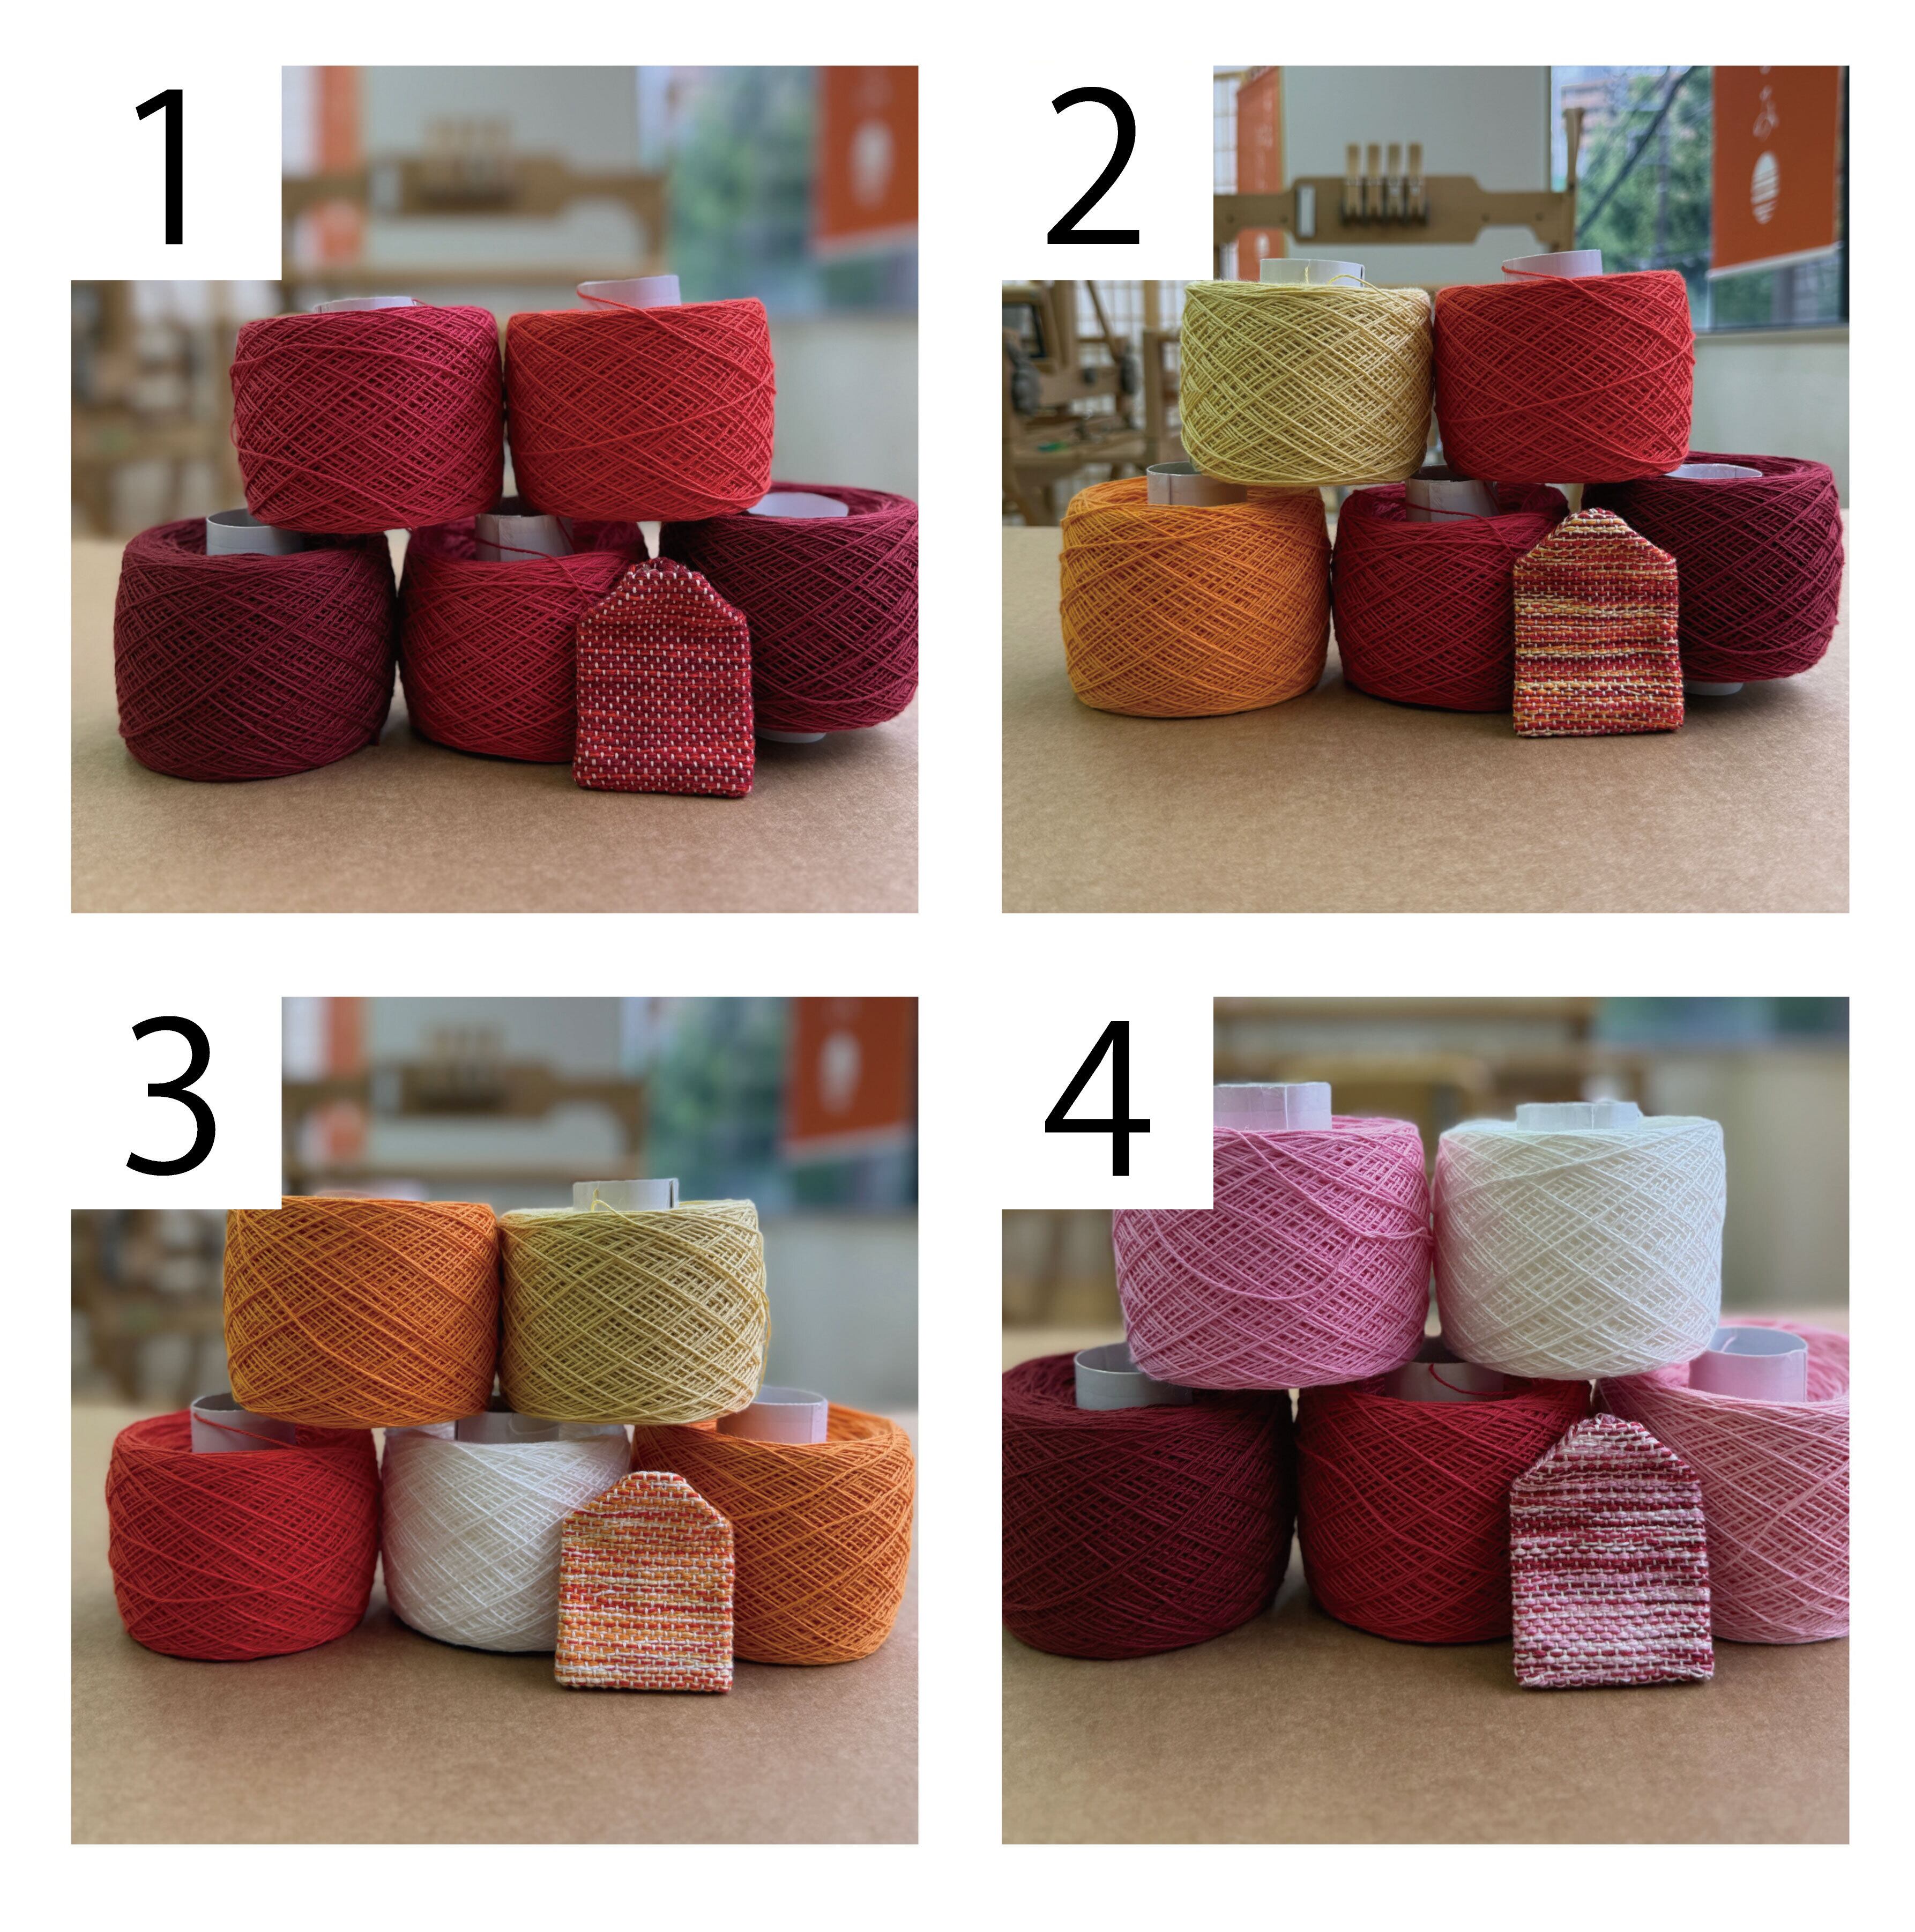
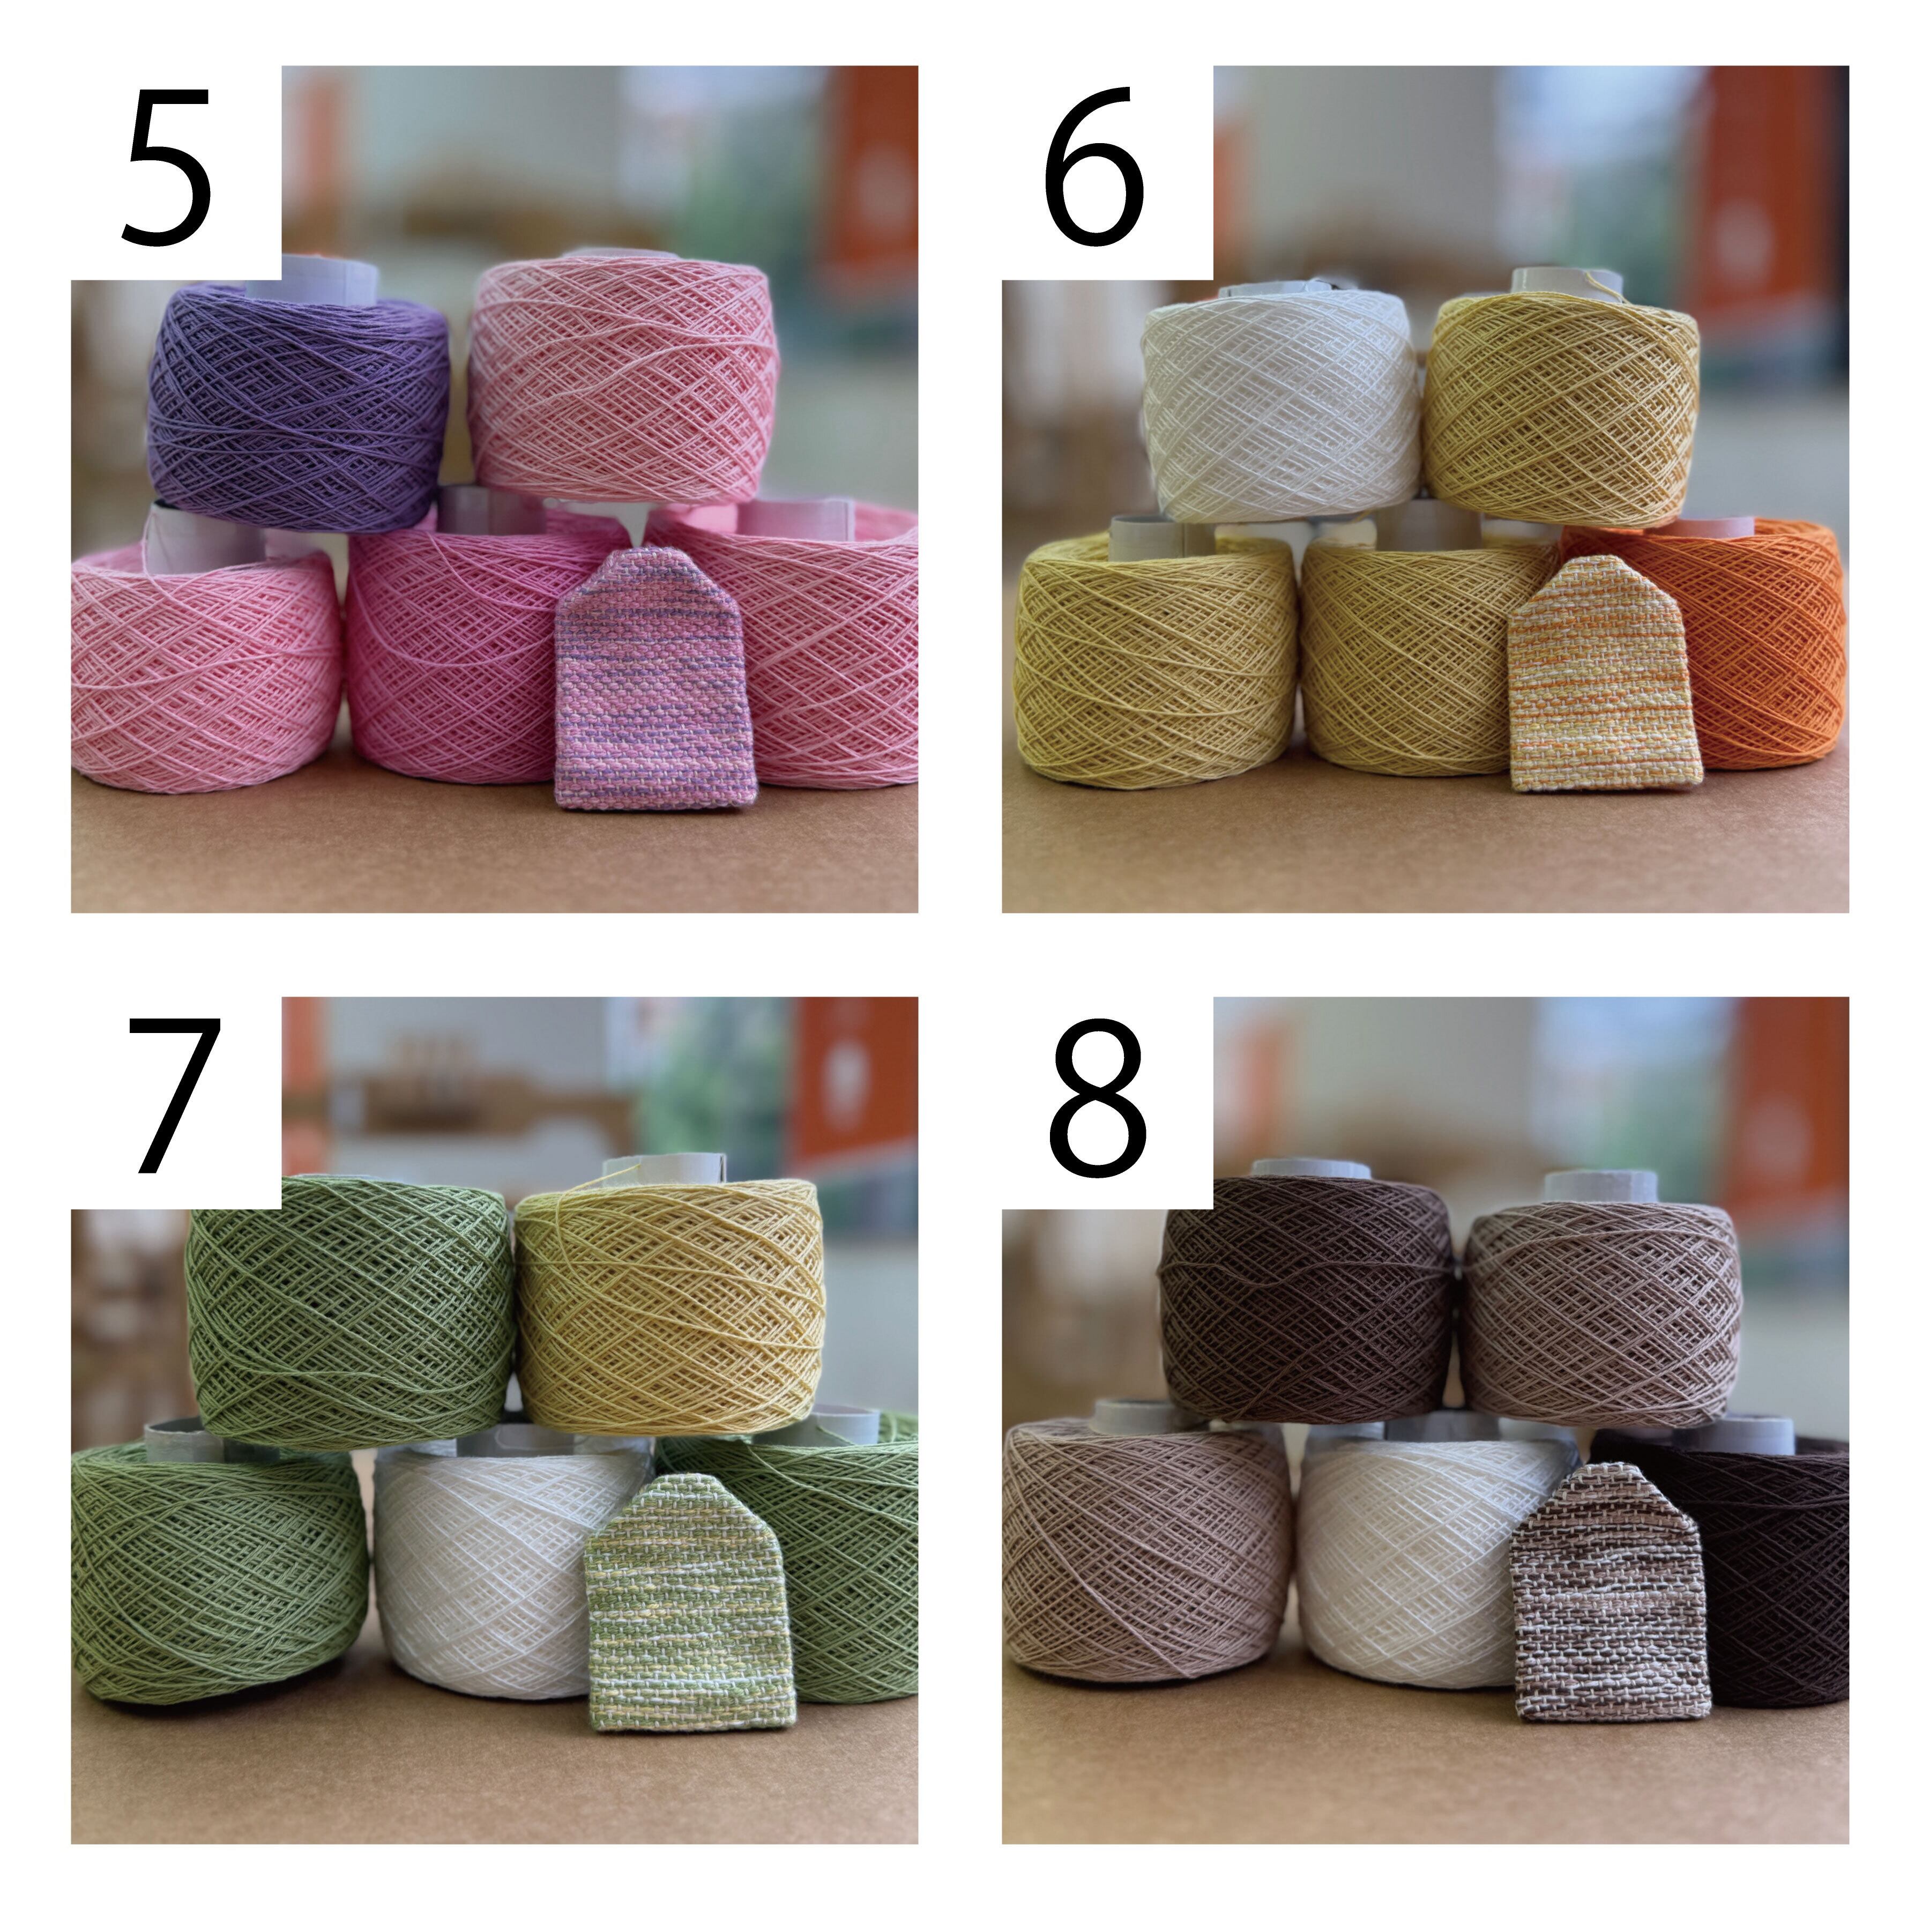
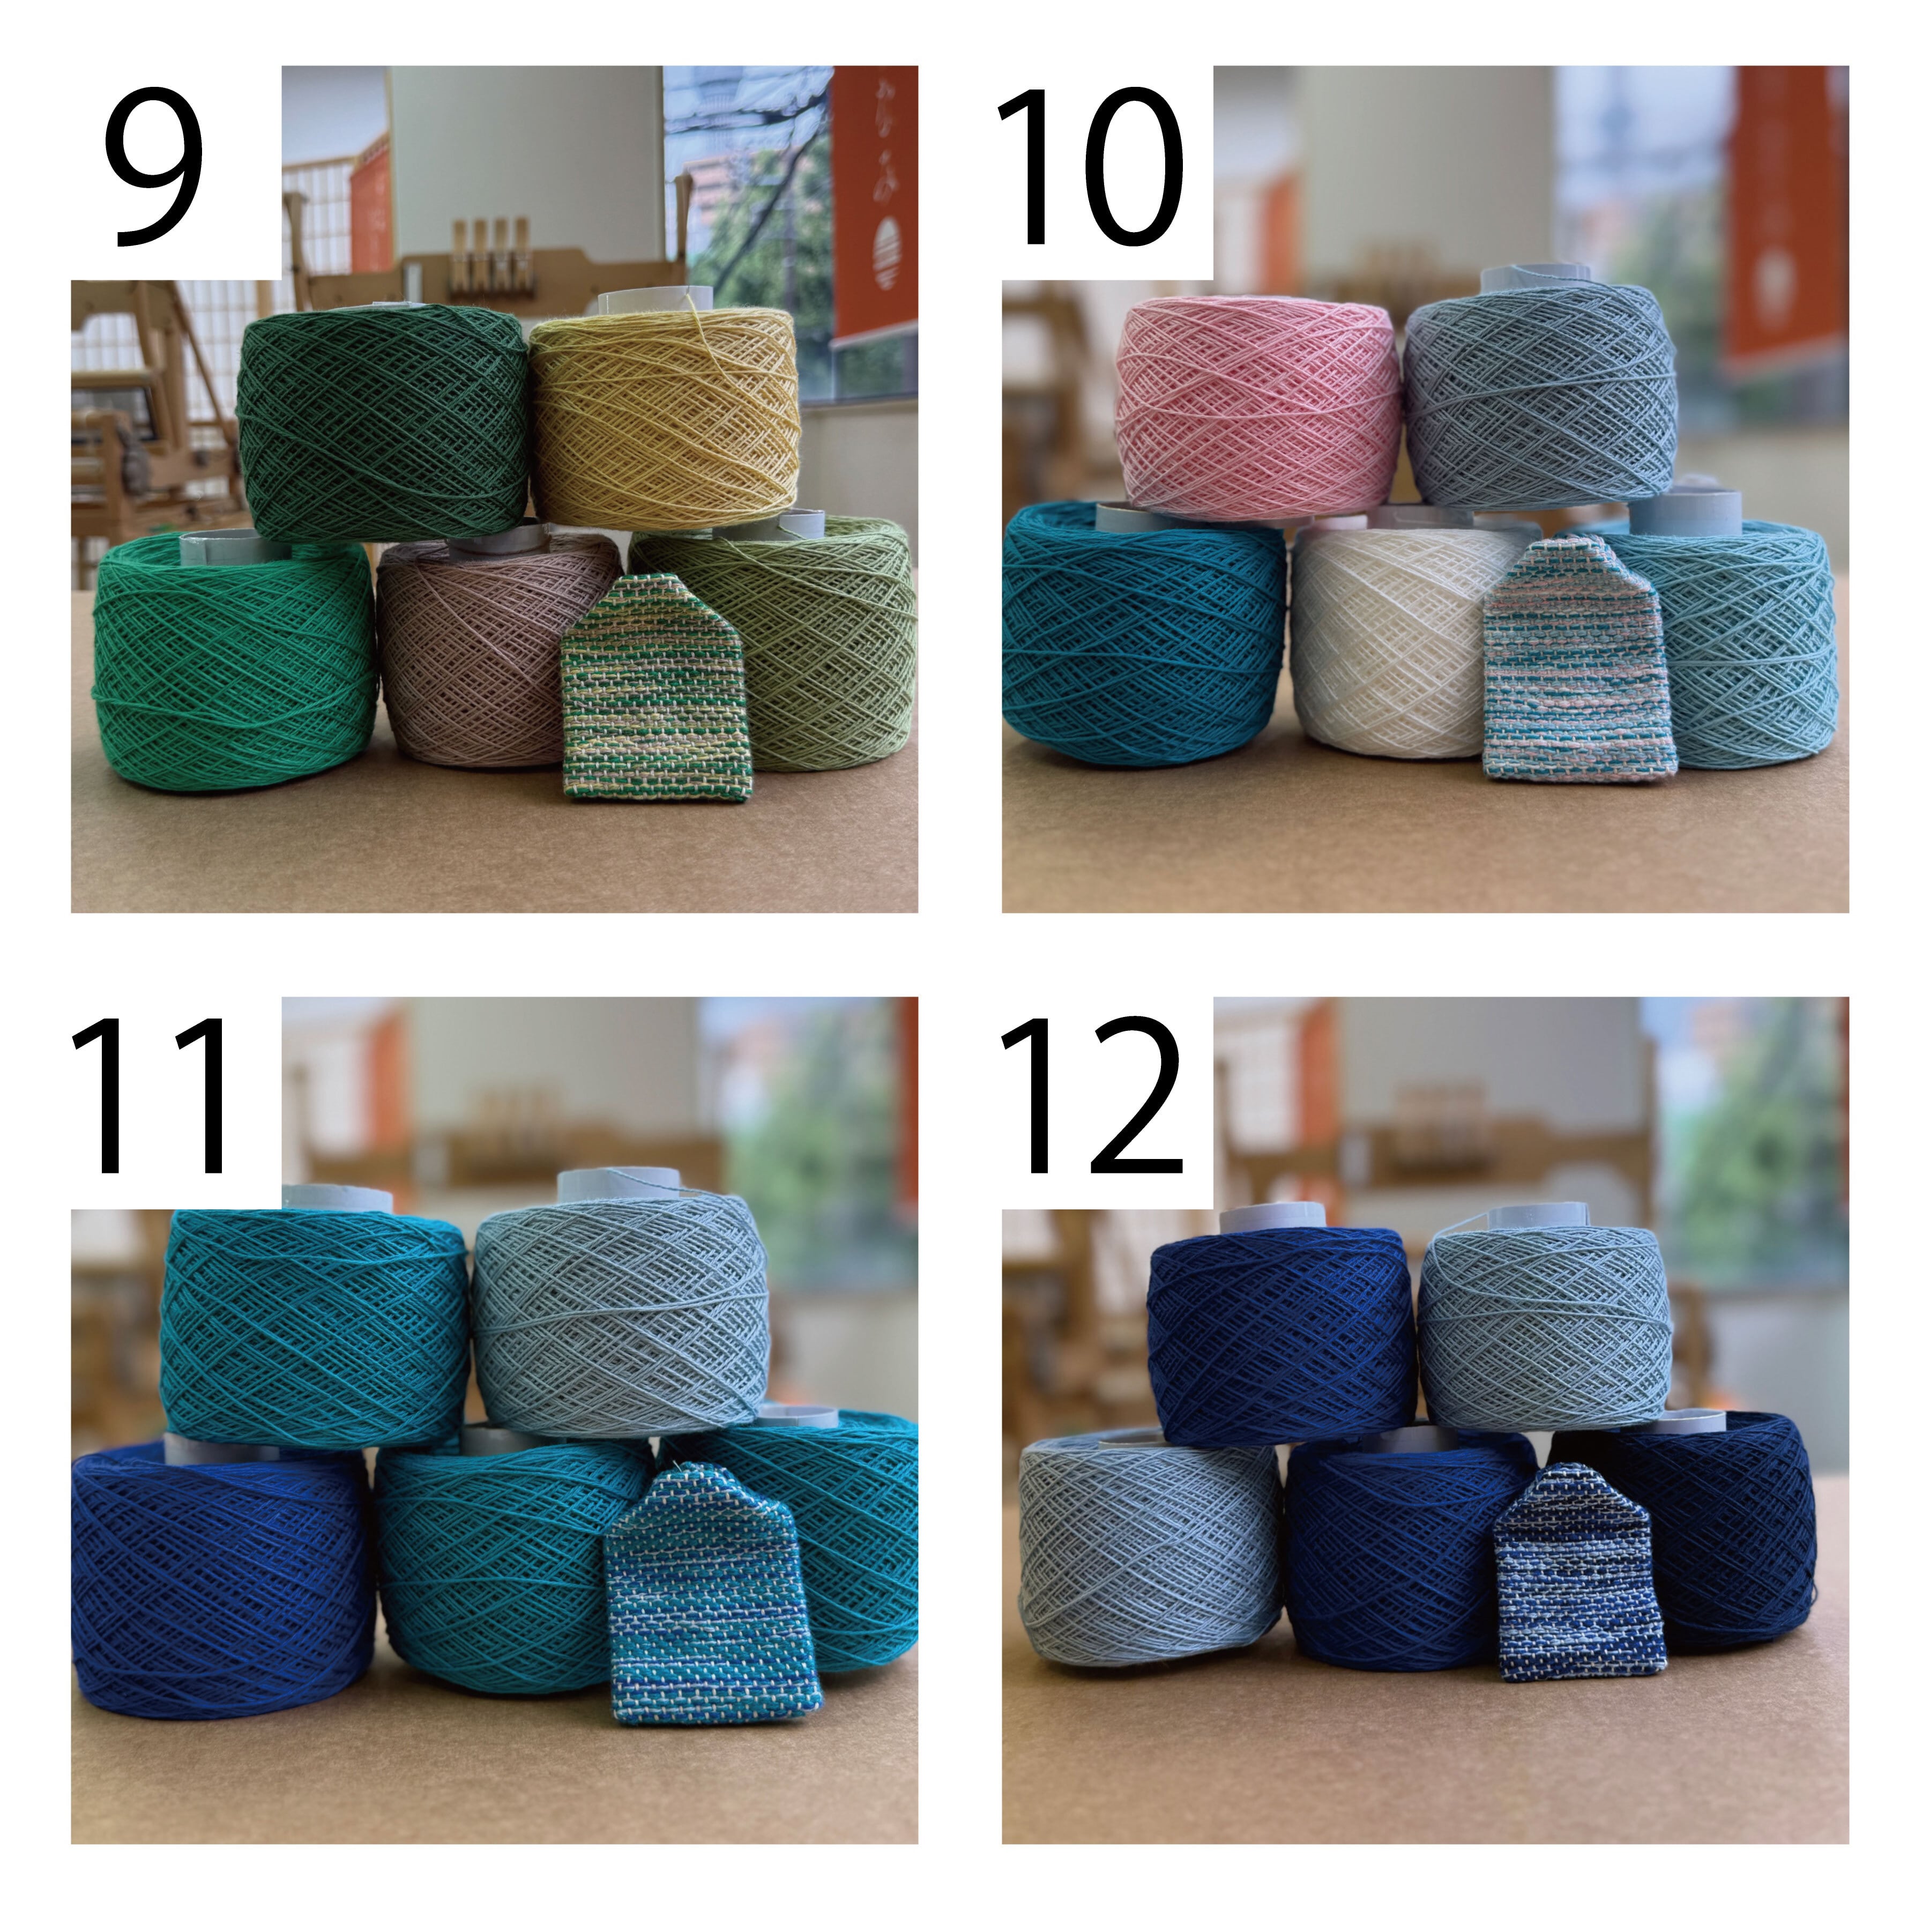
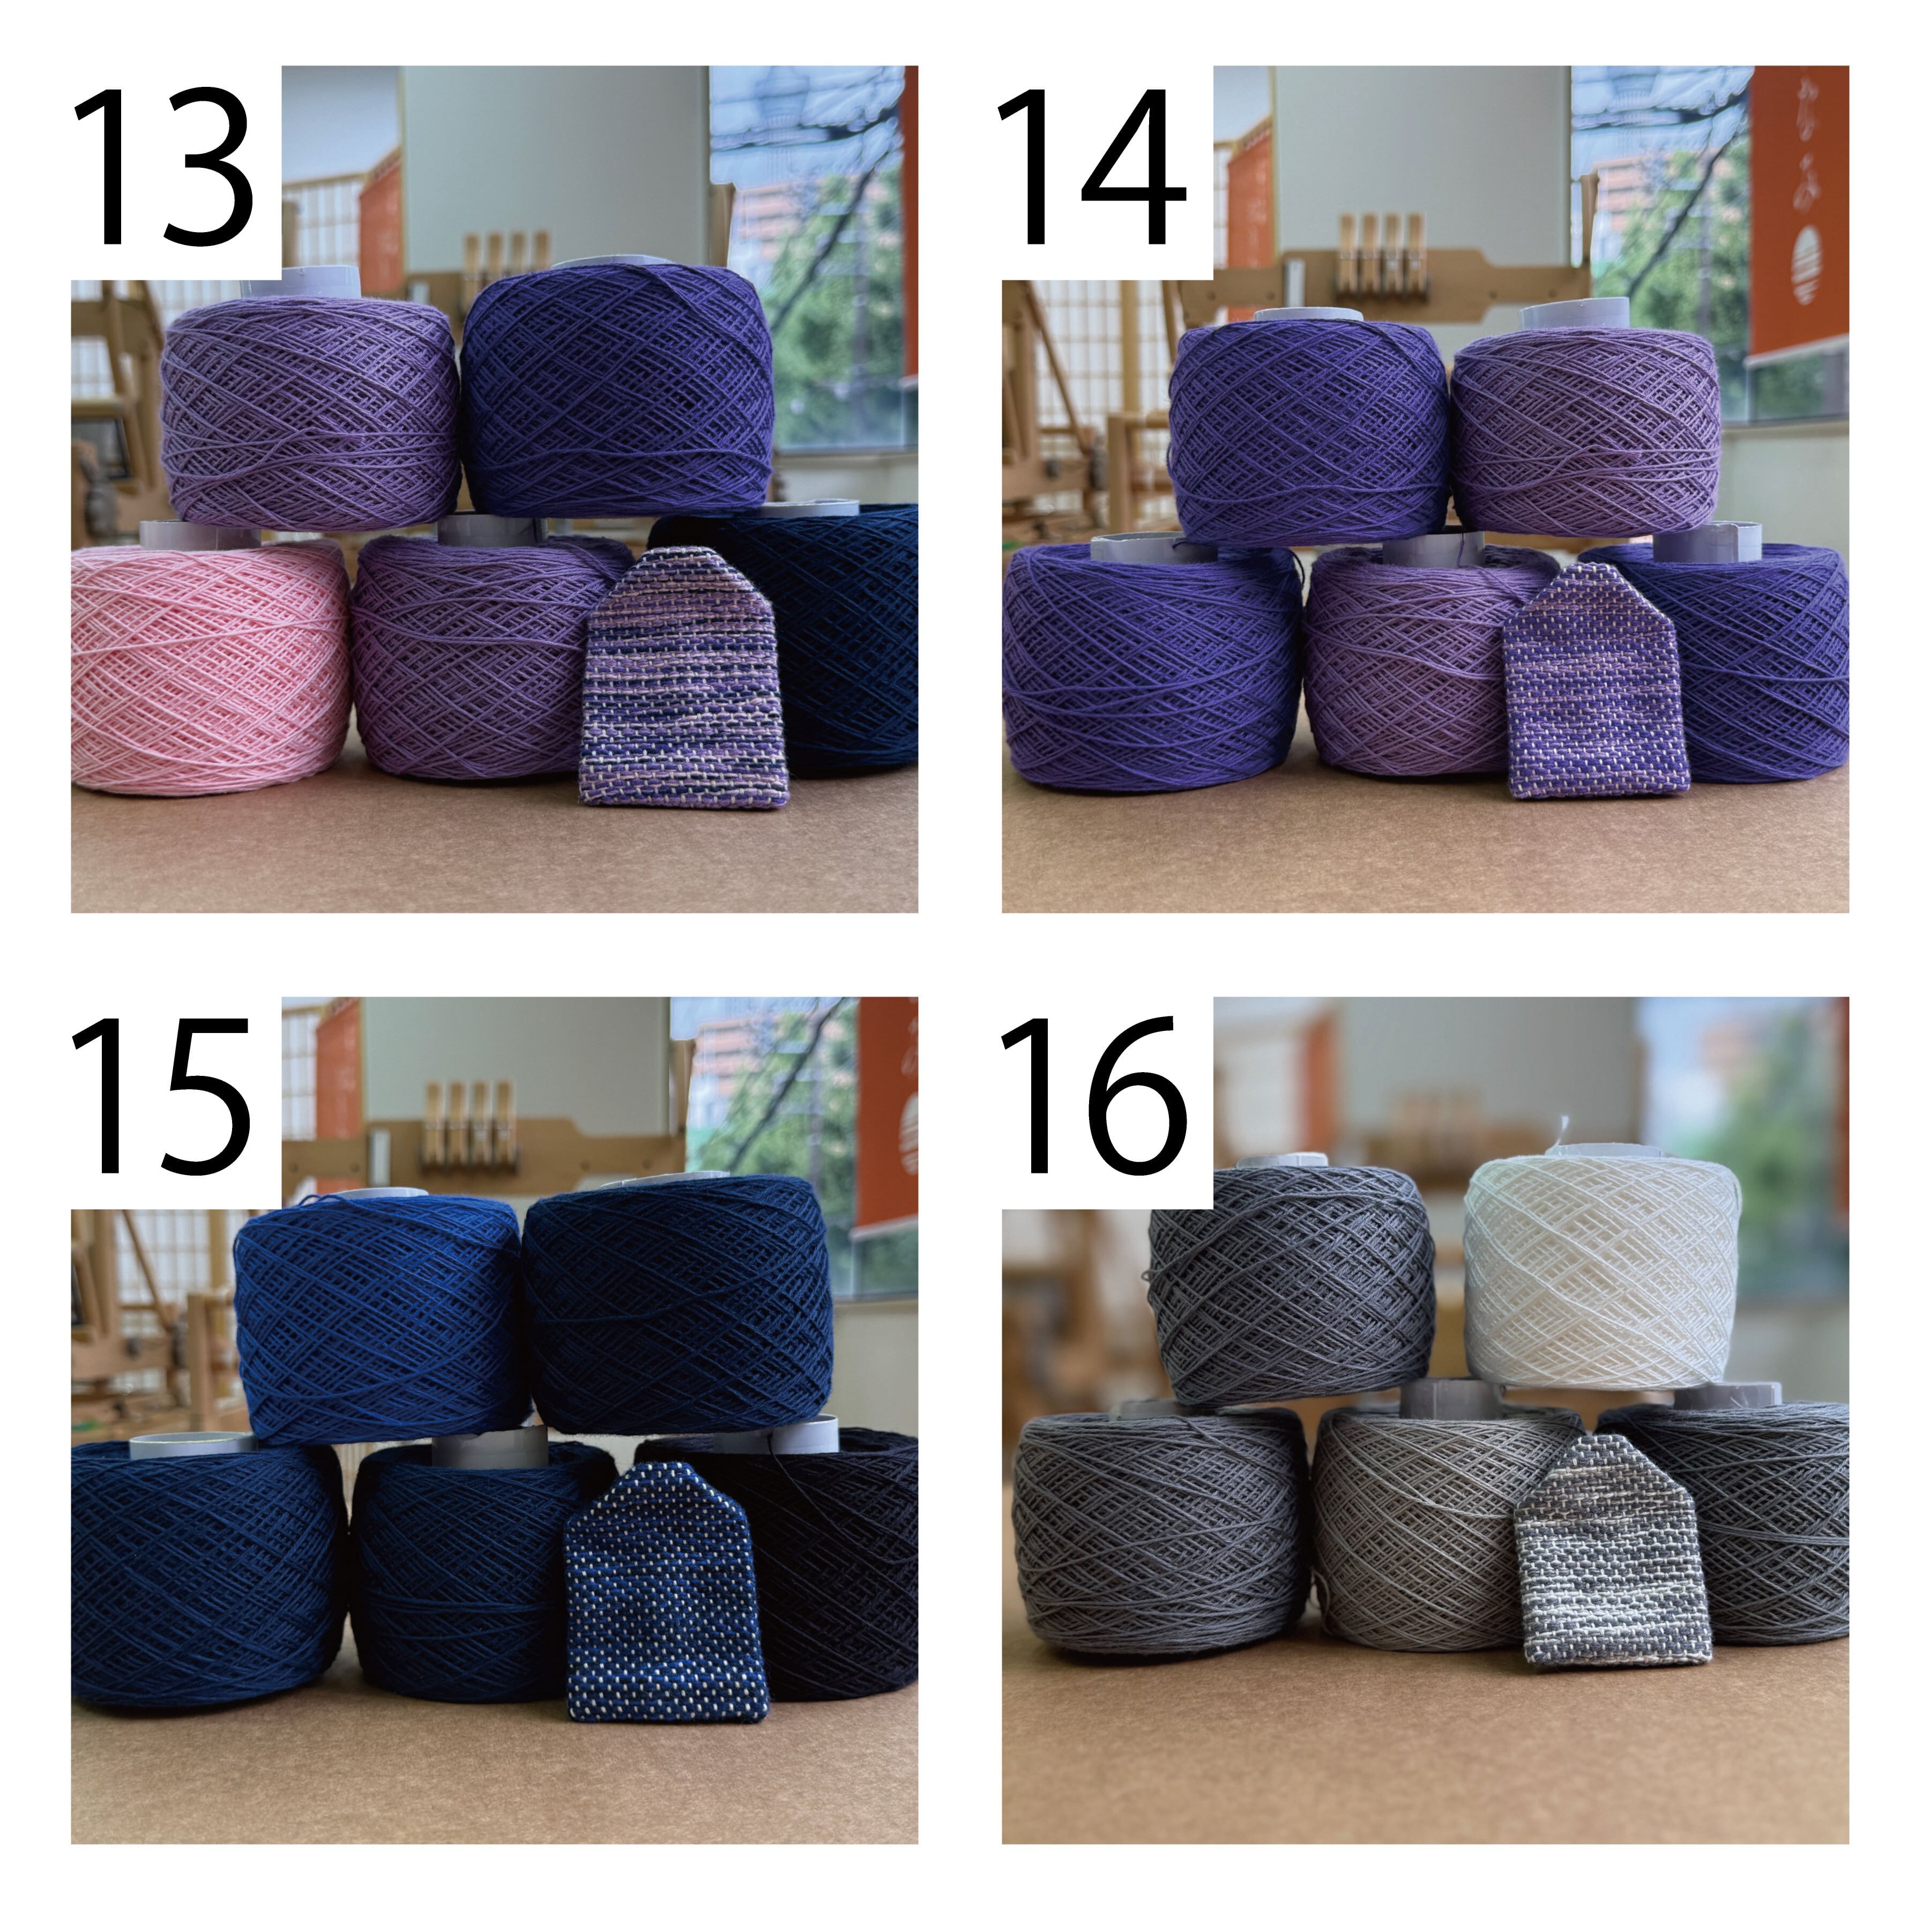
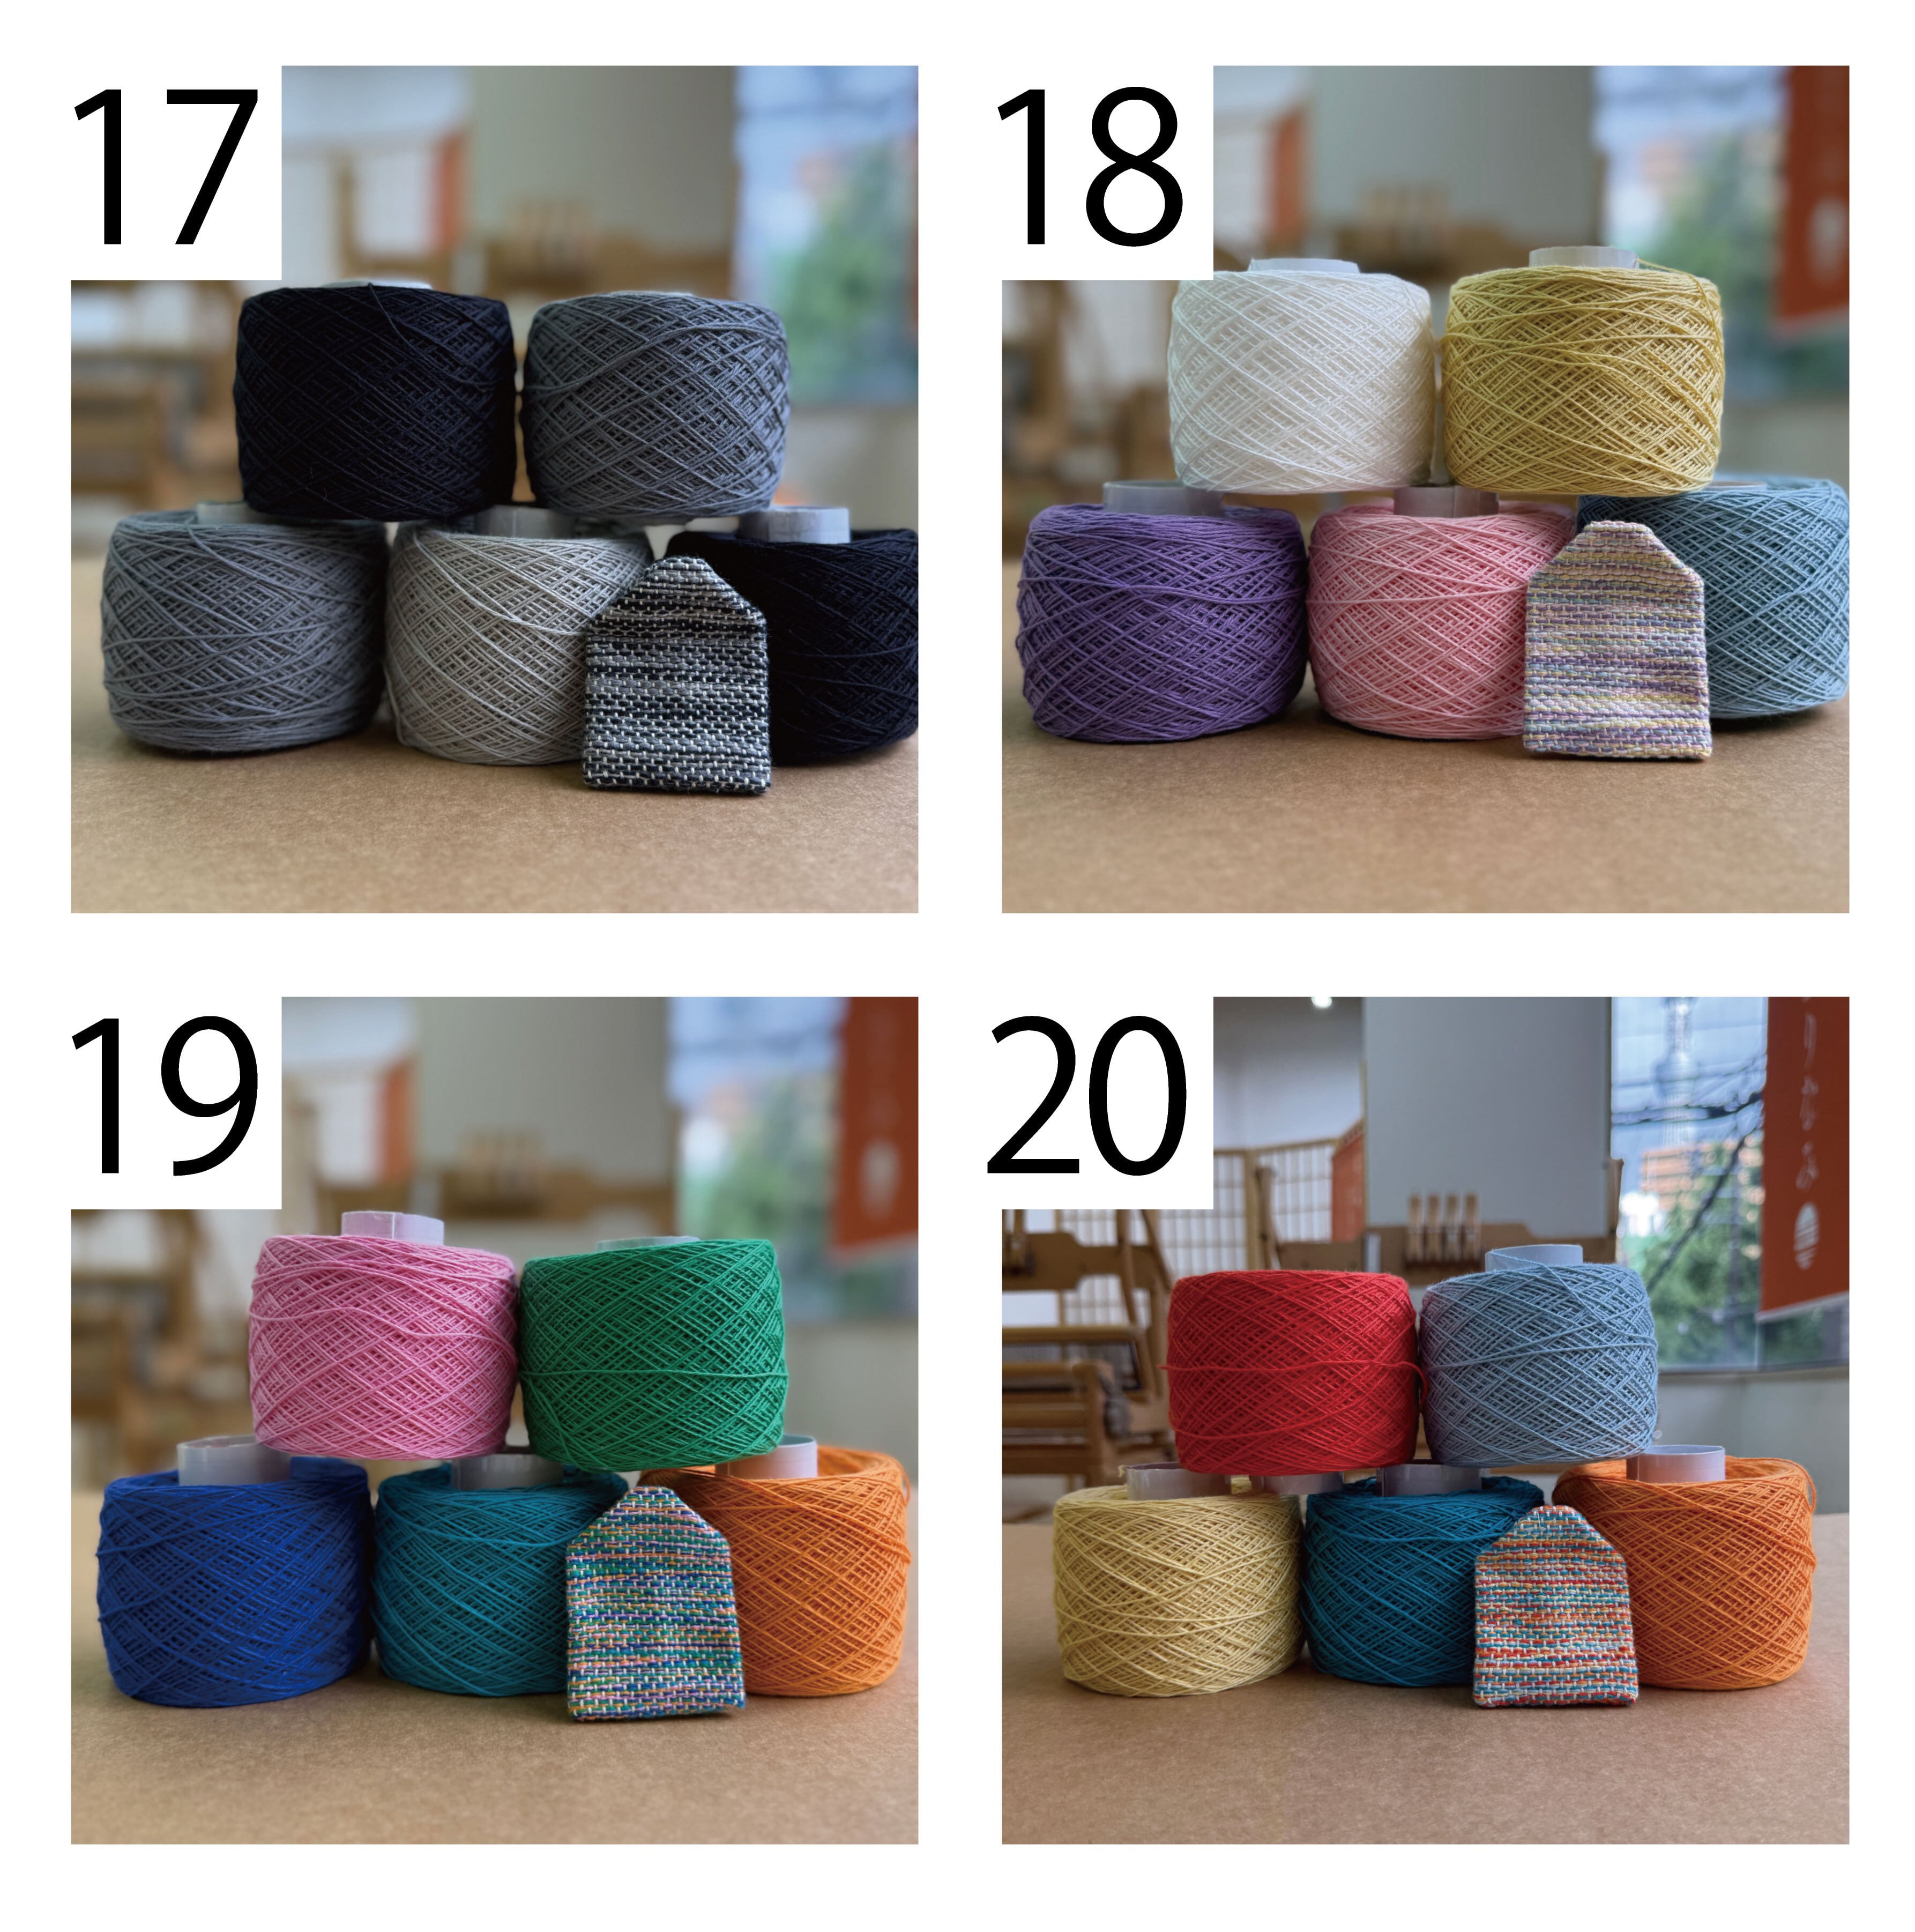
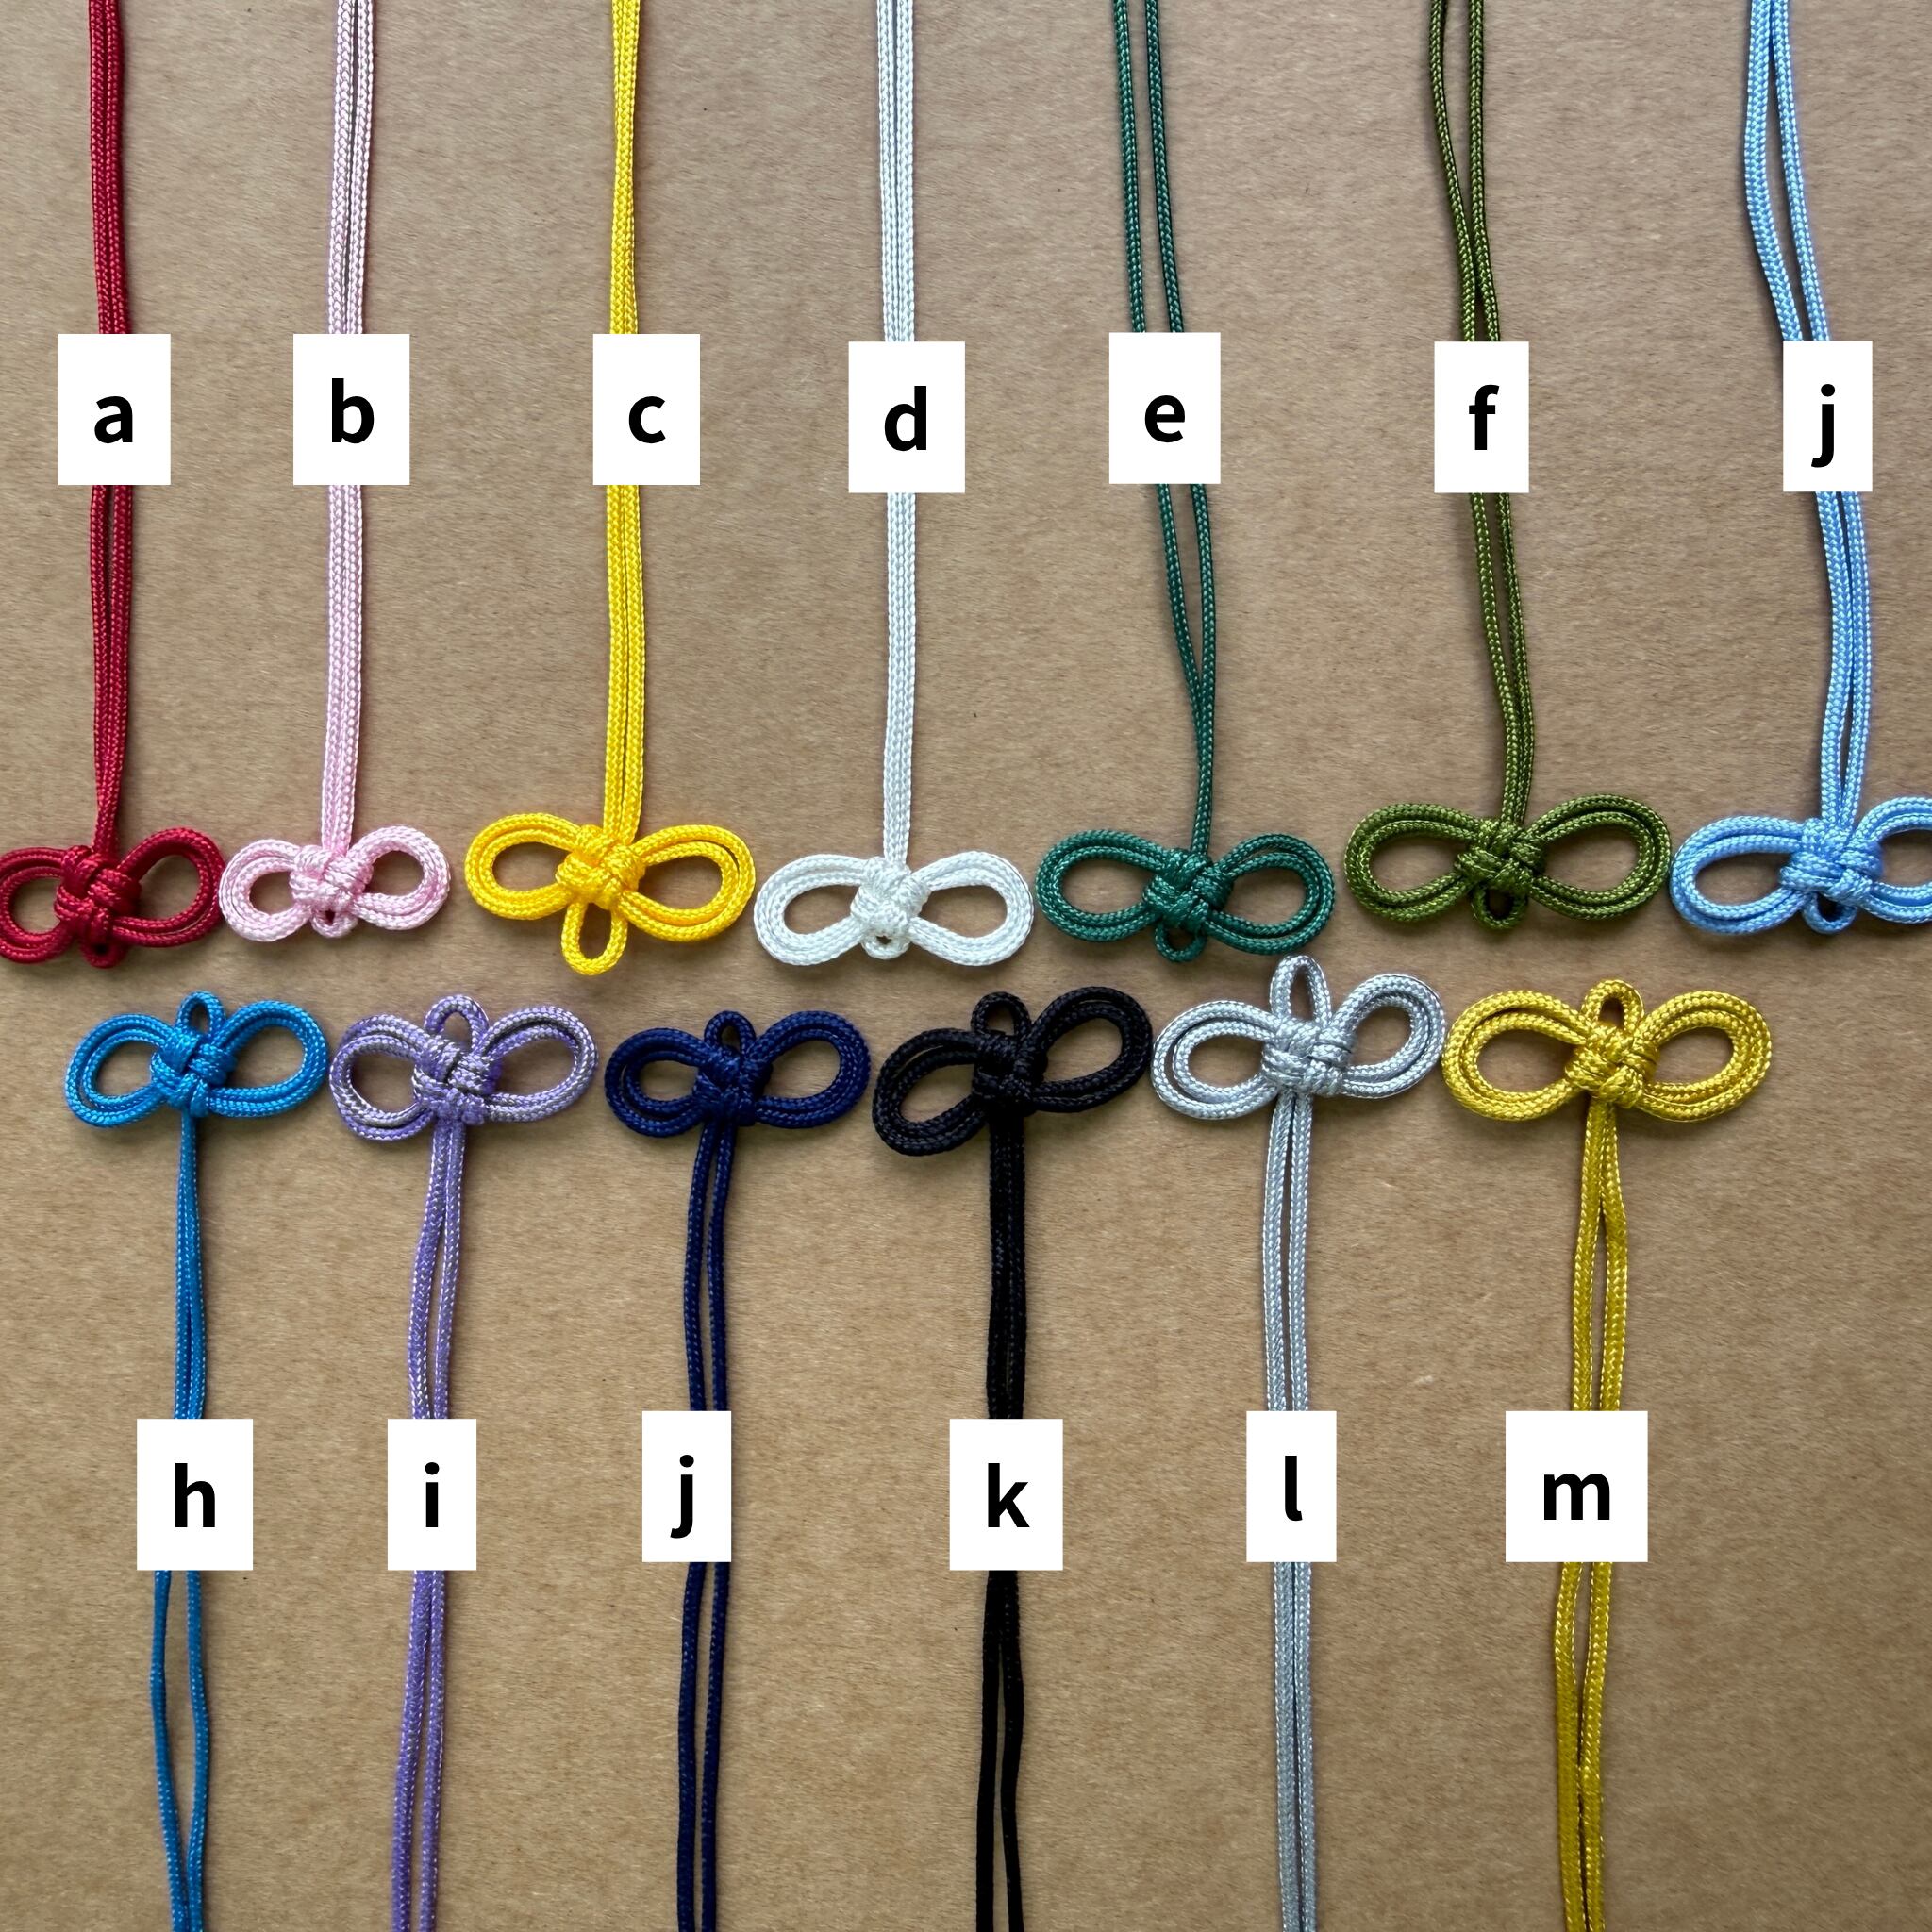
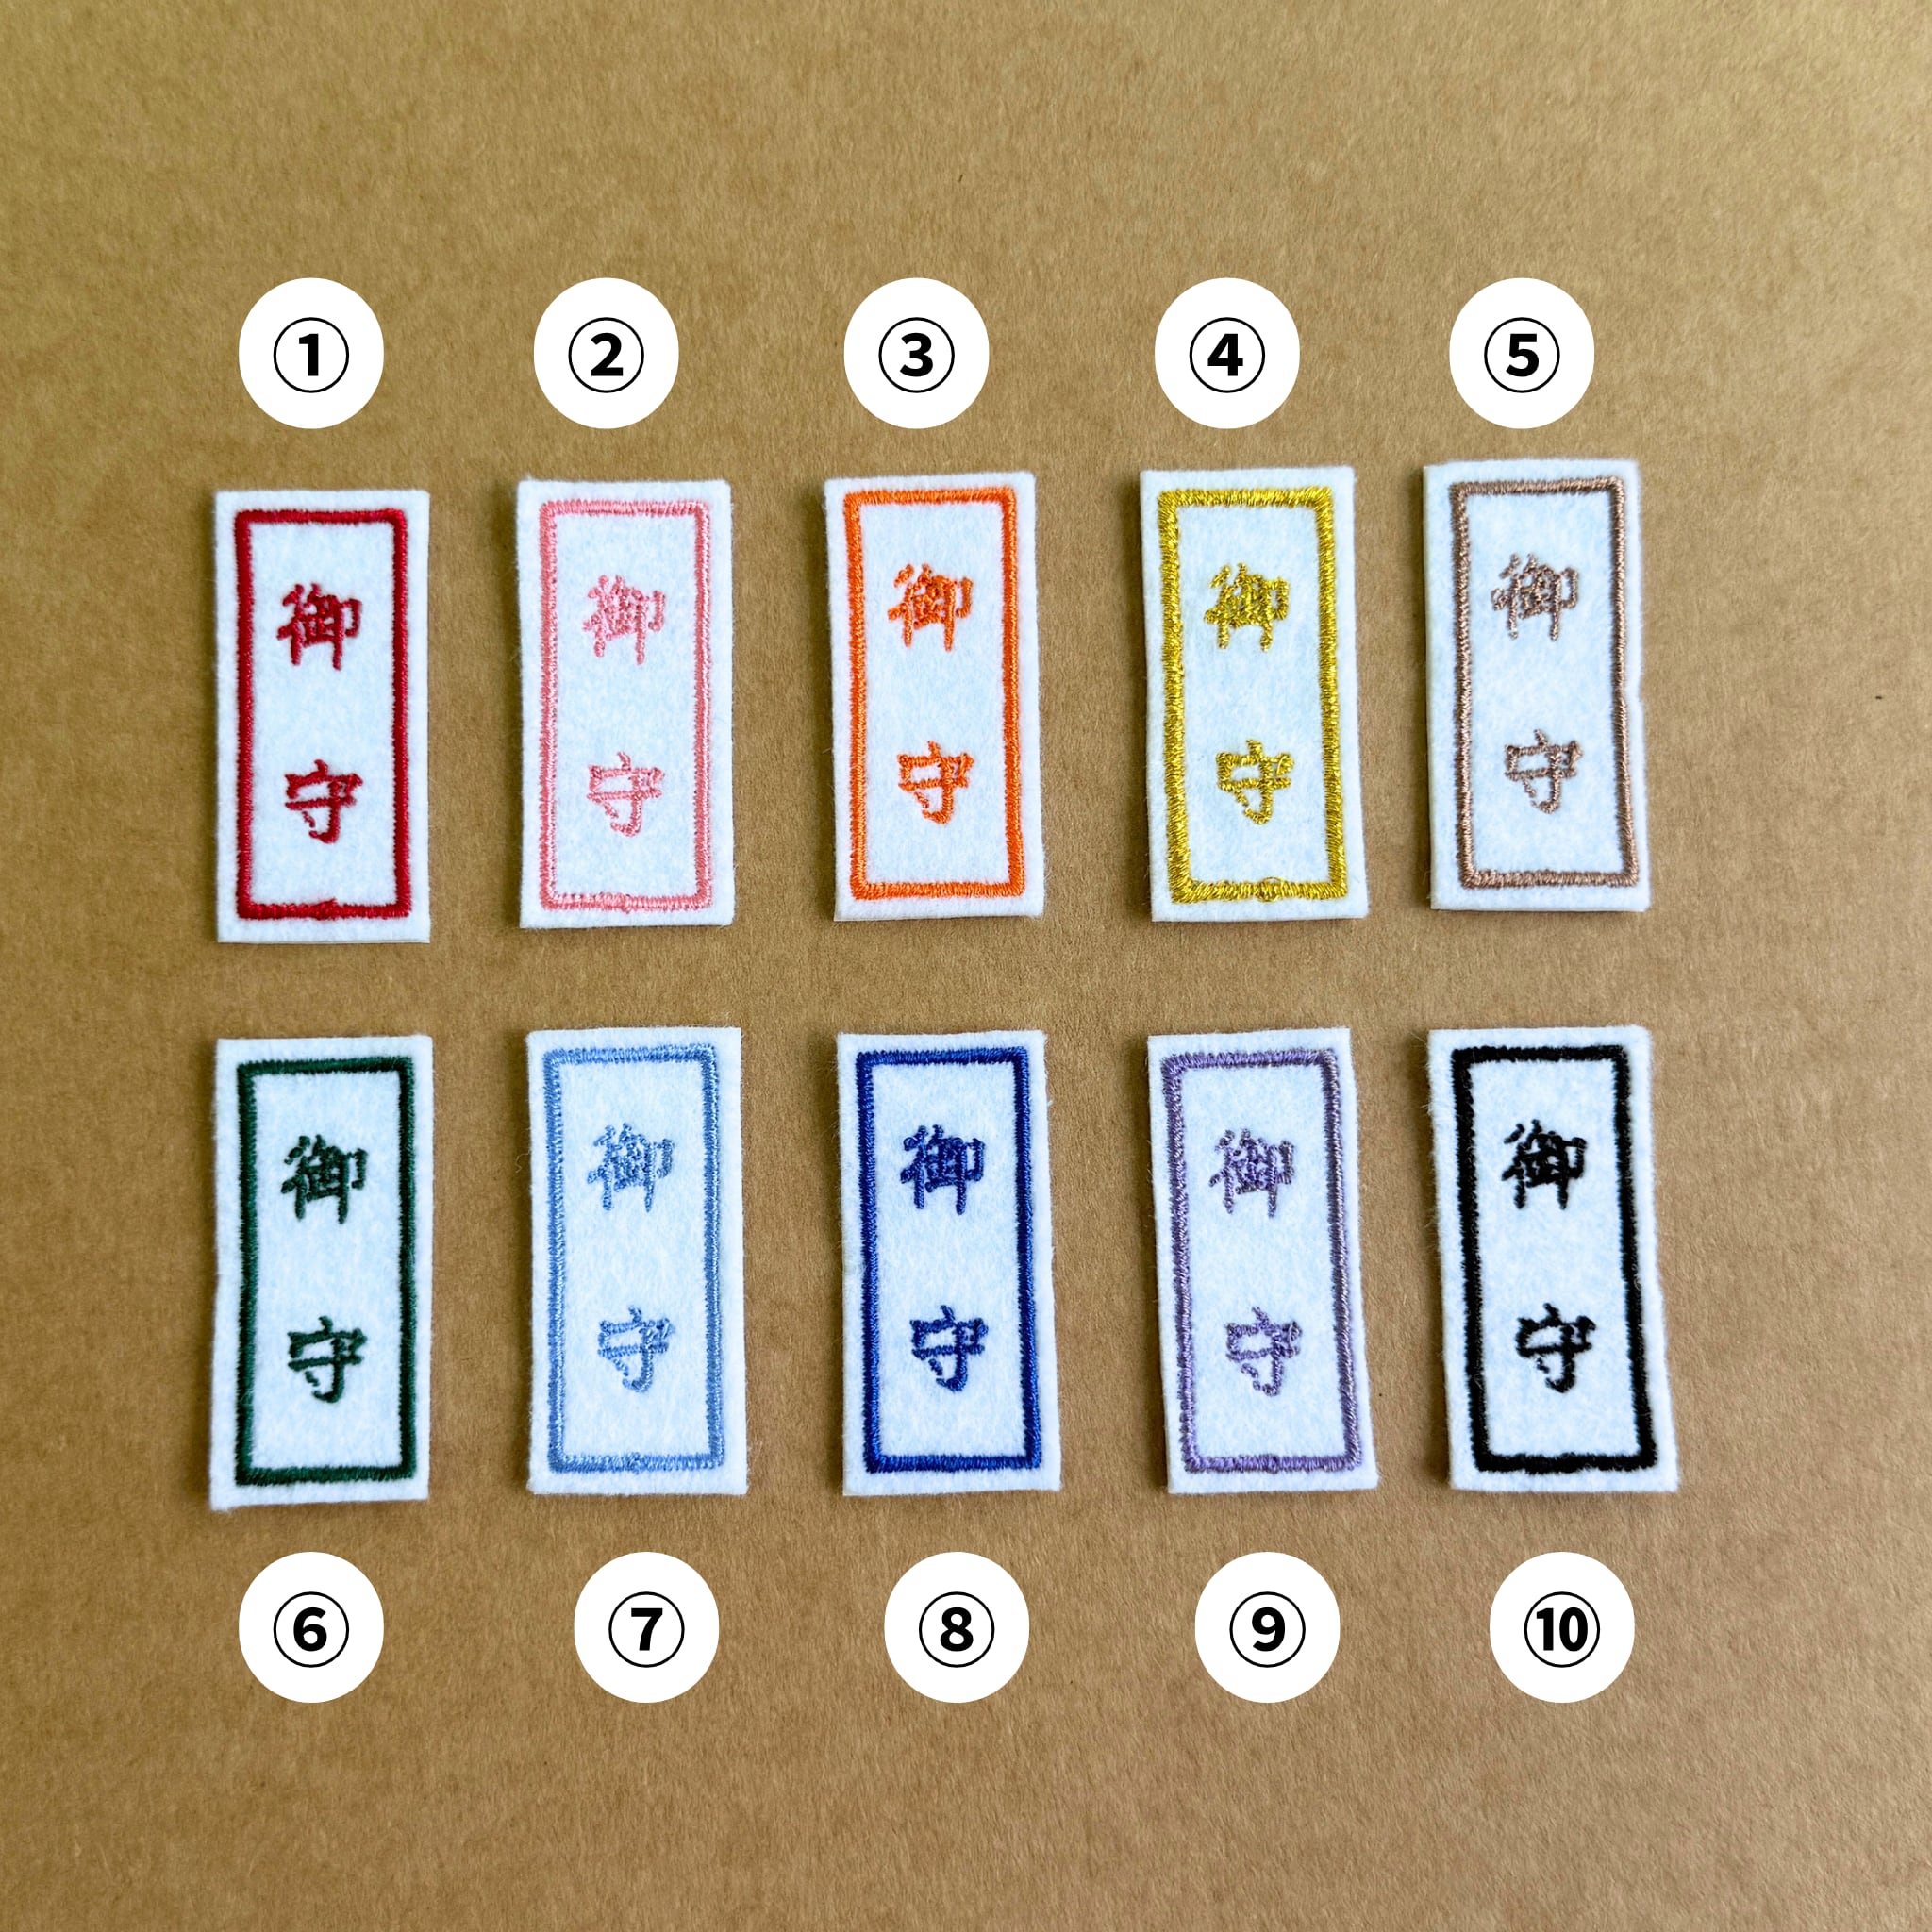
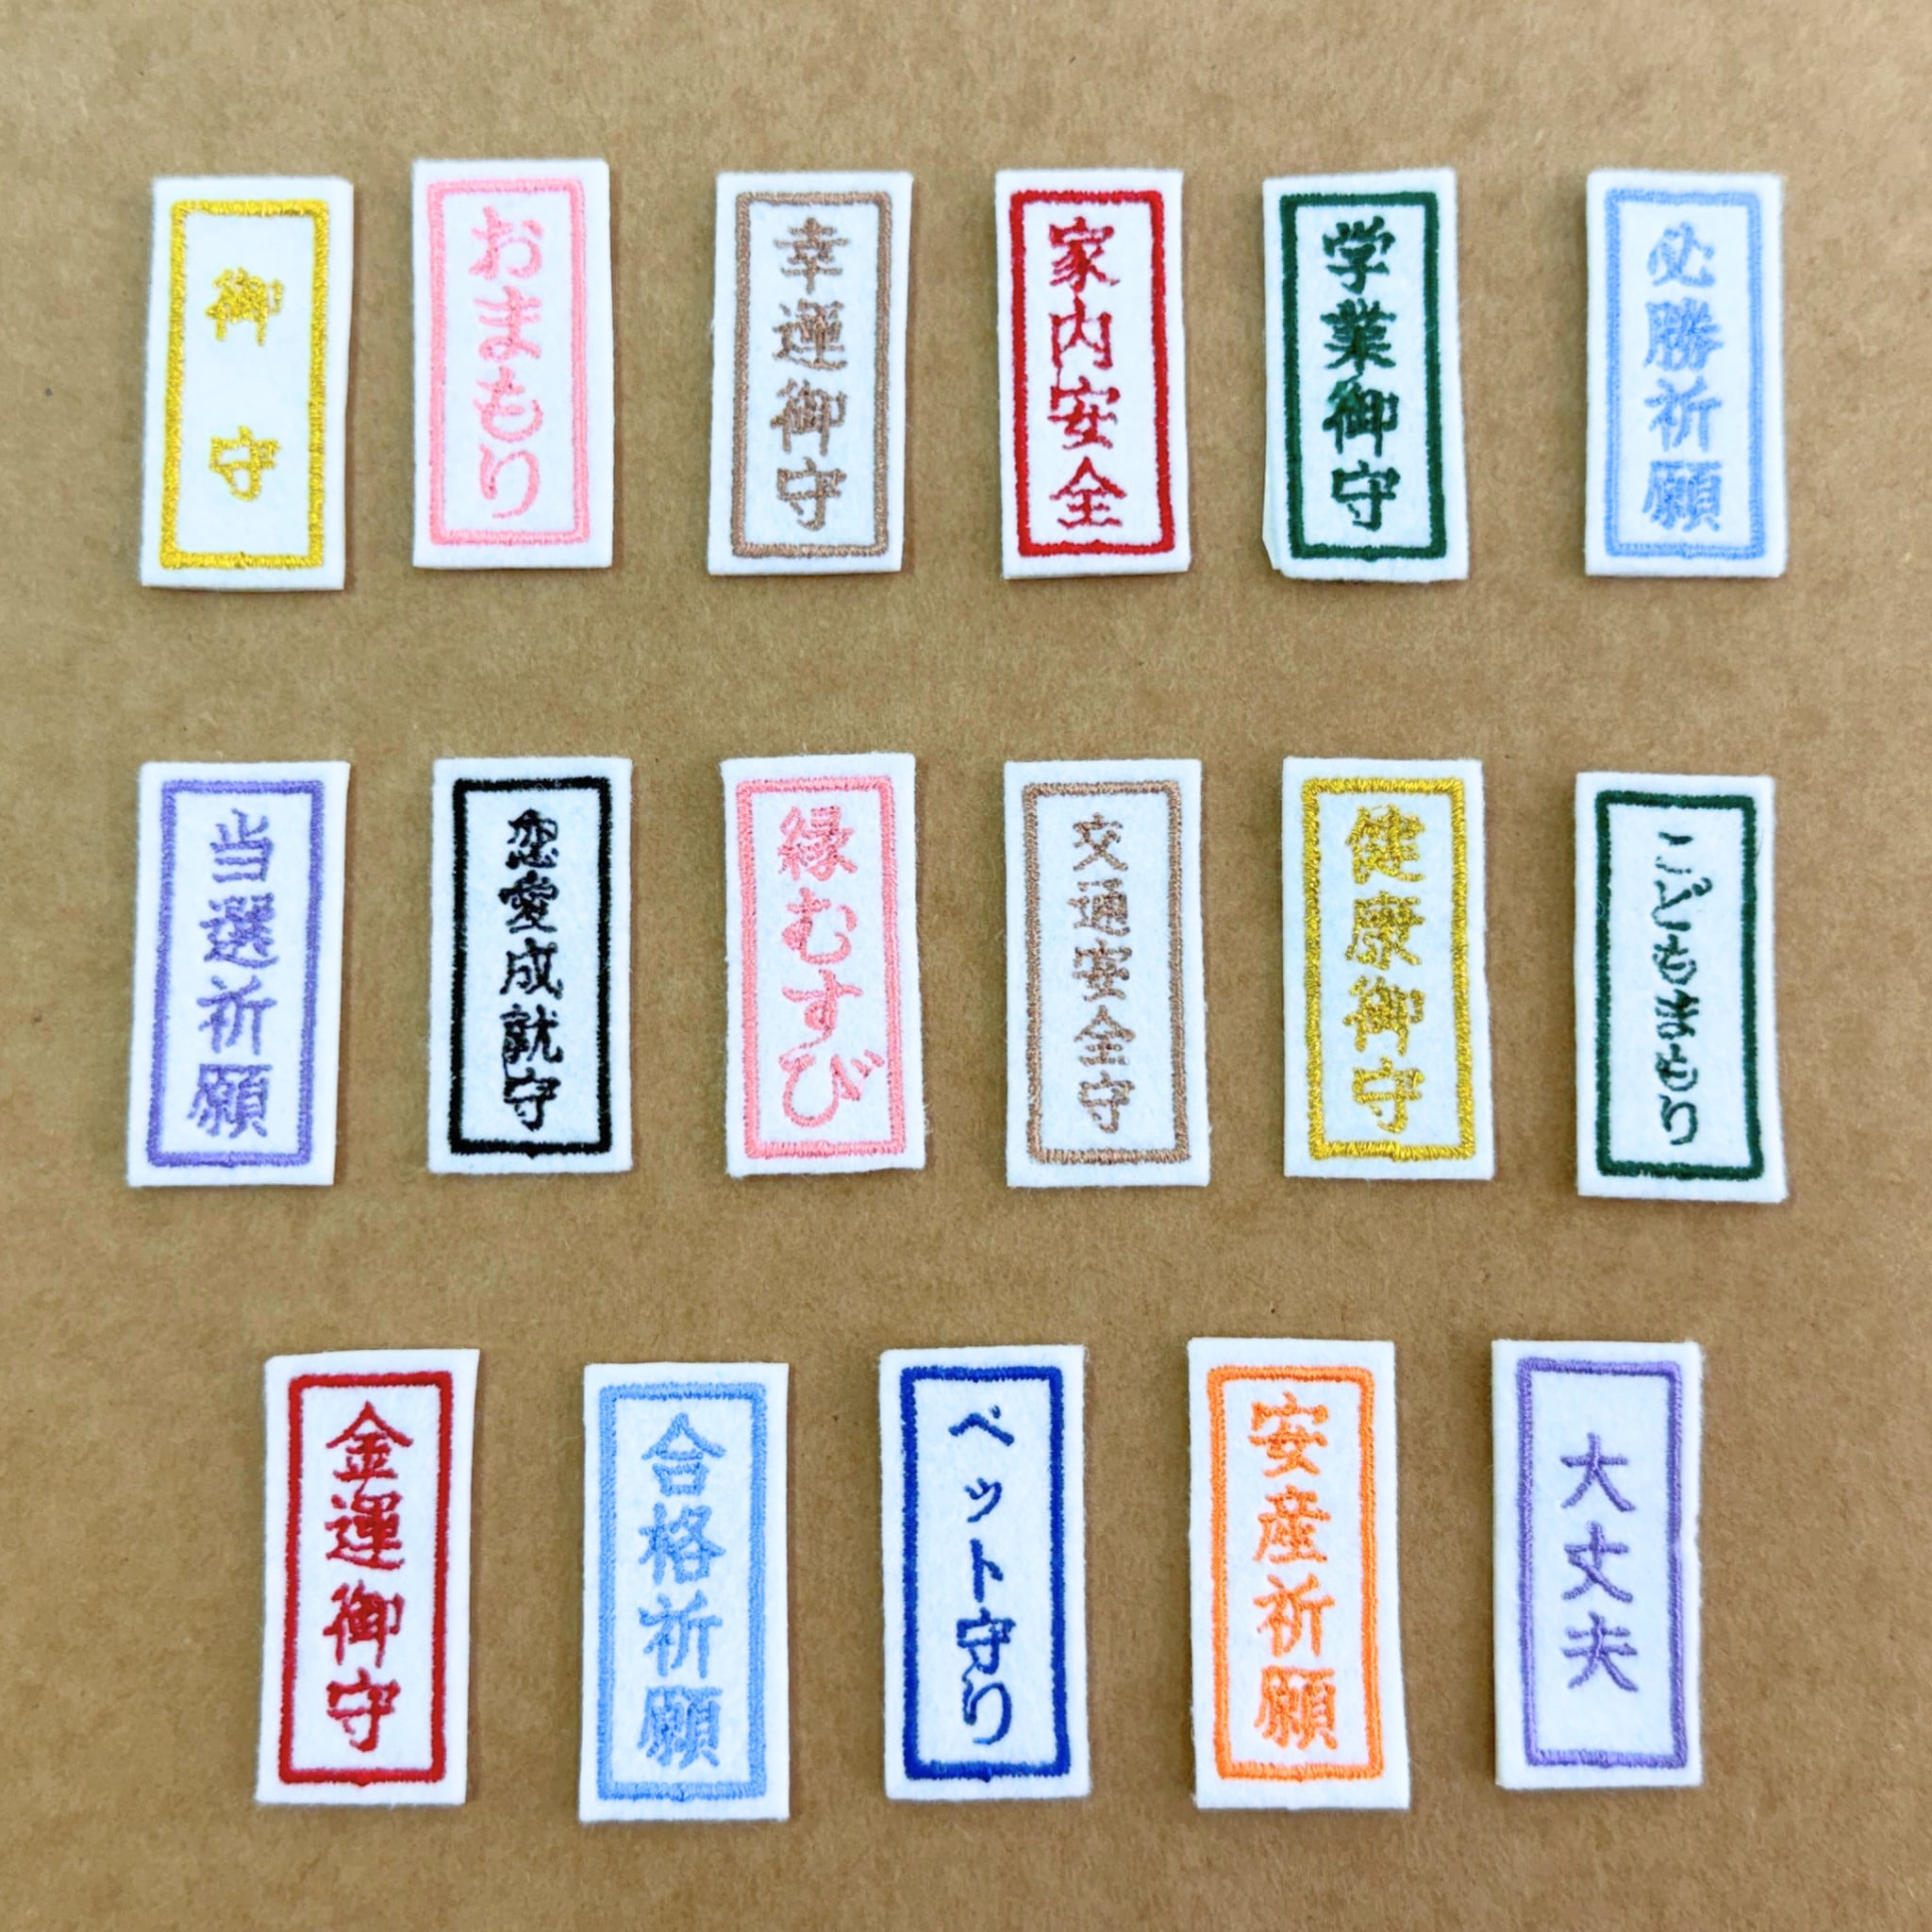
Choose your favorite pieces and create your very own one-of-a-kind omamori.
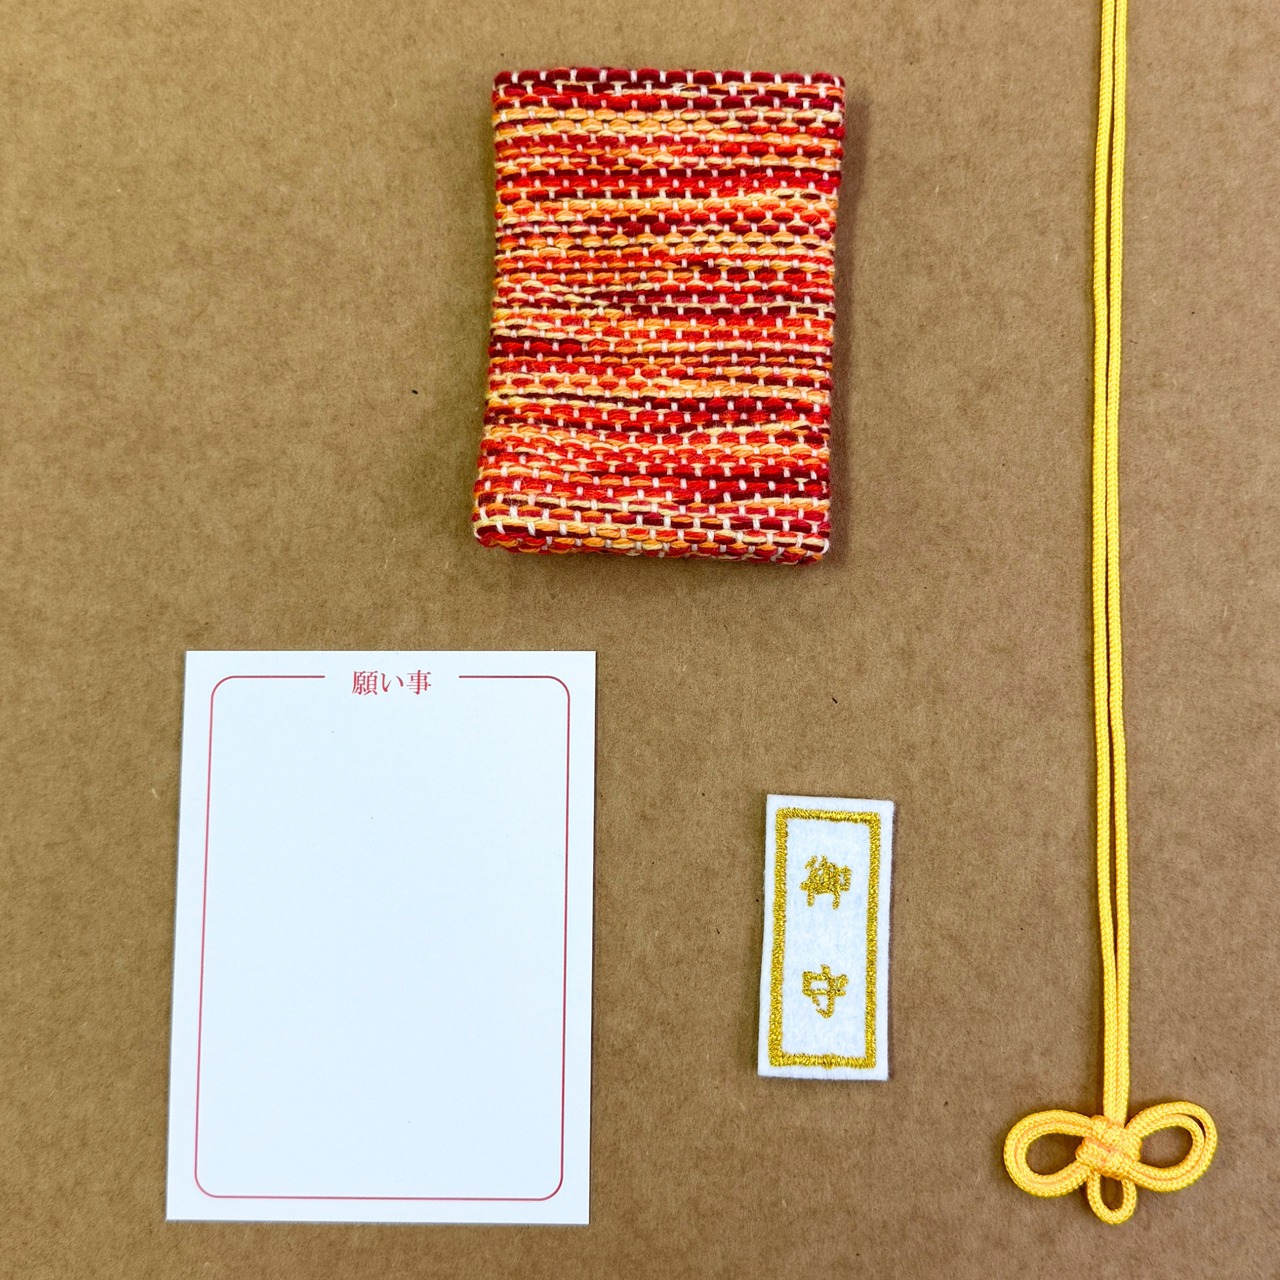
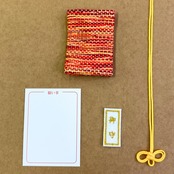
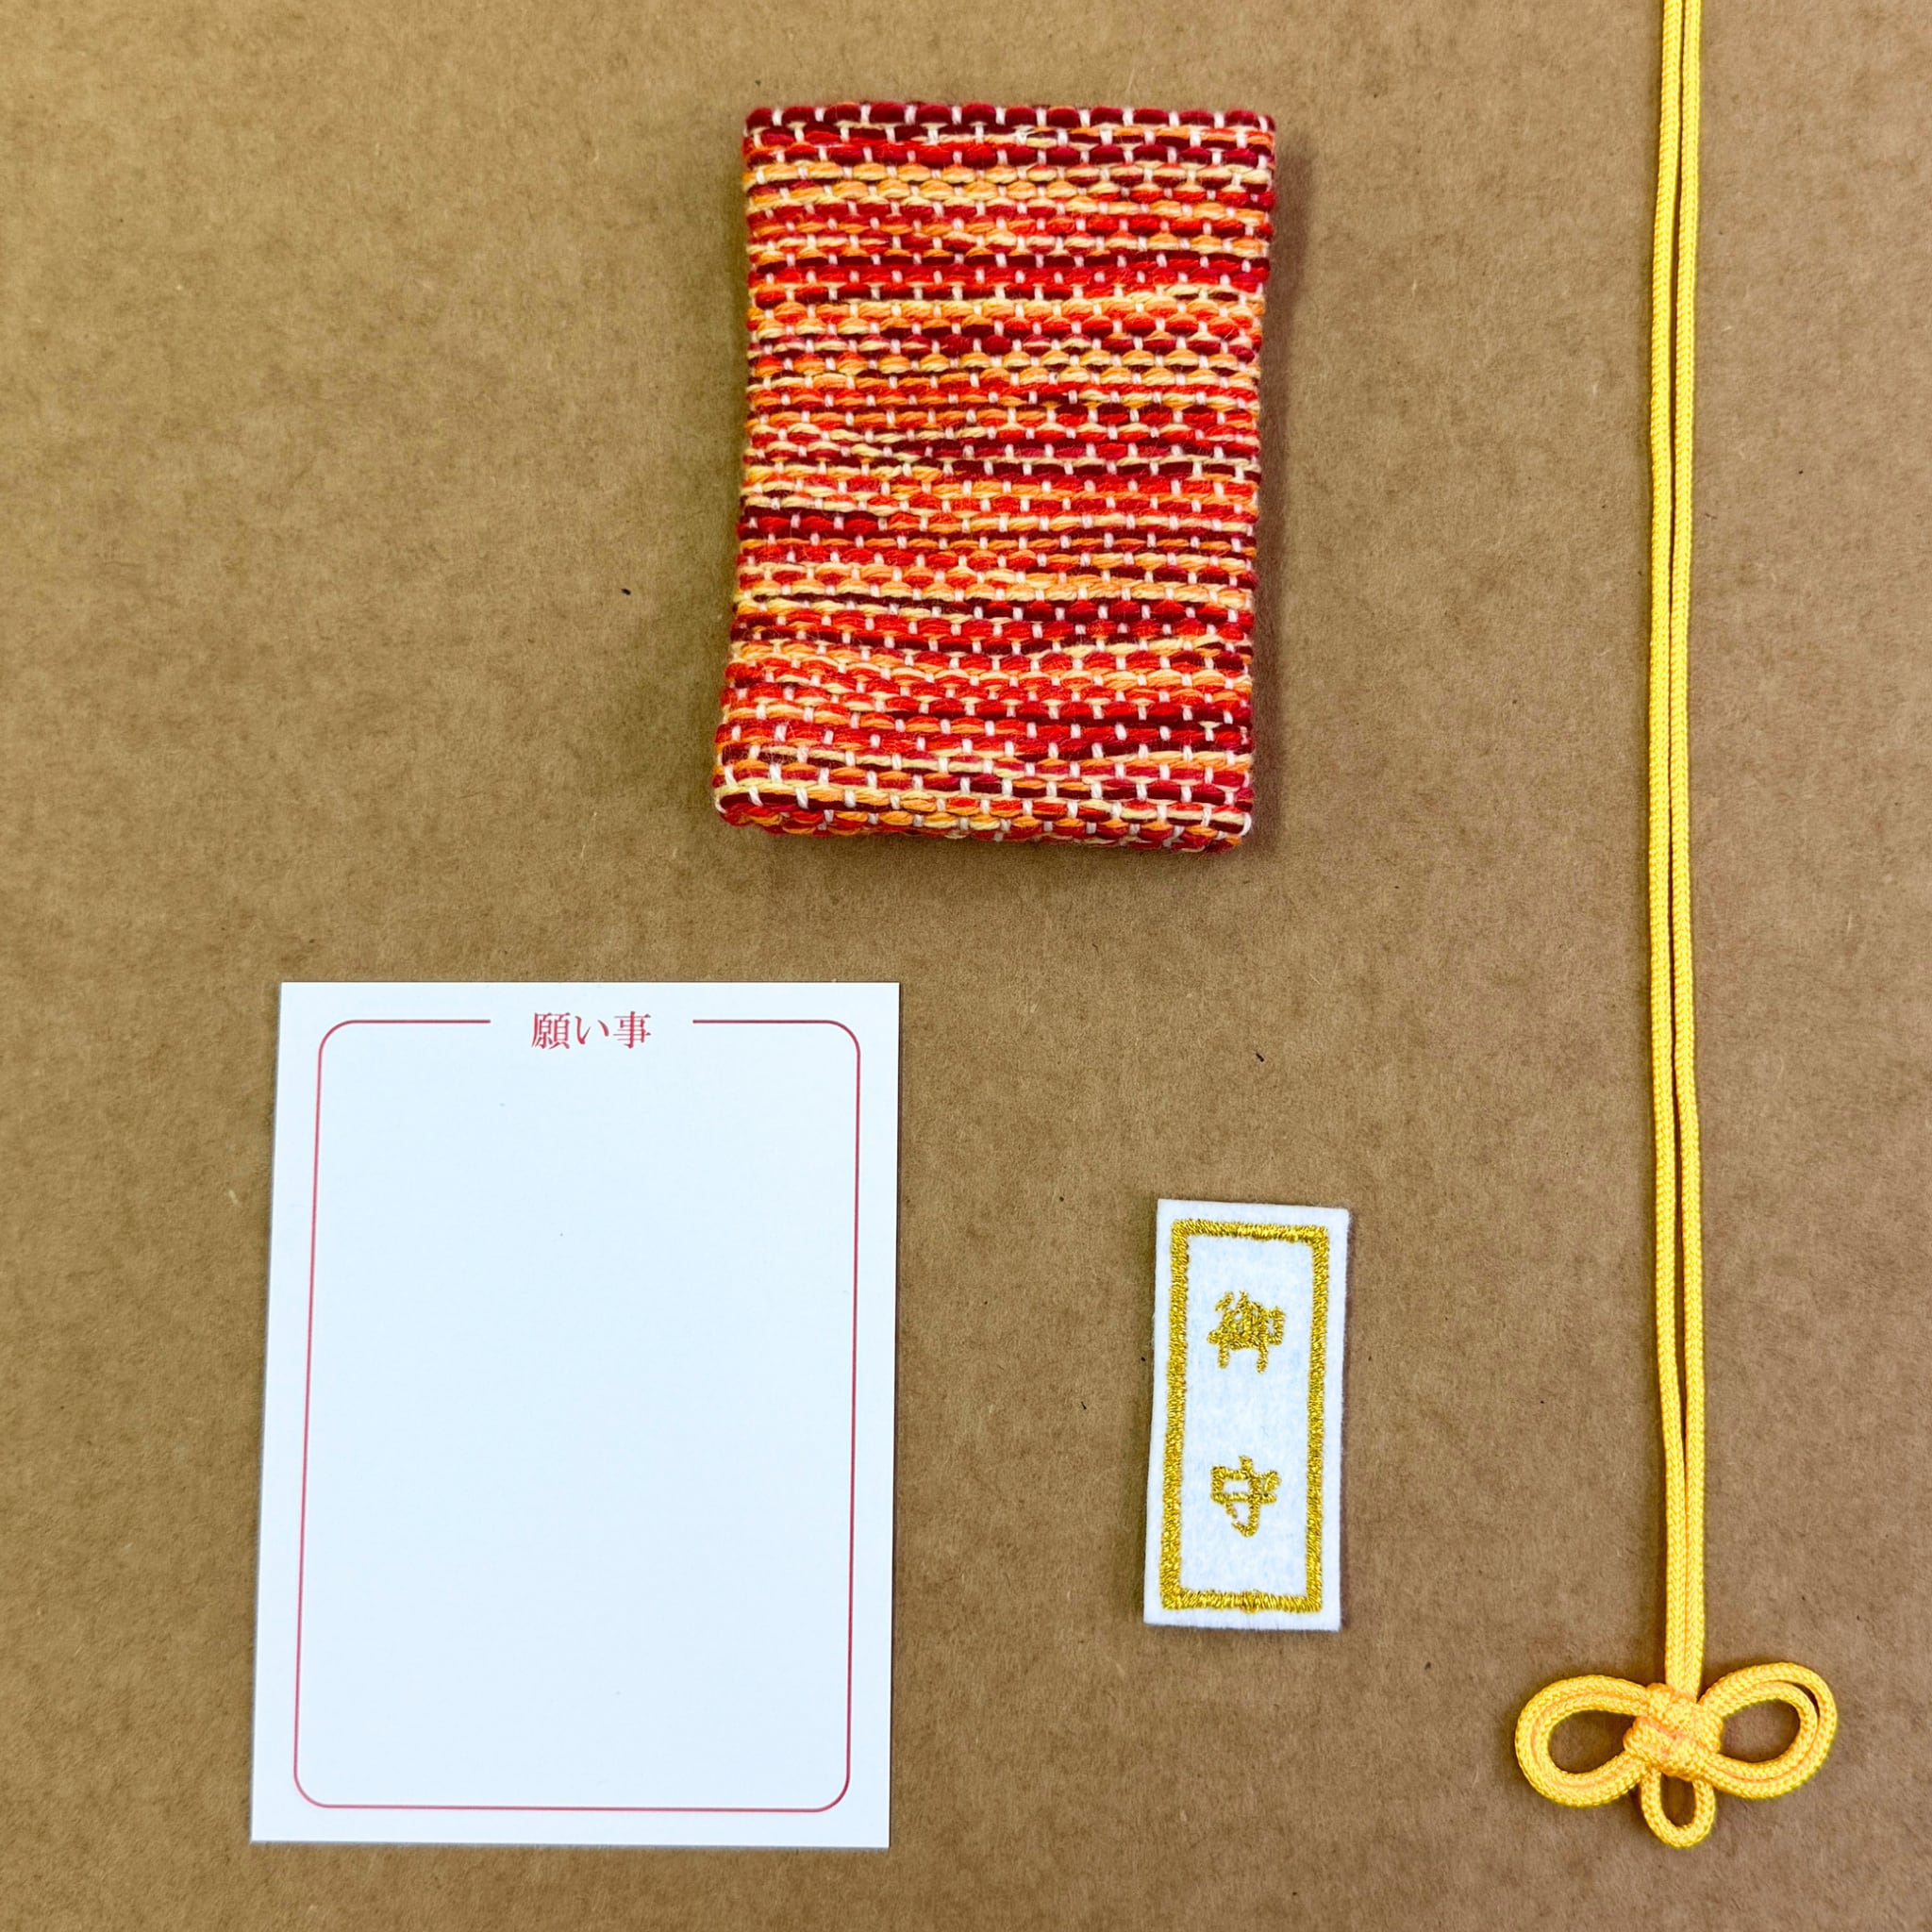
Kit Includes
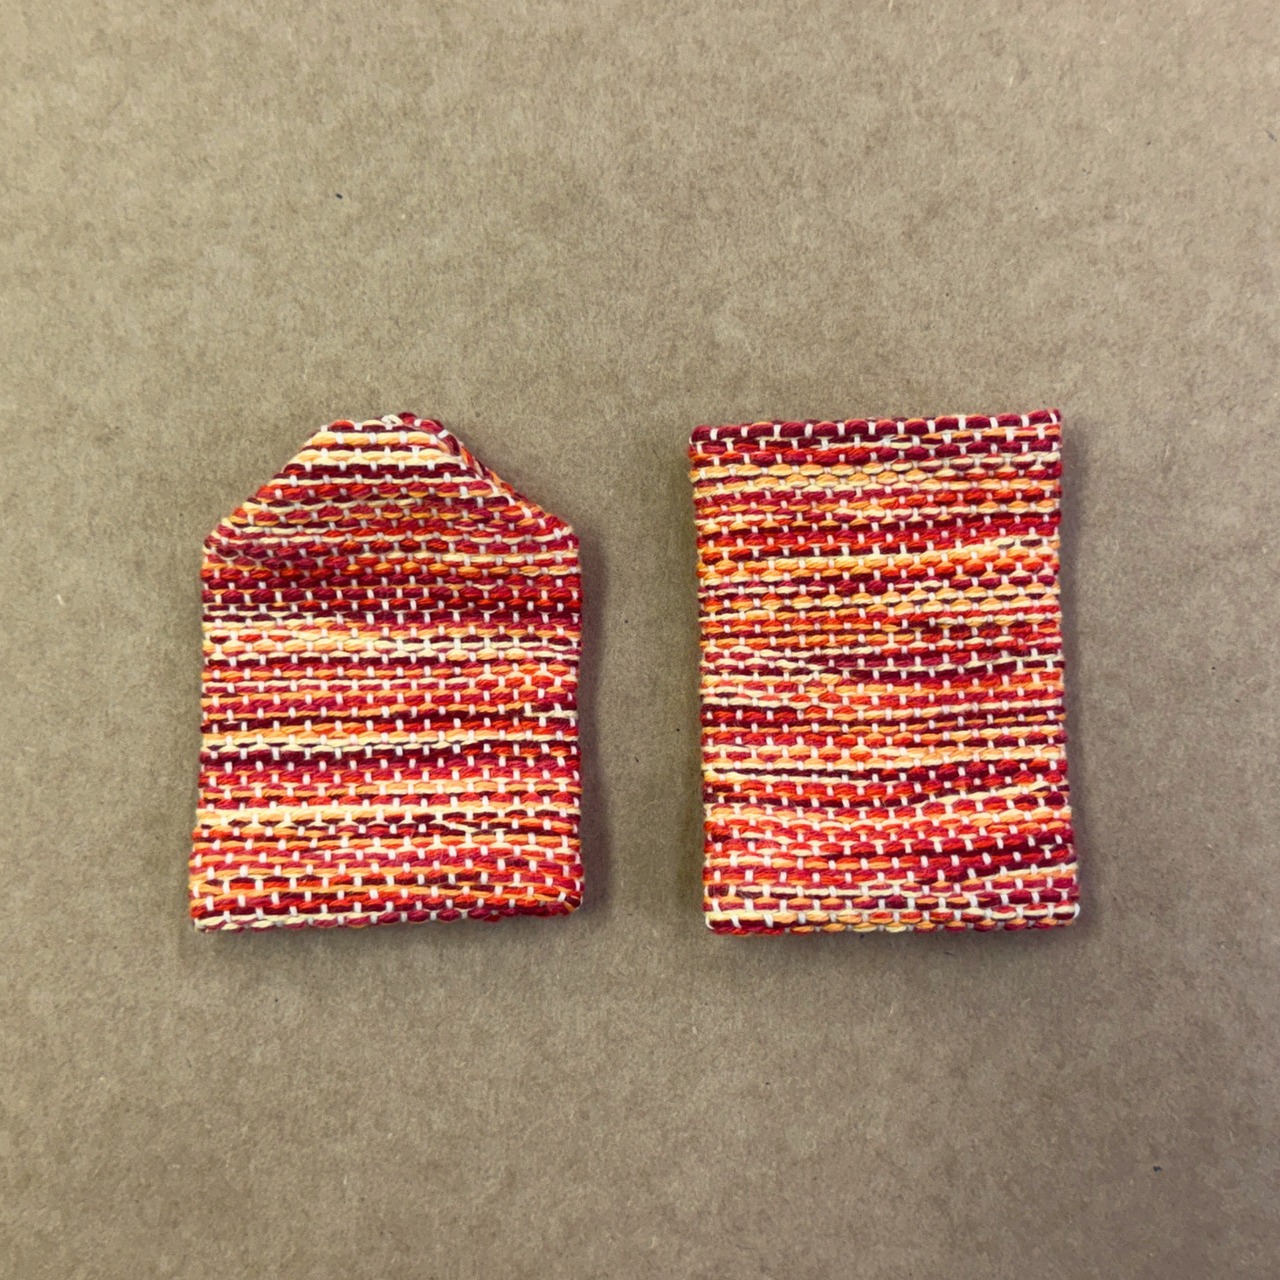
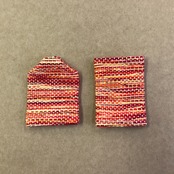
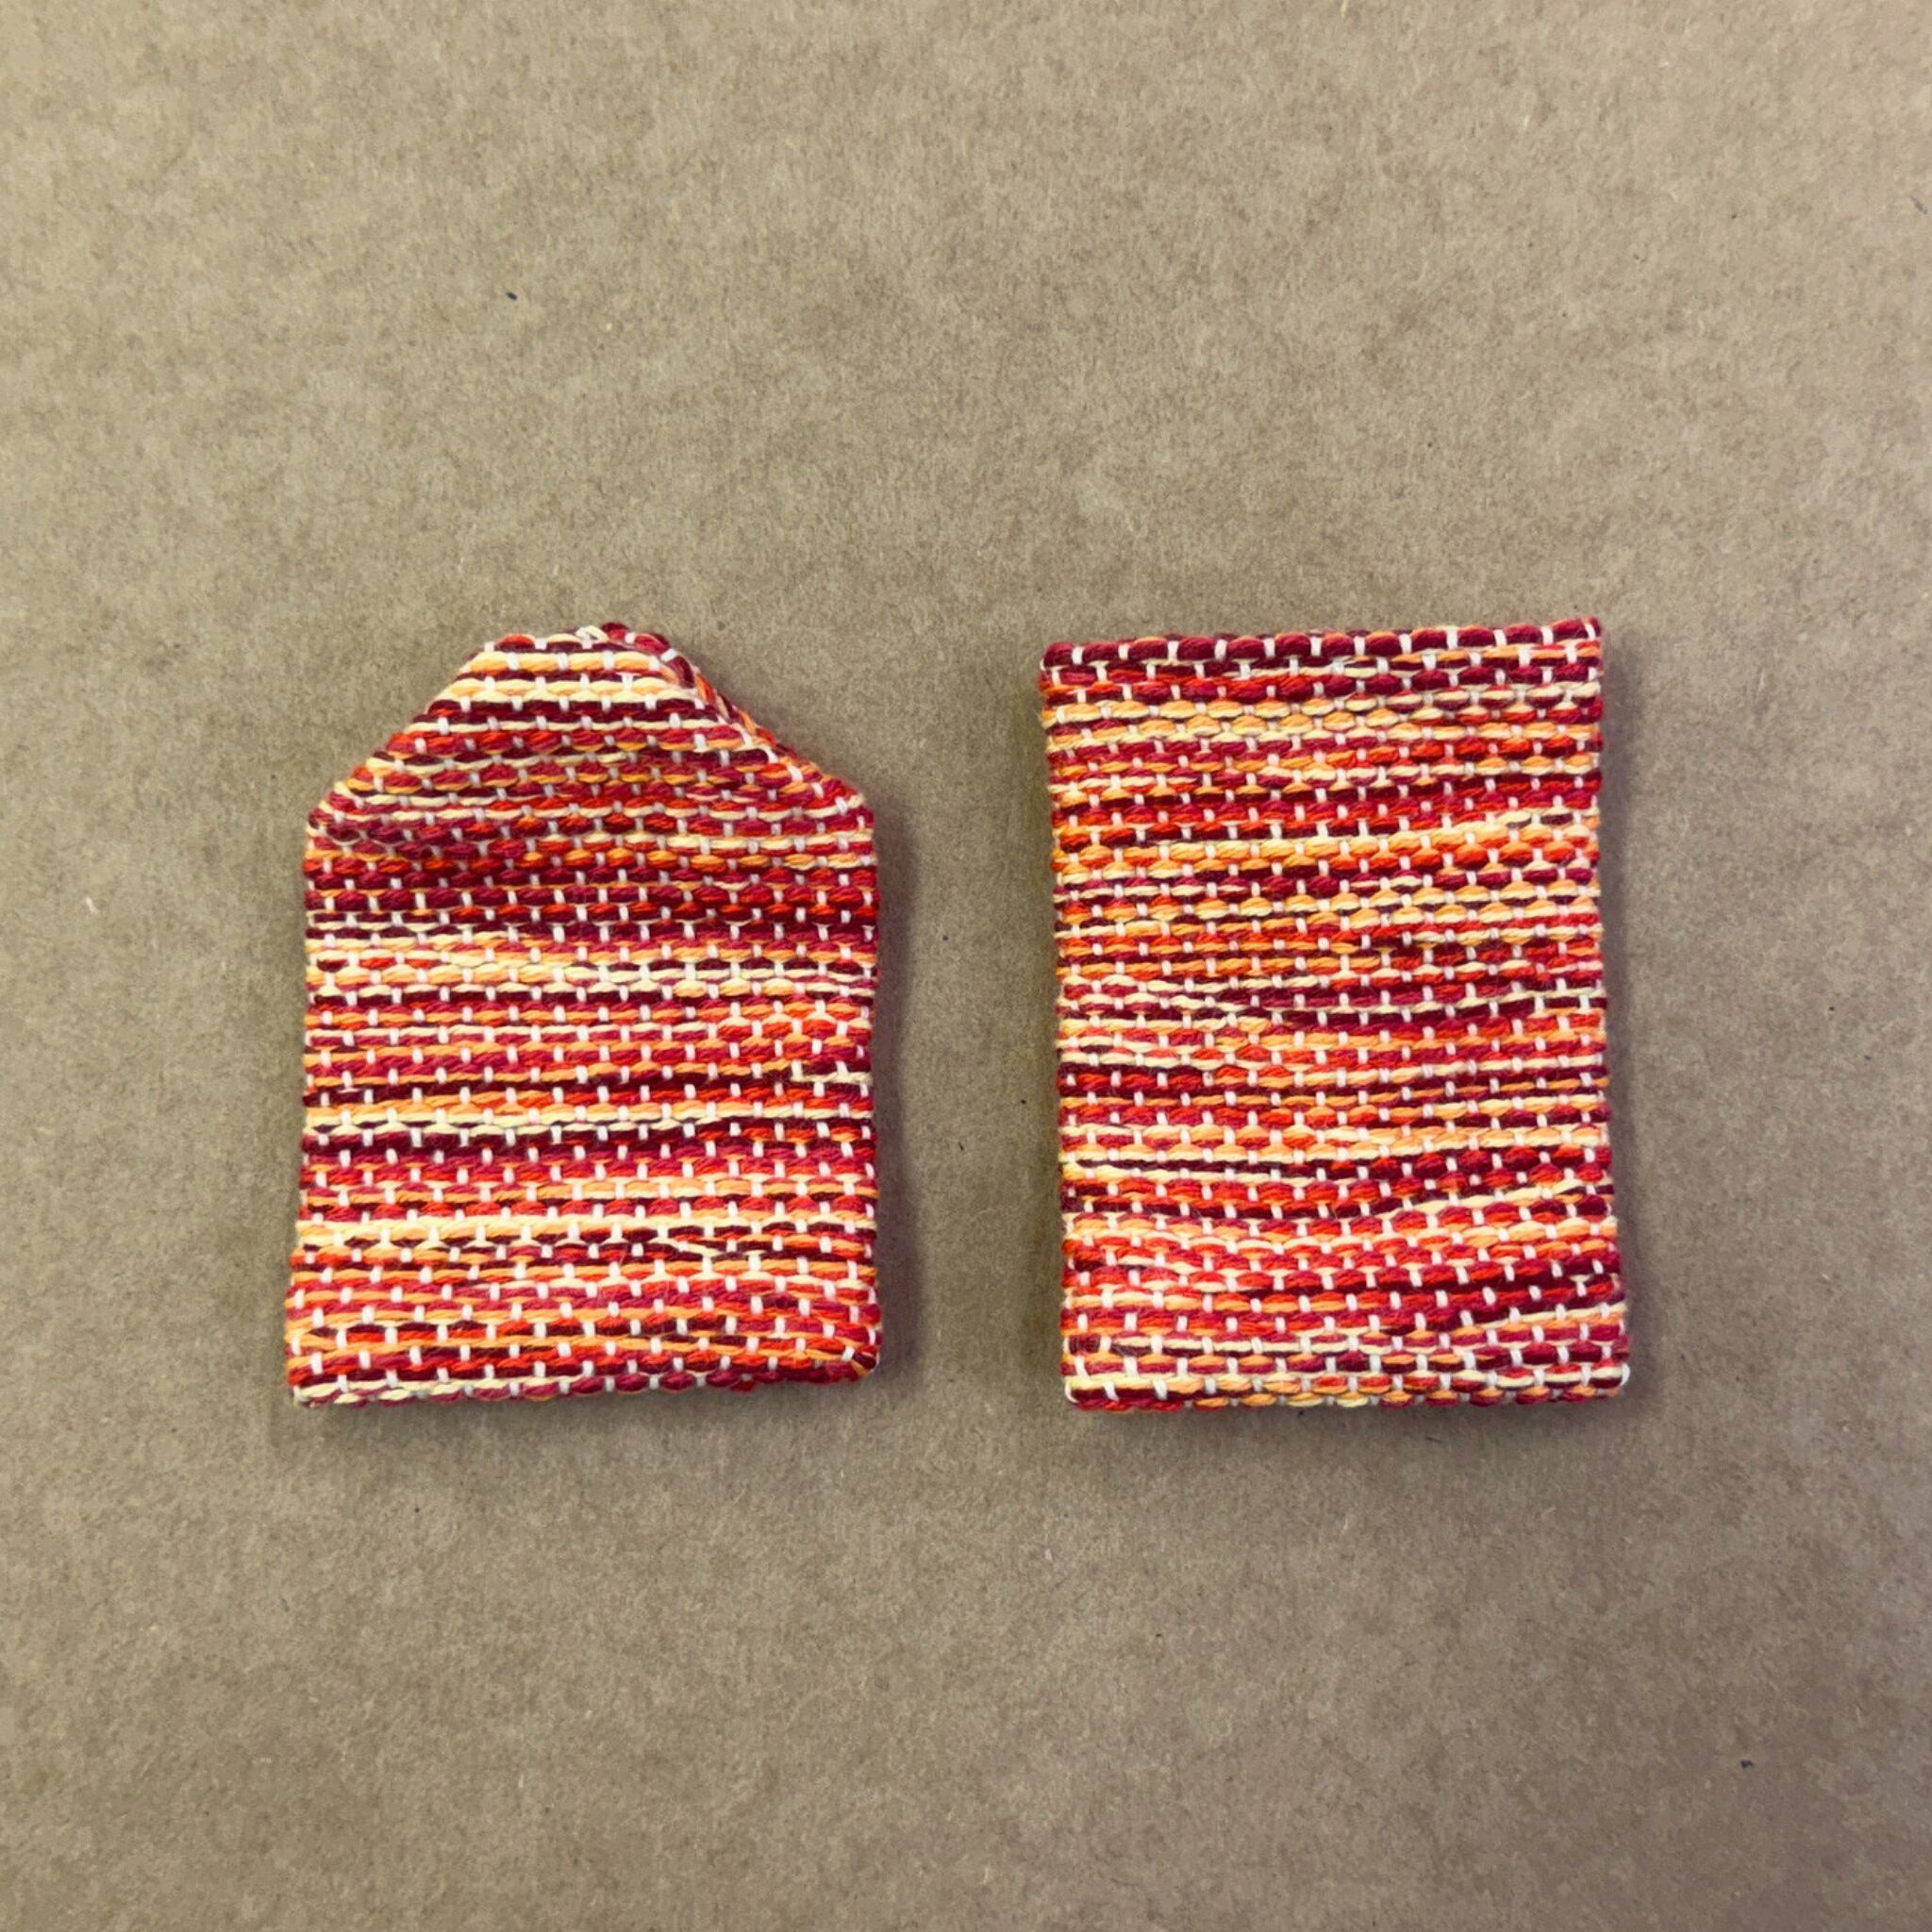
• Omamori pouch × 1
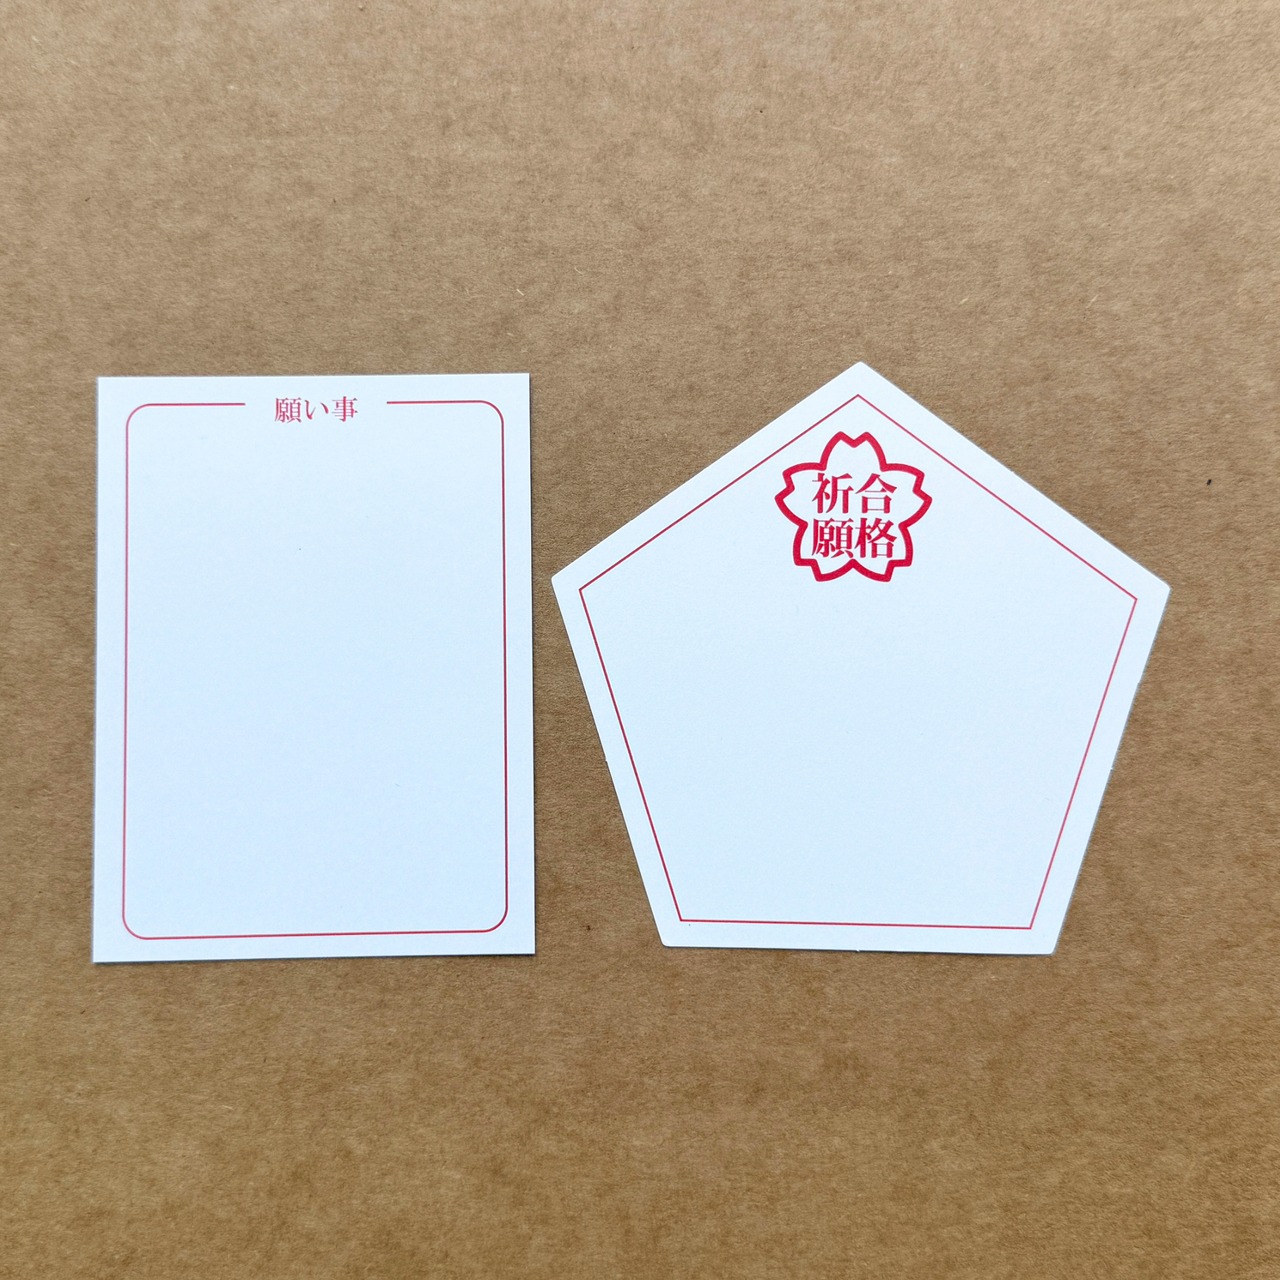
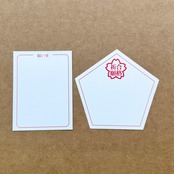
• Wish patch × 1
• Cord × 1
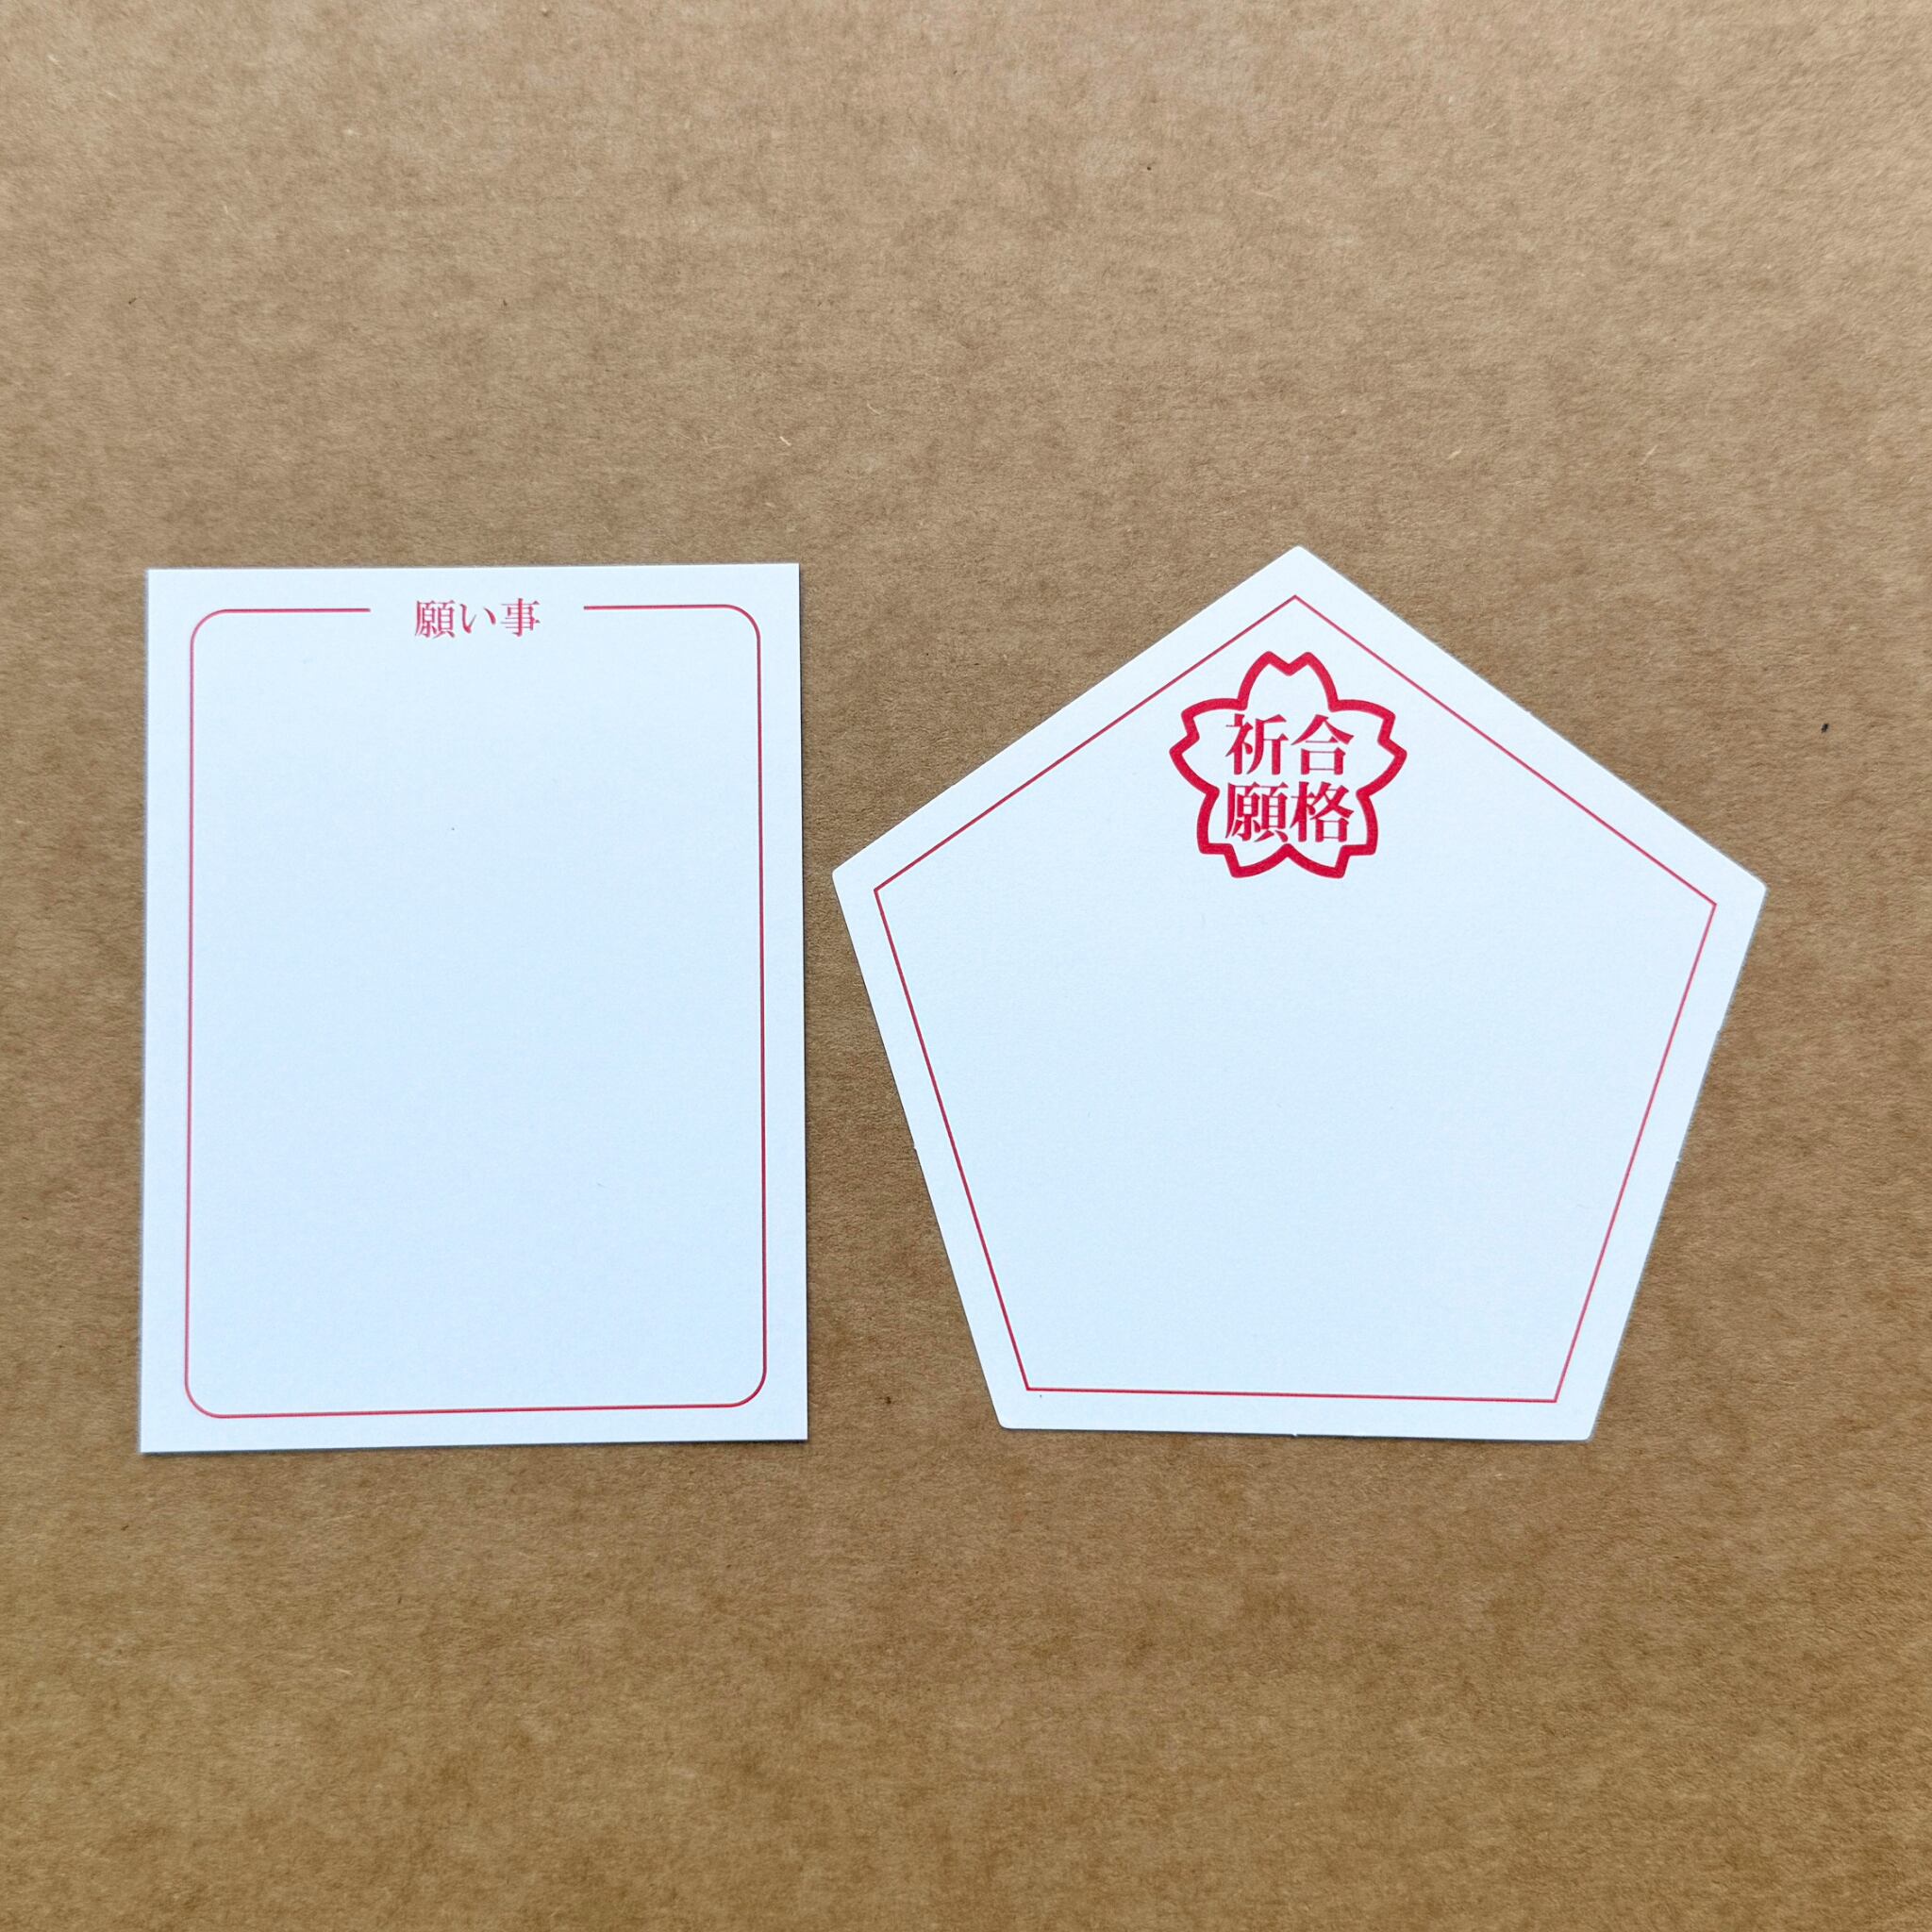
• Wish card × 1
• Omamori-making instructions × 1
Product Name
Orinami Hand Weaving Experience: Omamori DIY Kit
Size
Approx. 5.5 × 7.5 cm
Material
100% cotton
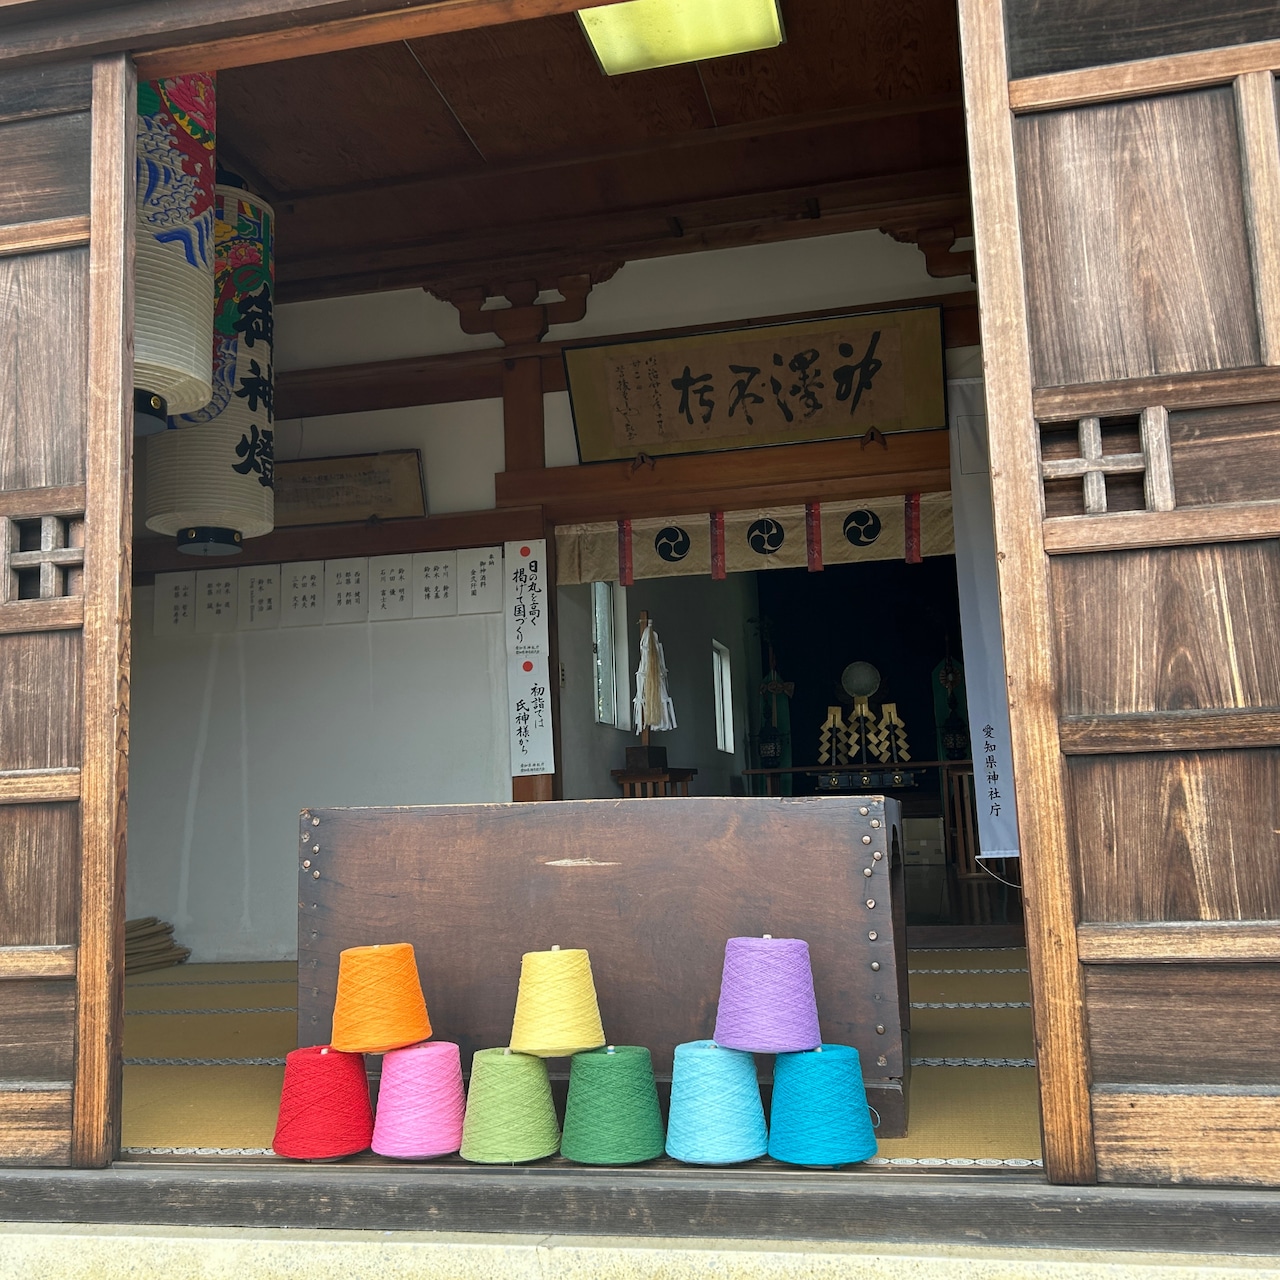
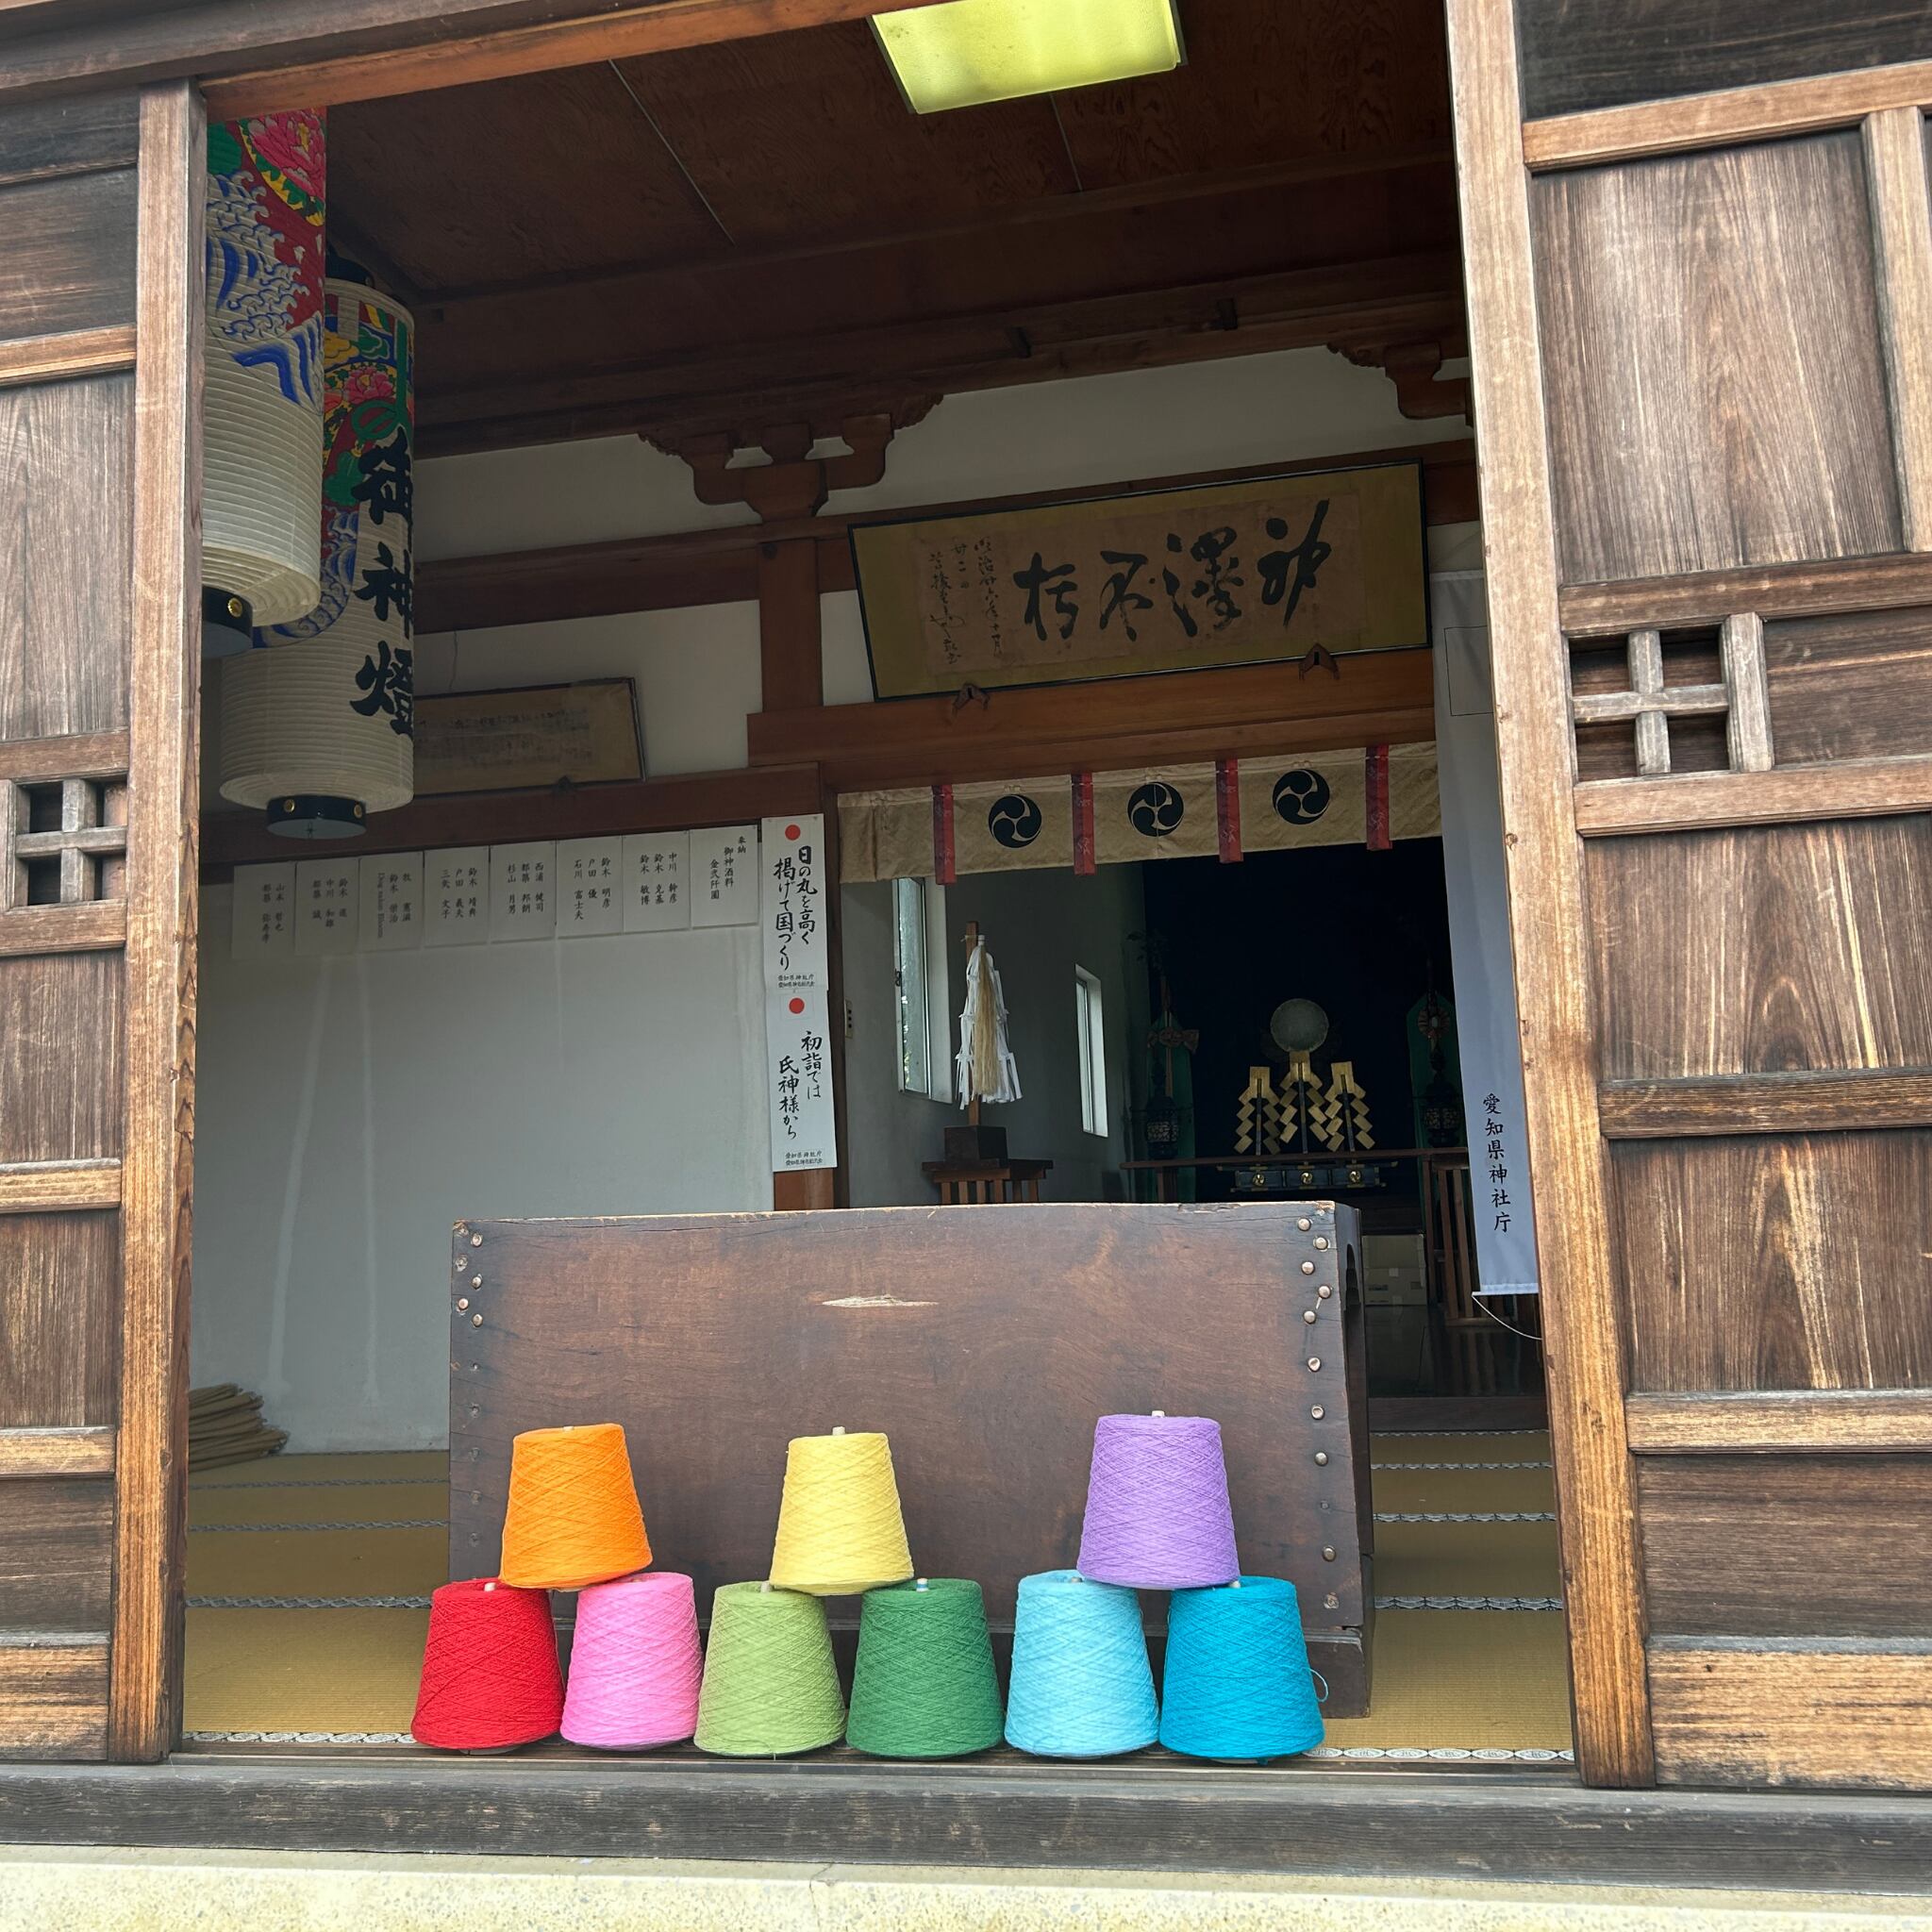
The cotton yarn used in this kit has been blessed at Tenjiku Shrine, the only shrine in Japan dedicated to the Cotton God.
Important Notes
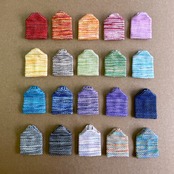
• Please note that each omamori pouch is made using hand-woven fabric. As each pouch is finished by hand, there may be slight variations in color, pattern, and texture.
• The omamori pouch will be delivered in a rectangular shape, rather than in its finished omamori shape. Please use an iron at home to shape the pouch into an omamori.
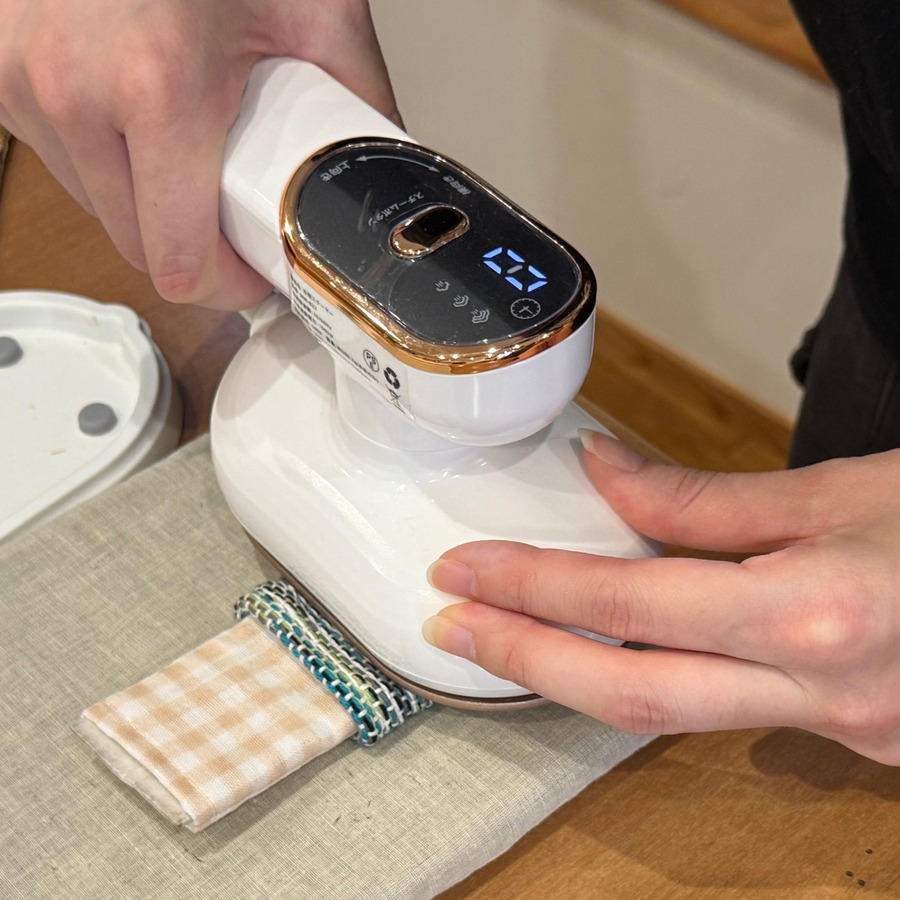
• Attach the wish patch using an iron. Set the iron to medium heat and press for approximately 20 seconds.
• A needle is required to thread the cord. Please note that a needle is not included in the kit. If you do not have a thick needle, please purchase one separately.
• If you are worried about making a mistake when writing your wish card, an additional wish card is available for purchase.
• When tying the cord, please be careful not to pull too hard on one side only, as this may cause the omamori pouch to lose its shape.
• As each item is handmade, slight variations in size and color may occur.
• Colors may appear slightly different from the actual product depending on your monitor settings.
How to Make Your Omamori
① Shape the Omamori Pouch
Use an iron to shape the top of the omamori pouch into a triangle.

② Attach the Wish Patch
Place the wish patch wherever you like on the front or back of the pouch, then press it with an iron for 20 seconds.
Keep the iron in place and do not move it while pressing.
Note: A ribbon will be attached to the top of the pouch. Please make sure the wish patch is not placed too high, as it may be covered by the ribbon.
Note: The inside of the pouch has a seam allowance, which may make it difficult to iron the patch. If this happens, place a piece of cardboard or other thick paper inside the pouch to make it easier to attach the patch.
③ Write Your Wish
Write your wish on the wish card, then fold it into quarters.
④ Insert the Wish Card
After folding the wish card, place it inside the omamori pouch.
⑤ Thread the Cord
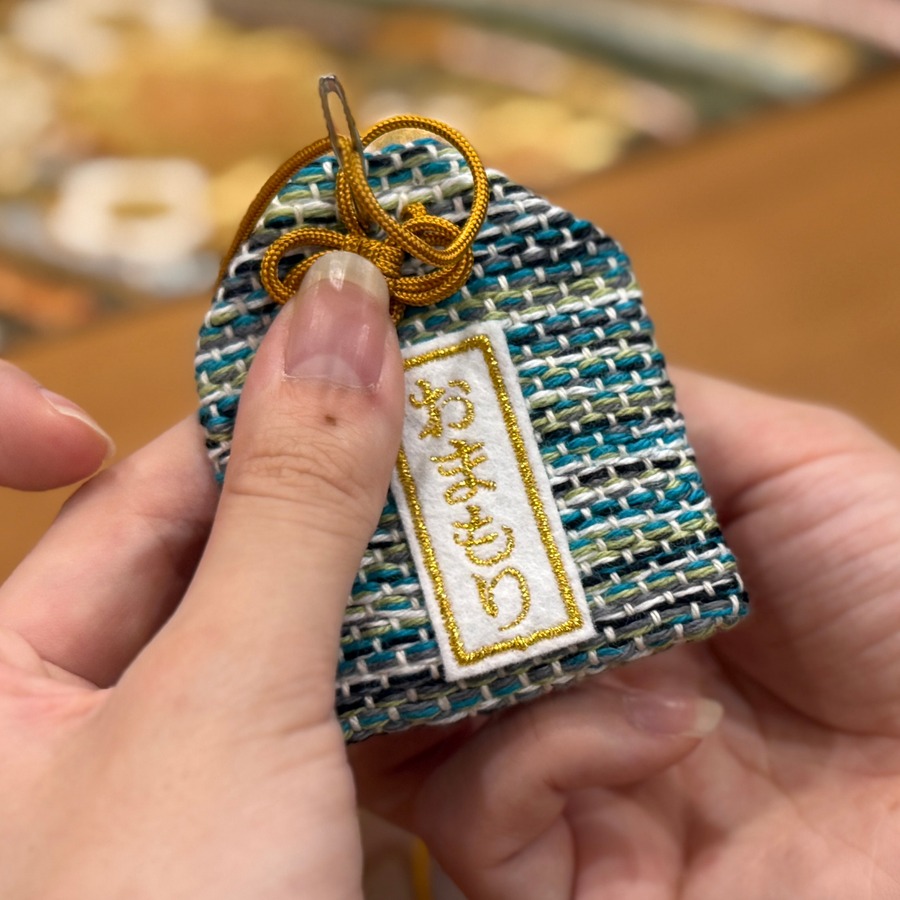
Thread one end of the cord through the needle, then thread the needle through the pouch.
The top of the pouch is reinforced with an extra layer of fabric, making it thicker and stiffer. Please avoid this stiff area when inserting the needle.
Note: Be careful not to pull too hard on one side of the cord. Doing so may cause the ribbon to lose its shape.
Note: As shown in the image, the side with the knot is the front of the cord. While holding the knot in place, insert the needle through the base of the cord.
⑥ Tie the Cord
Turn the pouch over and tie the cord in a double knot.
Adjust the cord so that the knot lies horizontally rather than vertically.
⑦ Tie the Final Knot
Adjust the cord to your preferred length, then tie a single knot at the top.
⑧ Finished!
Your one-of-a-kind omamori is now complete!
The Story of the Cotton God
Tenjiku Shrine: The Only Shrine in Japan Dedicated to the Cotton God
The cotton yarns we use for handweaving are blessed at Tenjiku Shrine in the Mikawa region of Aichi Prefecture.
According to local legend, about 1,200 years ago, in 799 during the Heian period, a person from Konron, believed to be from what is now India, drifted ashore in present-day Nishio City. The local people took care of him.
In gratitude, he gave them cotton seeds and taught them how to grow cotton and weave it into fabric. At the time, Japan had no cotton, and hemp and silk were the main materials used for textiles. It is said that cotton cultivation and weaving spread from Aichi throughout Japan thanks to his knowledge.
Today, he is enshrined at Tenjiku Shrine as Japan's only Cotton God. The Mikawa region is now known for Mikawa Momen, a traditional cotton textile.
Note: The kanji for “cotton” (棉) and “enshrine” (祭る) follow the terminology used by Tenjiku Shrine and Nishio City.



About the Orinami Handweaving Workshop
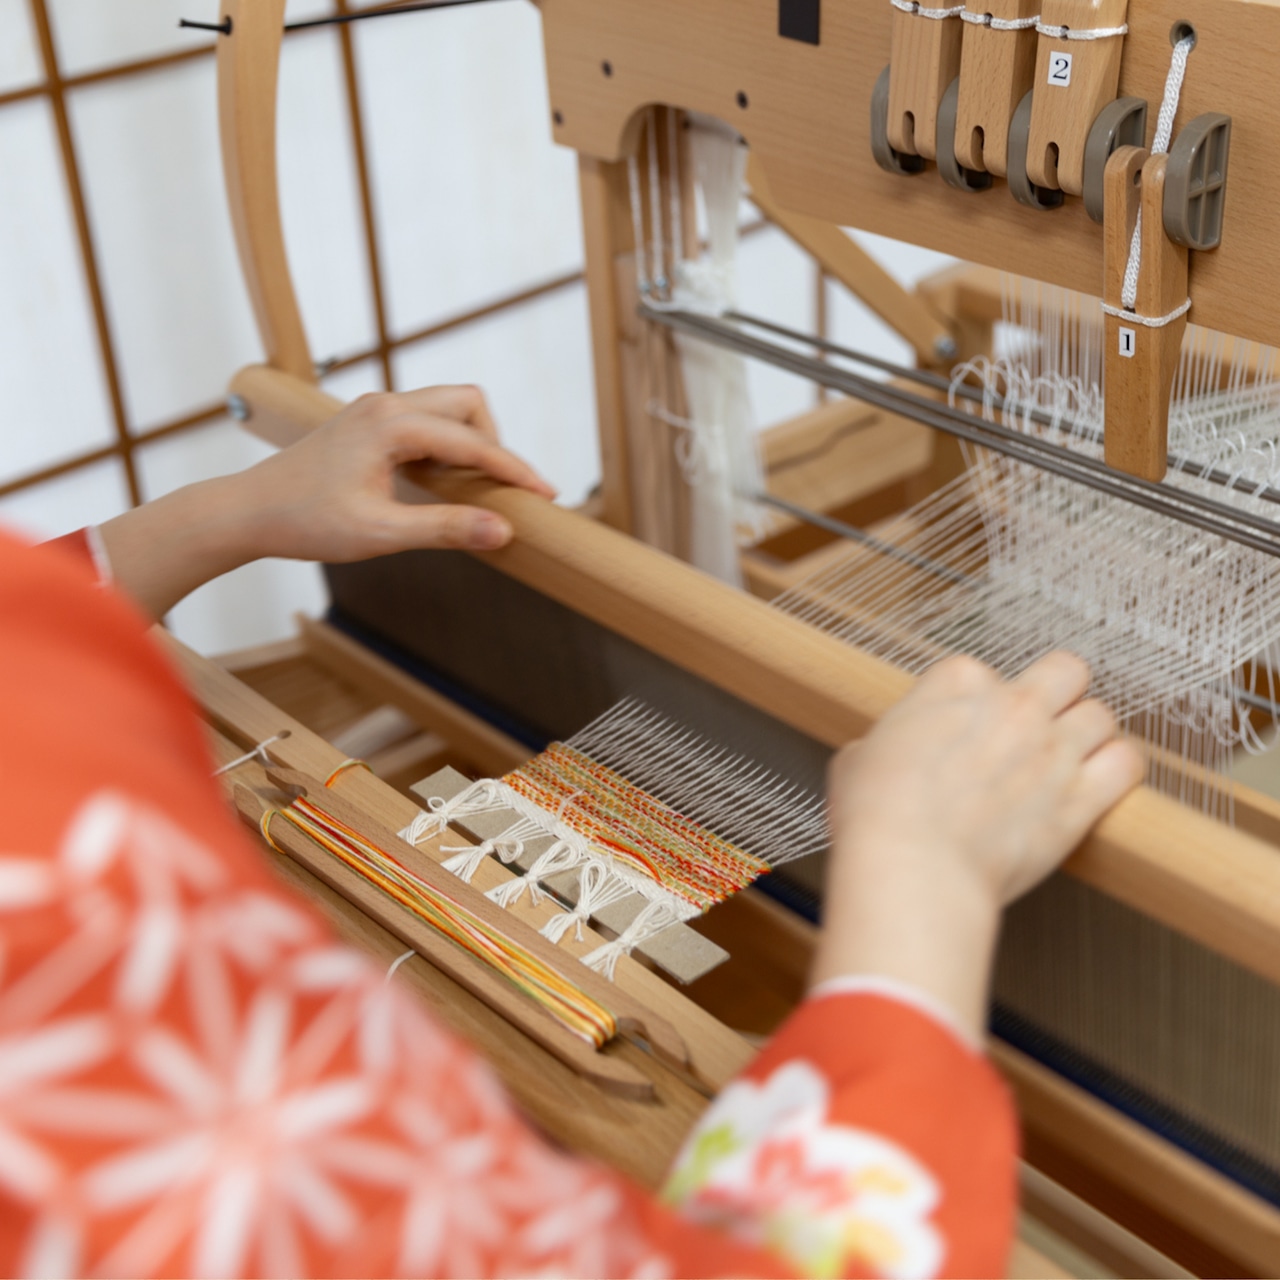
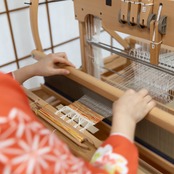
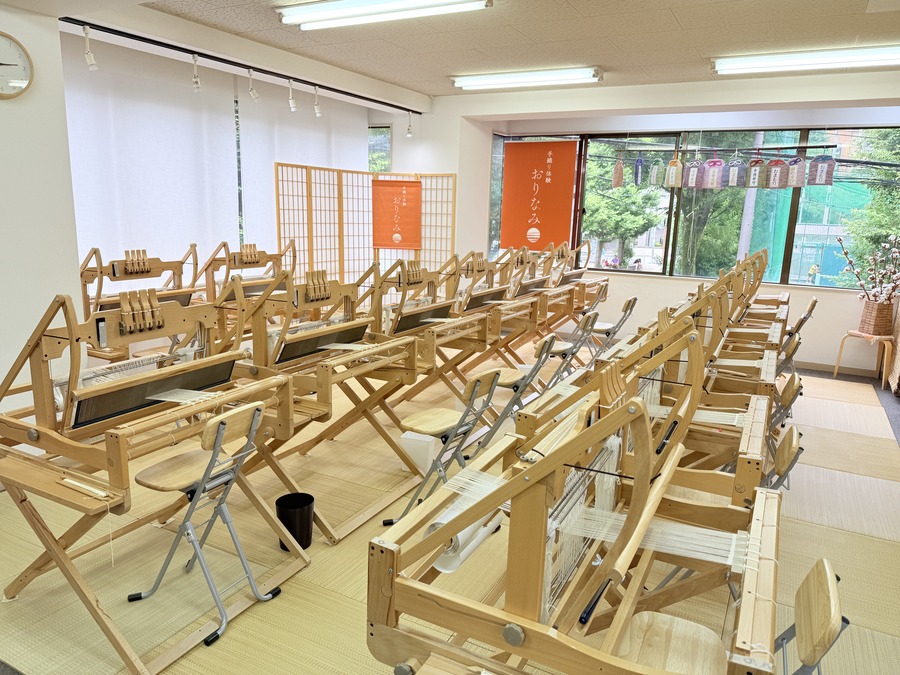
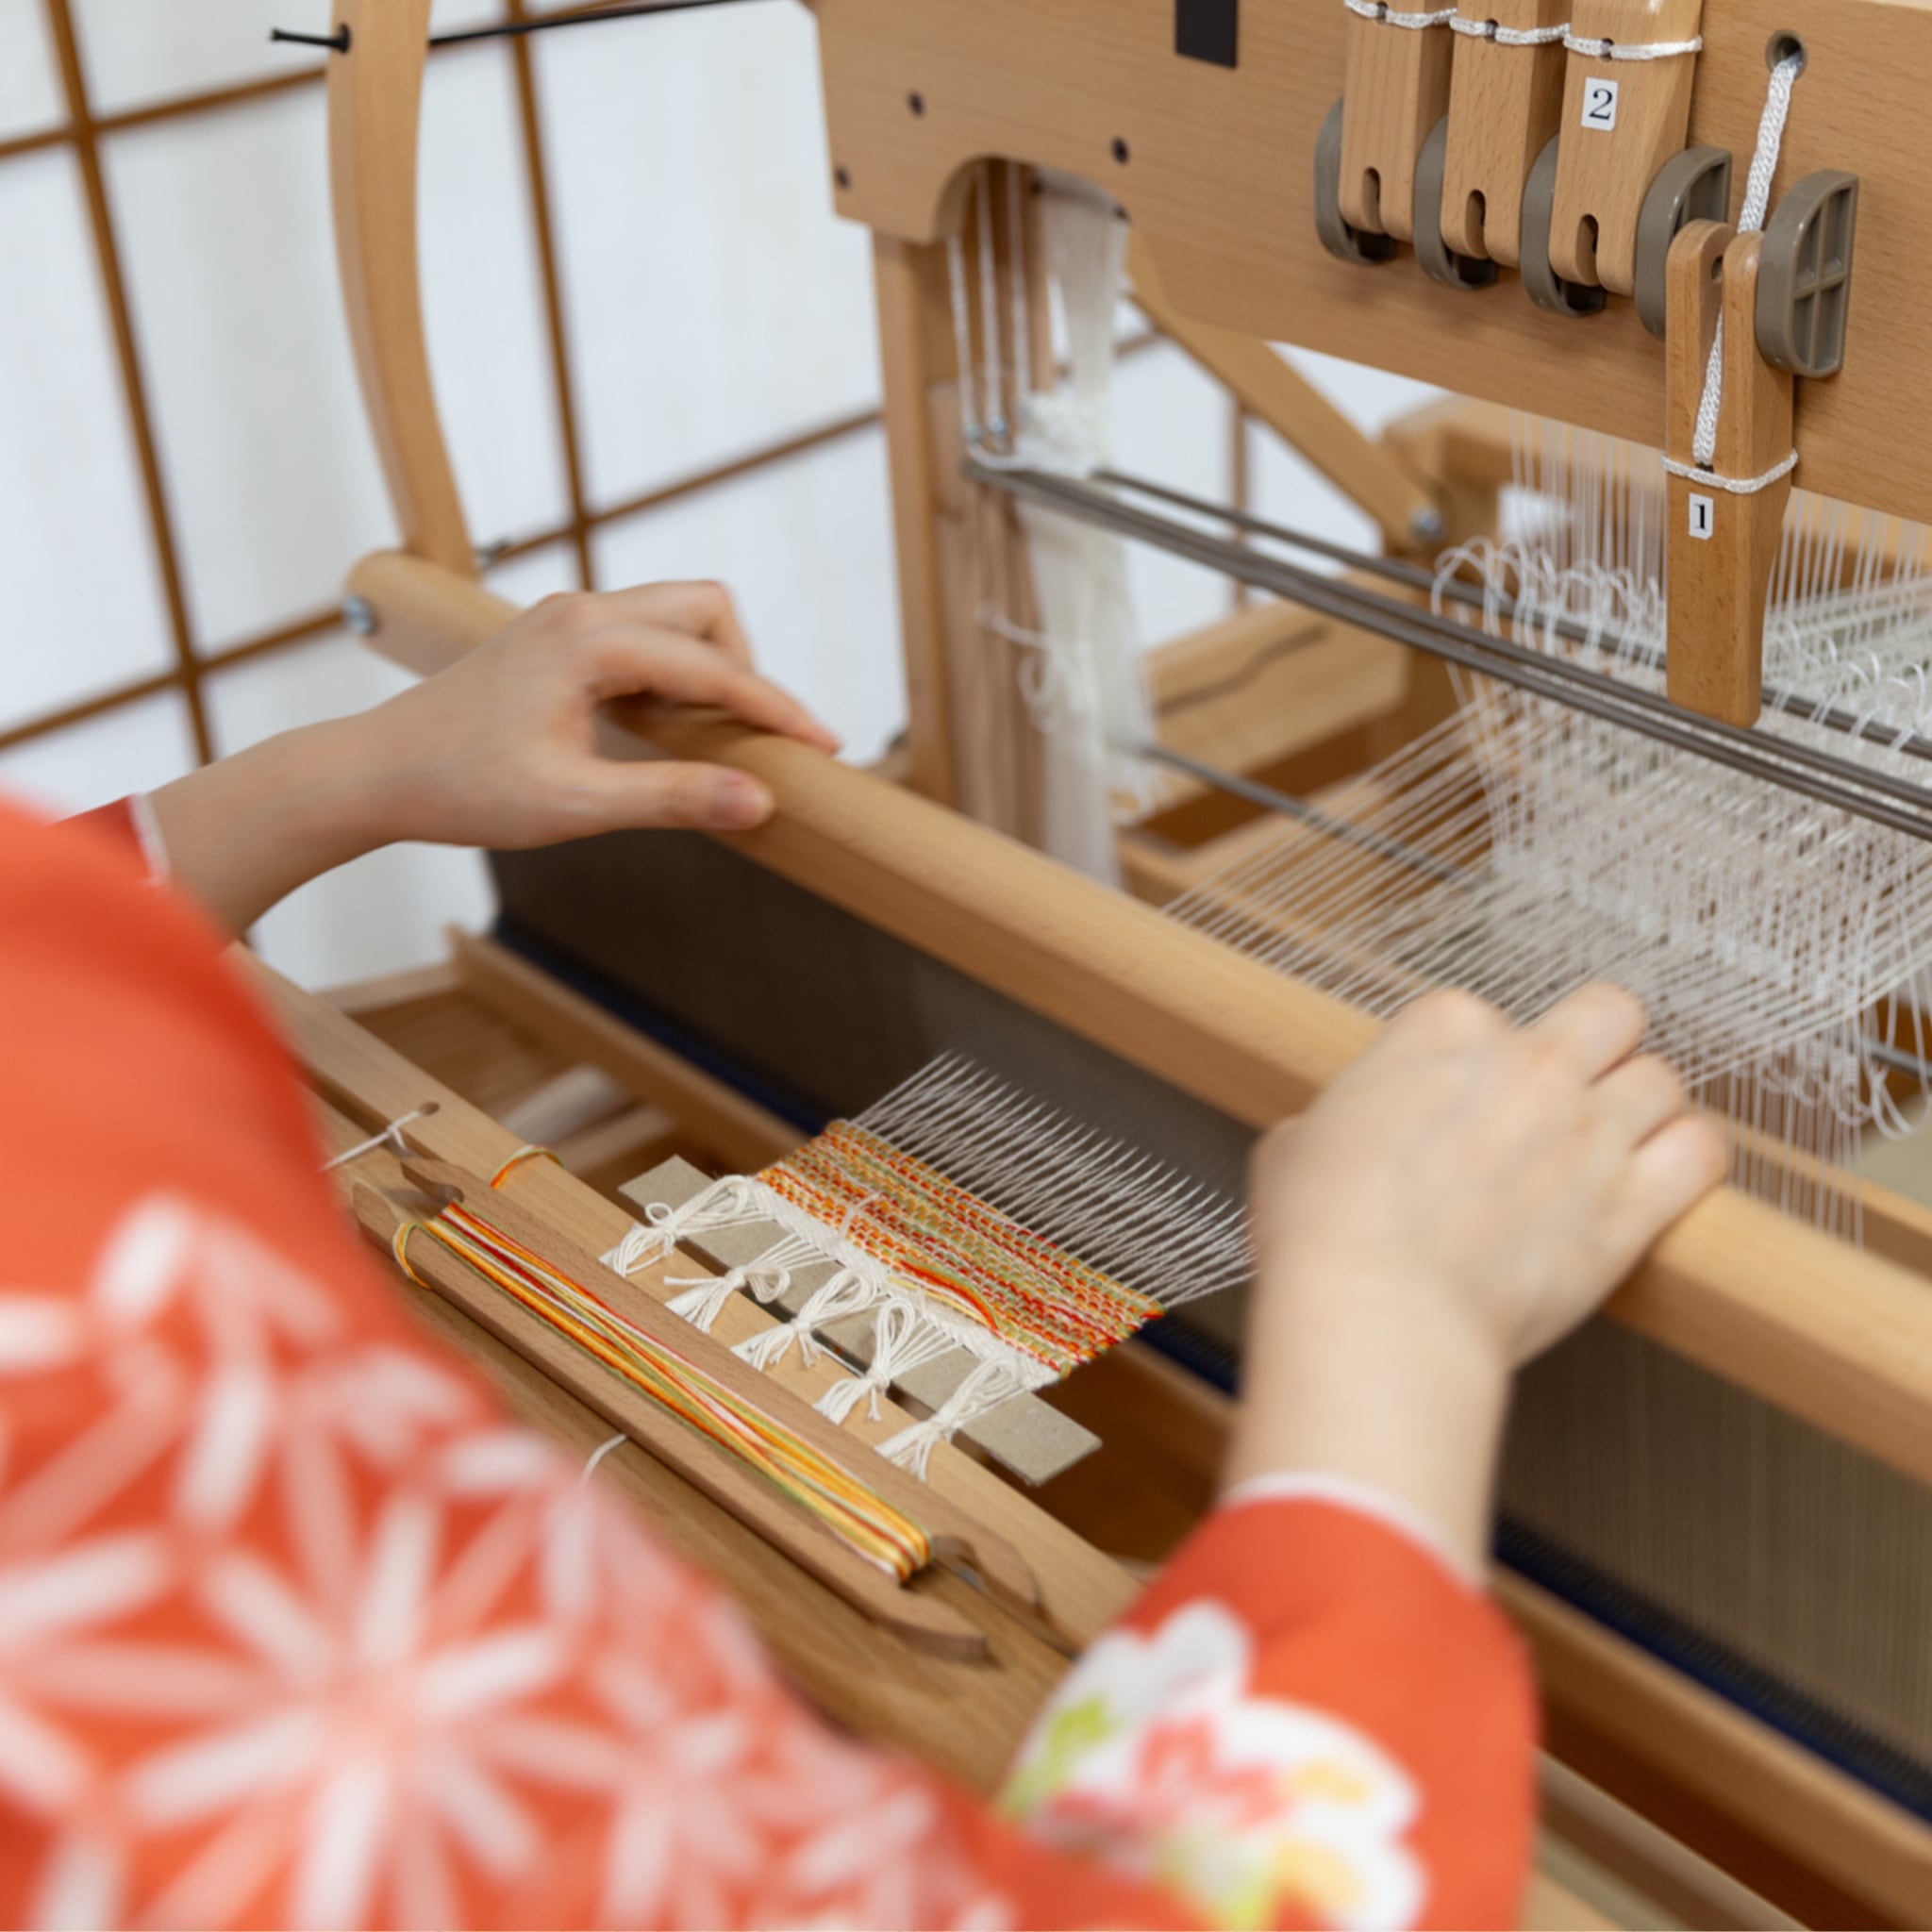
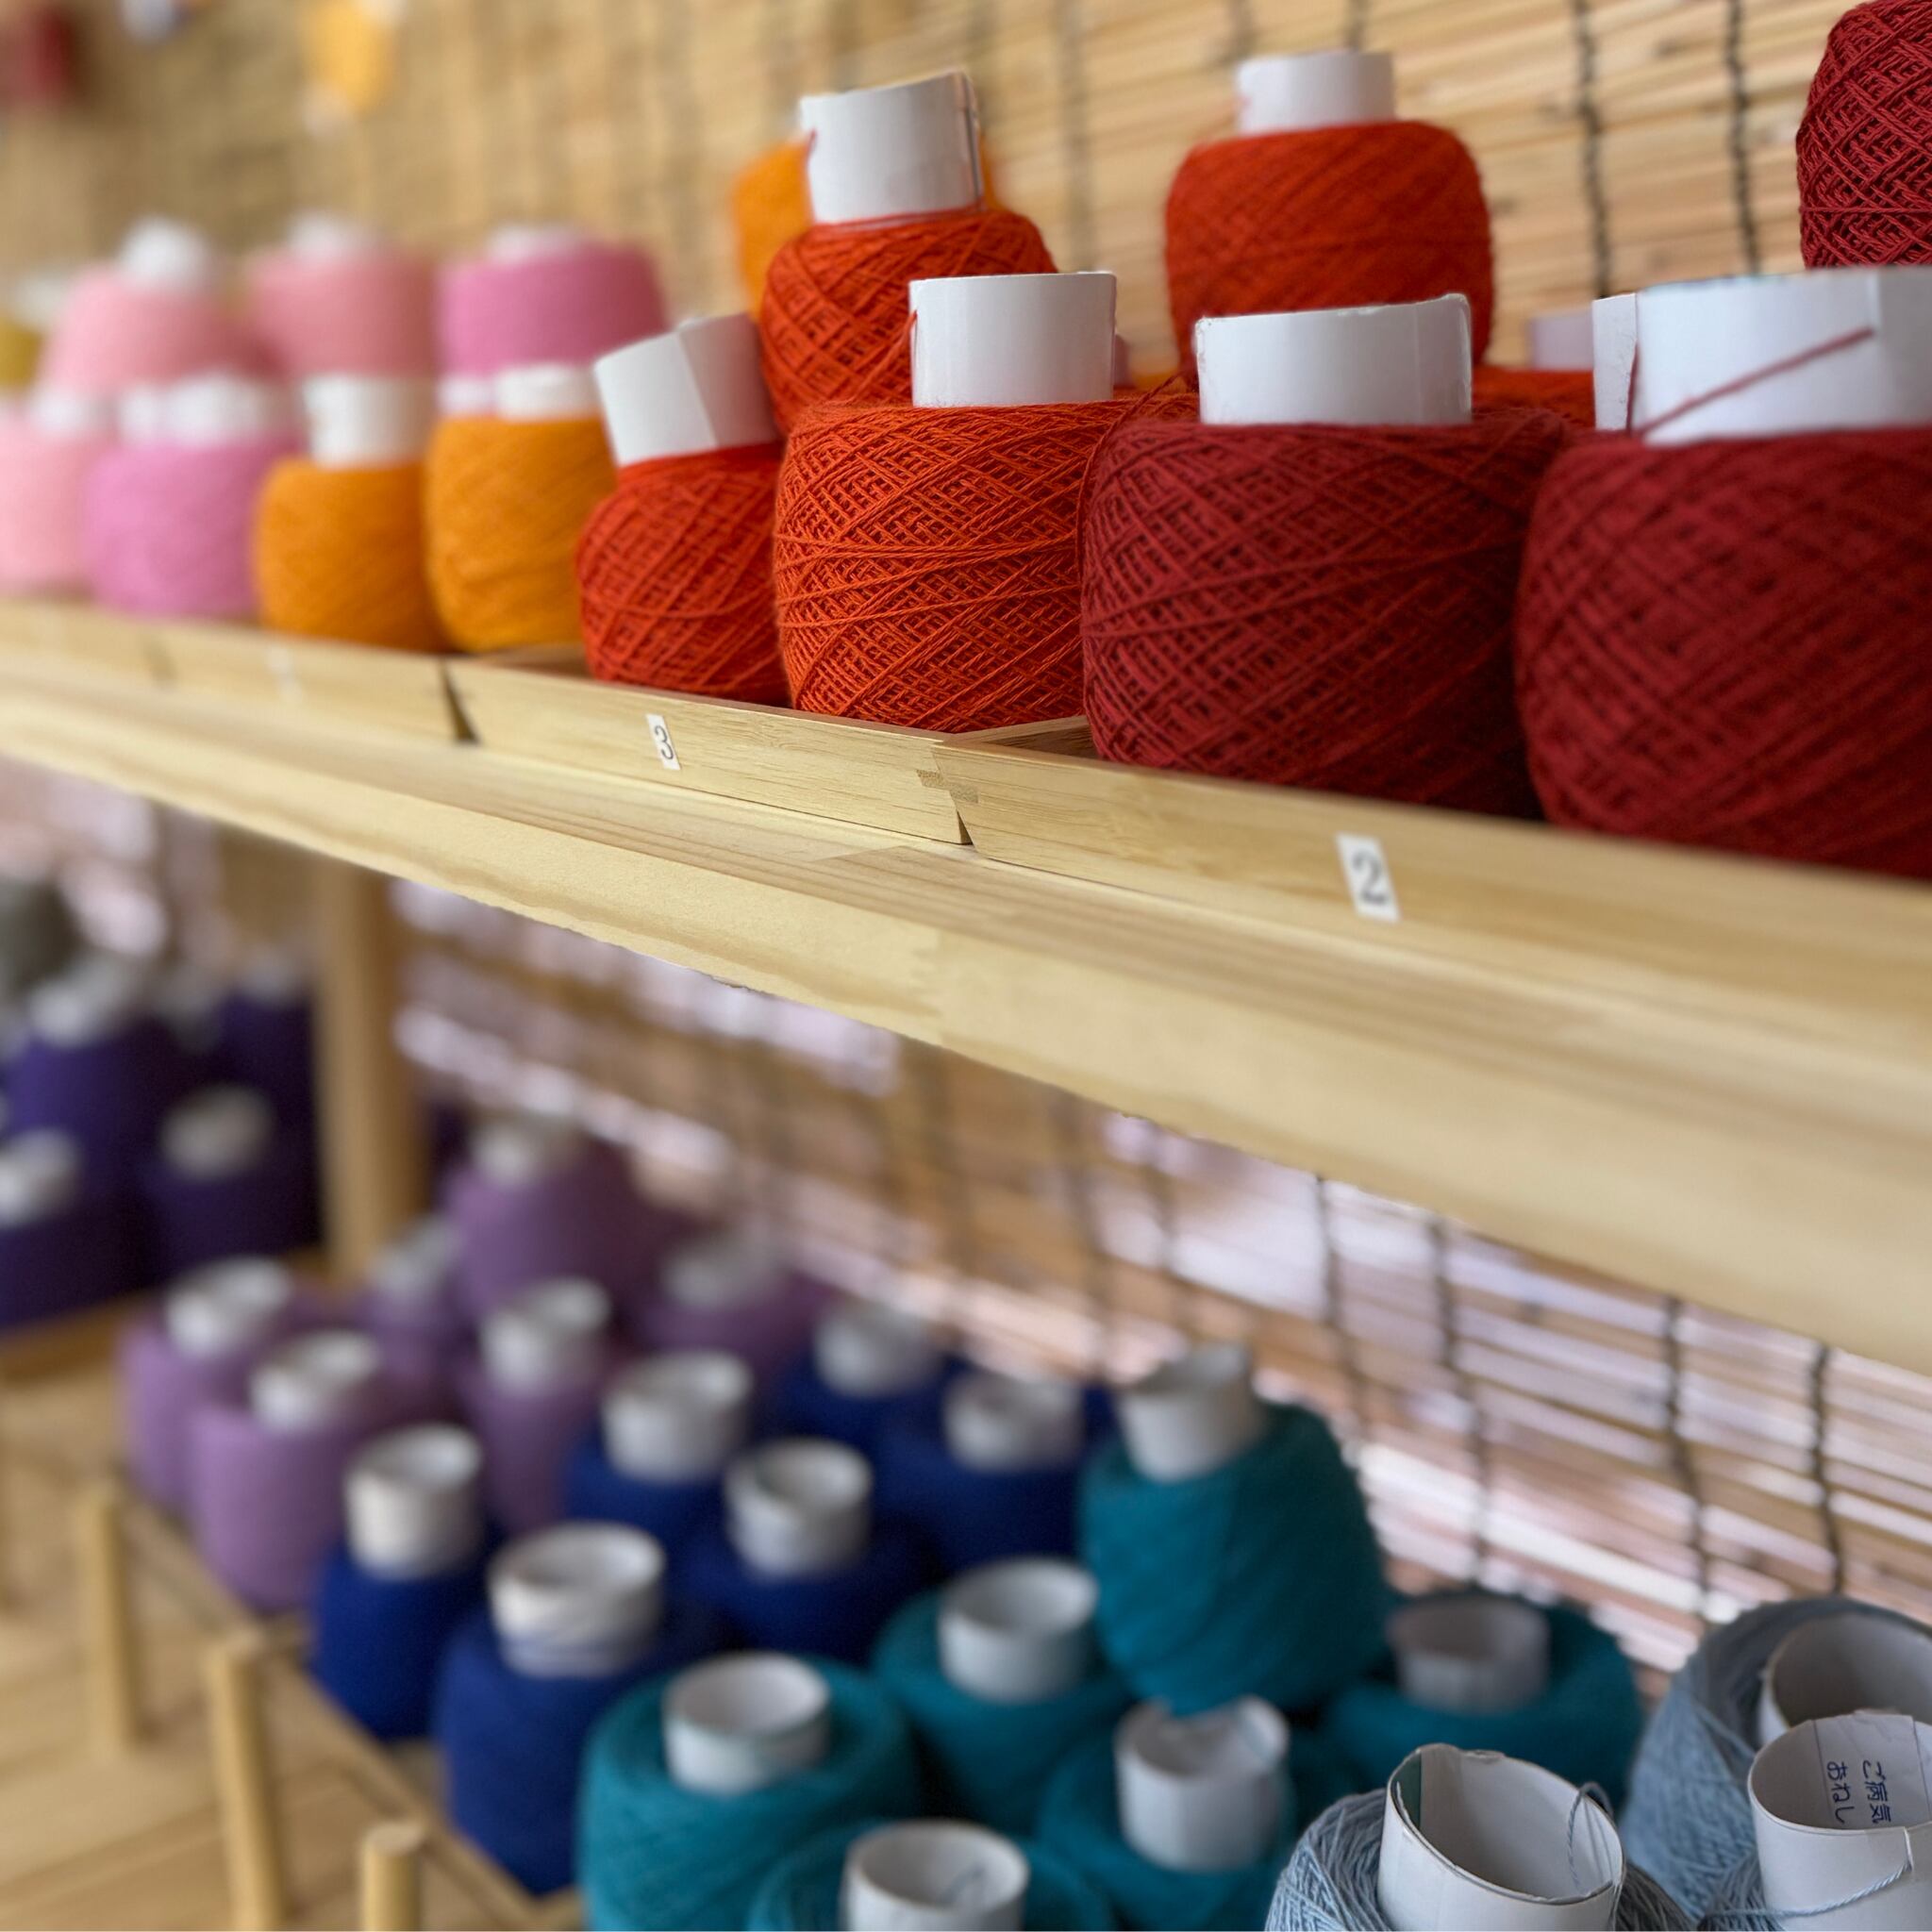
Orinami is a hands-on workshop operated by Hagumamu, where you can use five cotton yarns blessed at the shrine of the Cotton God to weave a piece of fabric on a table loom and create a one-of-a-kind omamori (Japanese protective charm).
We have three locations: Asakusa Koenmae in Tokyo, which offers workshops in Japanese; Asakusa in Tokyo, which offers workshops with foreign-language support; and Gamagori in Aichi Prefecture, which offers workshops in Japanese.
Reservations can be made through our official website.
↓↓↓
https://x.gd/nbzjZ
Store Information
Our locations are divided according to the language of the workshop.
■Asakusa Koenmae — Japanese Course
〒111-0033
2F, Daini Arai Building
2-9-1 Hanakawado, Taito-ku, Tokyo
Hours: 9:30–17:00
Closed: Open daily (temporary closures may apply)
Phone: 070-9310-8411
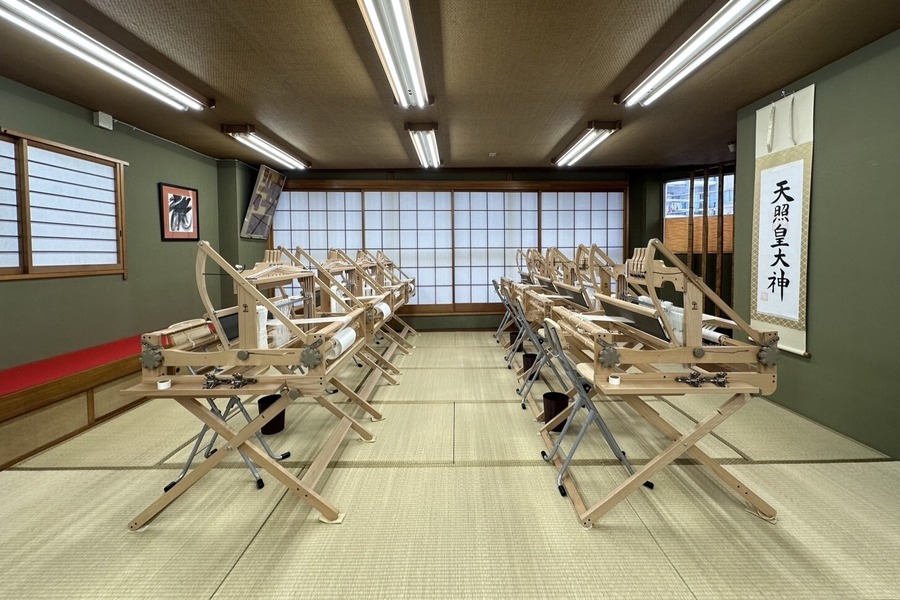
■Asakusa — Foreign-Language Courses (English / Mandarin)
〒111-0033
2F, Ichihara Shoten Building
2-8-4 Hanakawado, Taito-ku, Tokyo
Hours: 9:30–17:00
Closed: Open daily (temporary closures may apply)
Phone: 070-9269-3517
■Gamagori — Japanese Course
〒443-0042
1F, Sanke Building
12-3 Miyuki-cho, Gamagori, Aichi
Hours / Closing Days: Varies
Phone: 090-9210-4886




















JPY2,200 (USD13.78)